Before and After Edits
Creating a photo is a two part process - there’s the art of taking a photo (lighting, posing, etc), and the art of editing it. Editing is an equal part of our creative process, and we spend hours, months and years perfecting our skills to make sure the final product is a beautiful piece of art. And when you’re producing a gallery of art for each client that has upwards of 100 photos, well it can be time consuming to edit each photo - especially if you’re like me and edit each photo individually.
I always love seeing other photographers before and after edits, it’s like peeking behind a magic curtain and getting an intimate look at their creative process, so here are a few before and after edits for you to look through.
If you’re a client (or a potential client) you might enjoy looking at this too, I hope it gives you a deeper understanding of how much sweat, tears and hard work (and how many years!) go into perfecting our craft. It’s not just as simple as picking up a camera and snapping a photo 😜.
If you’r a photographer - one thing I hear from my mentor students over and over again is that they struggle with editing, and often many grow to hate it because nothing ever looks right. In case you’re in a similar space where you hate your editing - it doesn’t have to be that way and I’d love to help you!
I spent many years in a similar space, I had a love/hate relationship with editing, and it was often the most stressful part of the whole process. Nothing felt right, the colours or contrast or exposure was always a little off, and I was so critical of everything. And nothing was wrong with my style, I’m proud of all the work I created and my clients always loved the end result! But at the end of 2018 I just hit this spot where I was fed up - I knew exactly what I wanted, I just didn’t know how to achieve it. So I spent two months on YouTube learning about tone curves and HSL sliders and split toning, and then I literally opened up Lightroom and edited every day for about 8 hours straight. I’m not even joking - it was hardcore and I felt like my eyeballs were about to fall out of my head by the time I finished. And during those two months I pretty much re-edited my entire gallery of 2018 imagery from my client sessions. It was something like 10,000 photos?! I’m really stubborn when I want to be and I was determined to get there. I played this video a lot to keep me motivated.
And the good news is that it worked! I feel like I’ve finally “arrived” at this sweet spot where I love editing so much, and I have built a collection of presets that just work every time and oh man, the feeling I get when a one-click edit transforms a photo from meh to magic is sooooo good. You definitely don’t need to spend that long perfecting your edits though - some photographers seem to arrive there very quickly, some like me take a long time. Working with a mentor (like me) can be so helpful in fast-tracking that process, because it’s not just about becoming a master of Lightroom or Photoshop. It’s incredible how much your gear impacts your photos, and understanding light and colour can also have a huge impact on what you can achieve in post-processing. For example, a washed out, backlit photo will be partially recoverable in editing, but if you adjust slightly so you can block the sun behind a tree branch or something, so the sun isn’t hitting your lens, it’ll change the whole look of your photo and give you so much more to play with when editing.
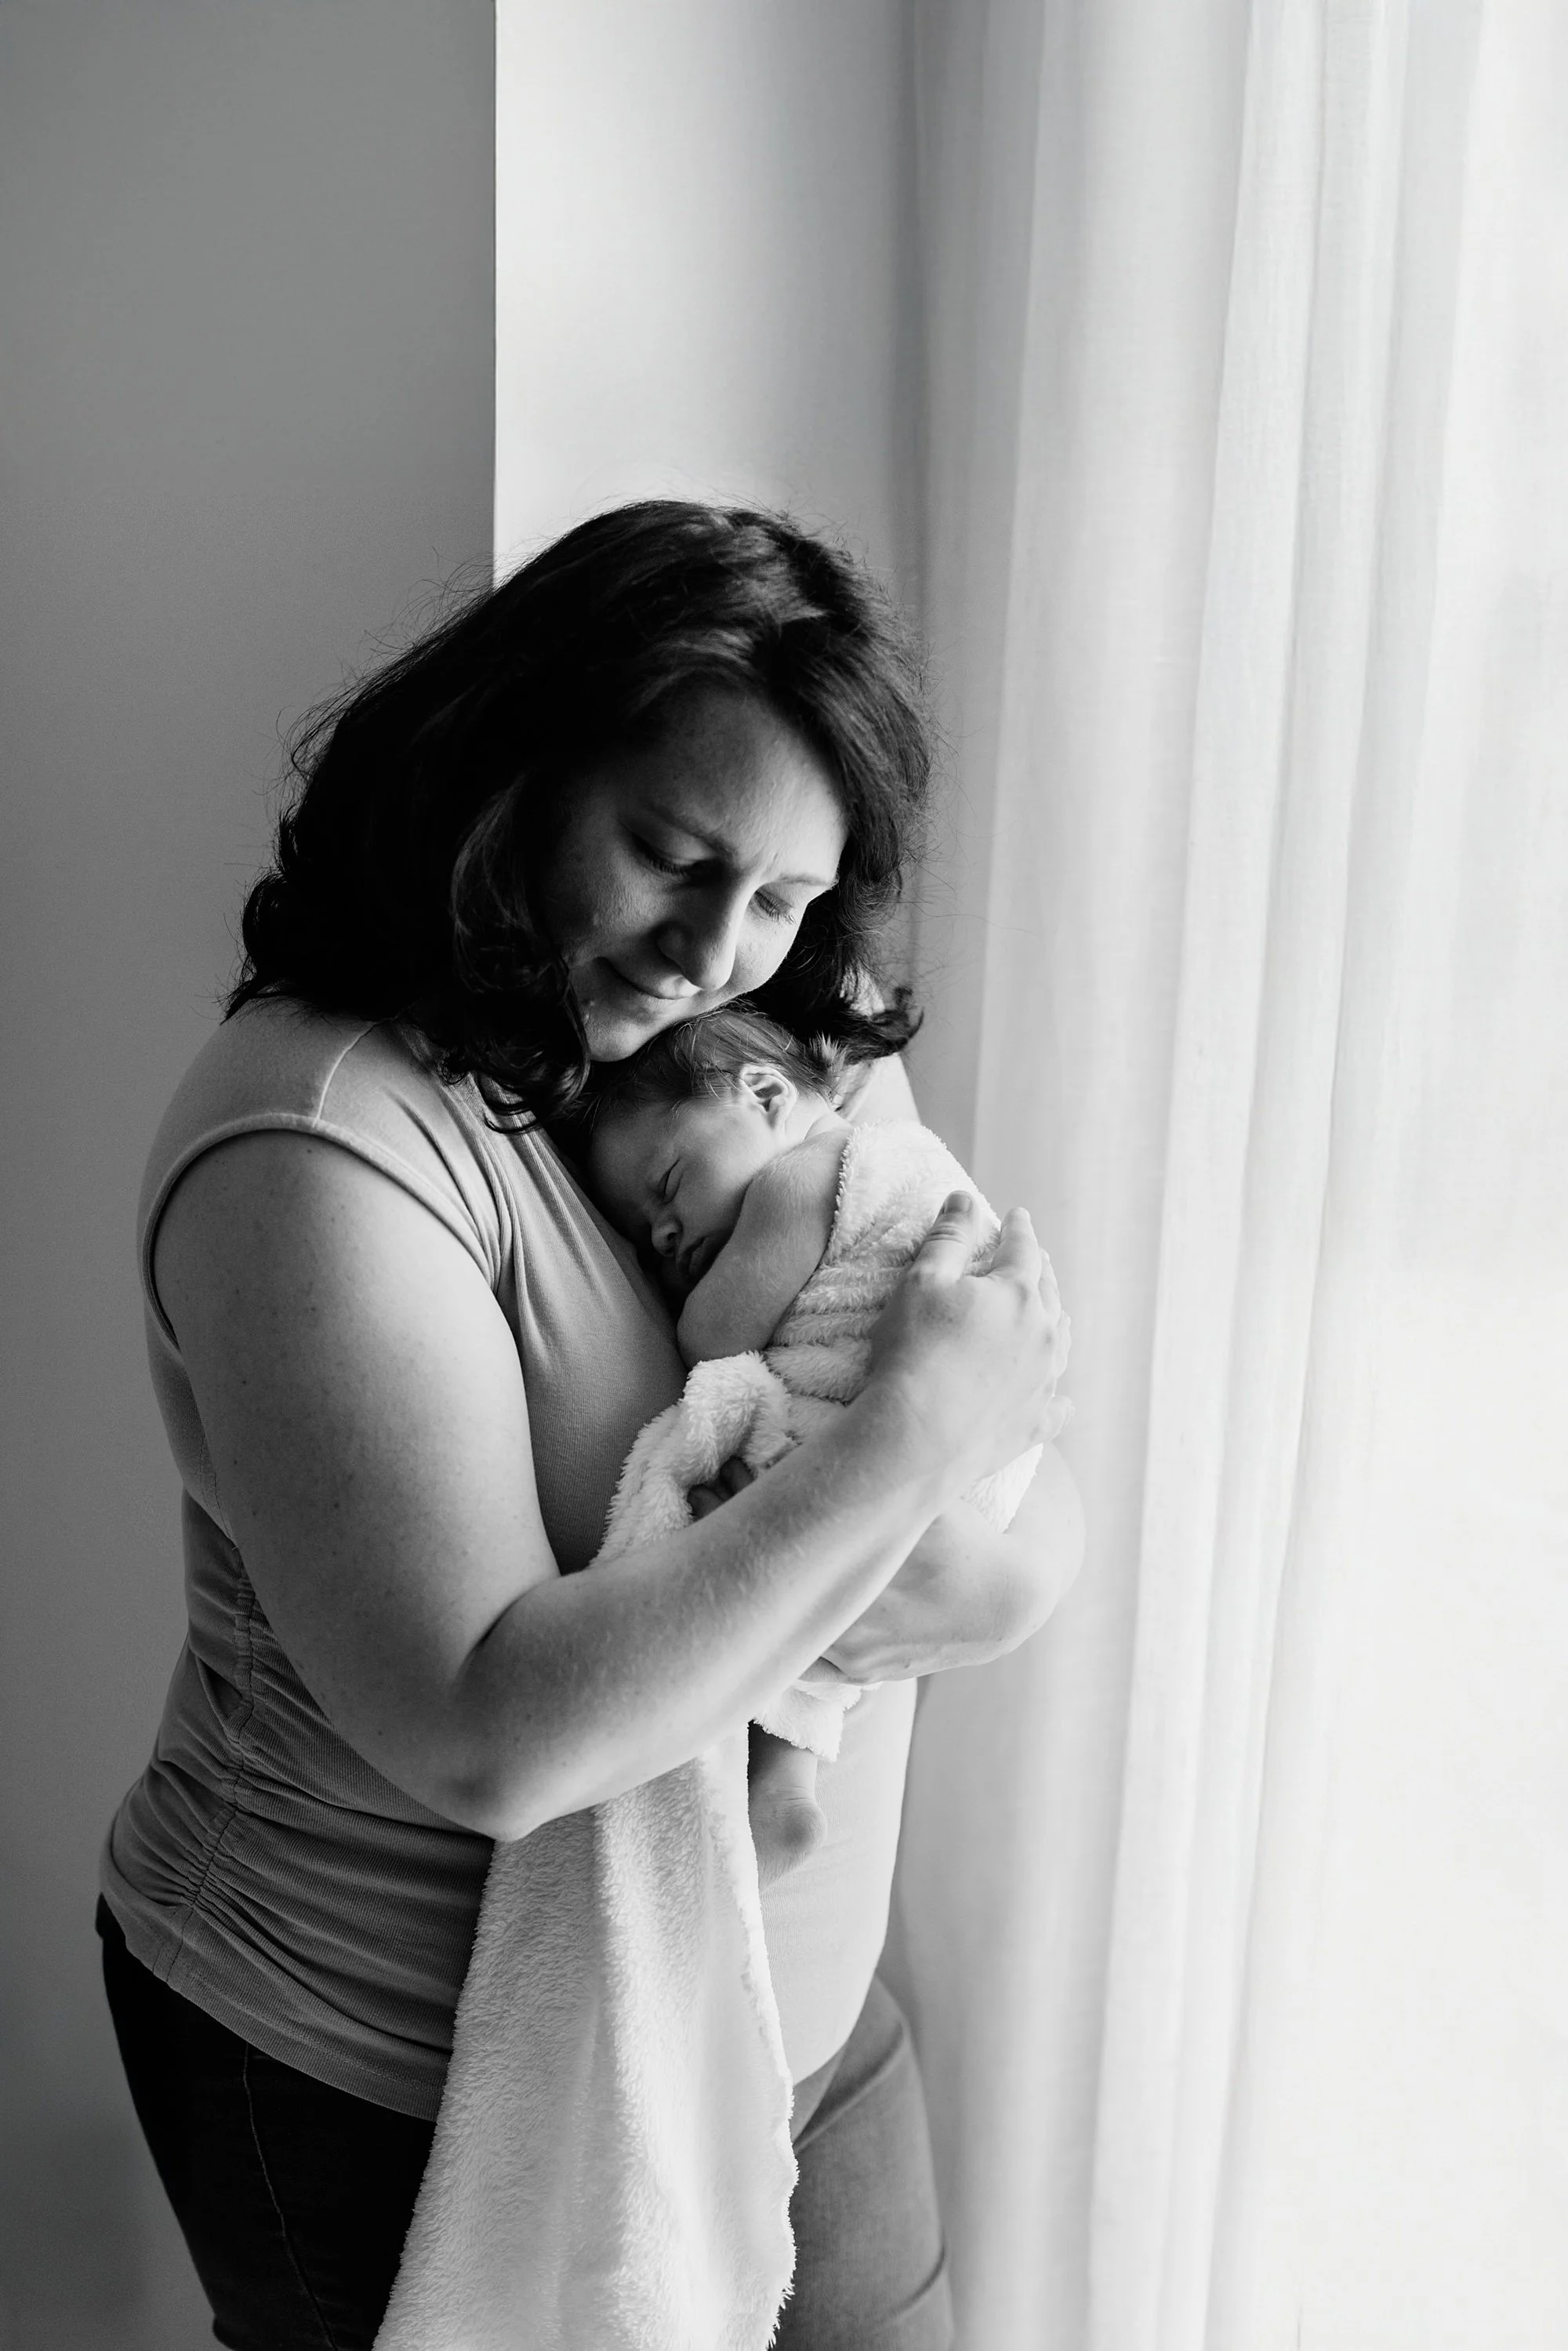
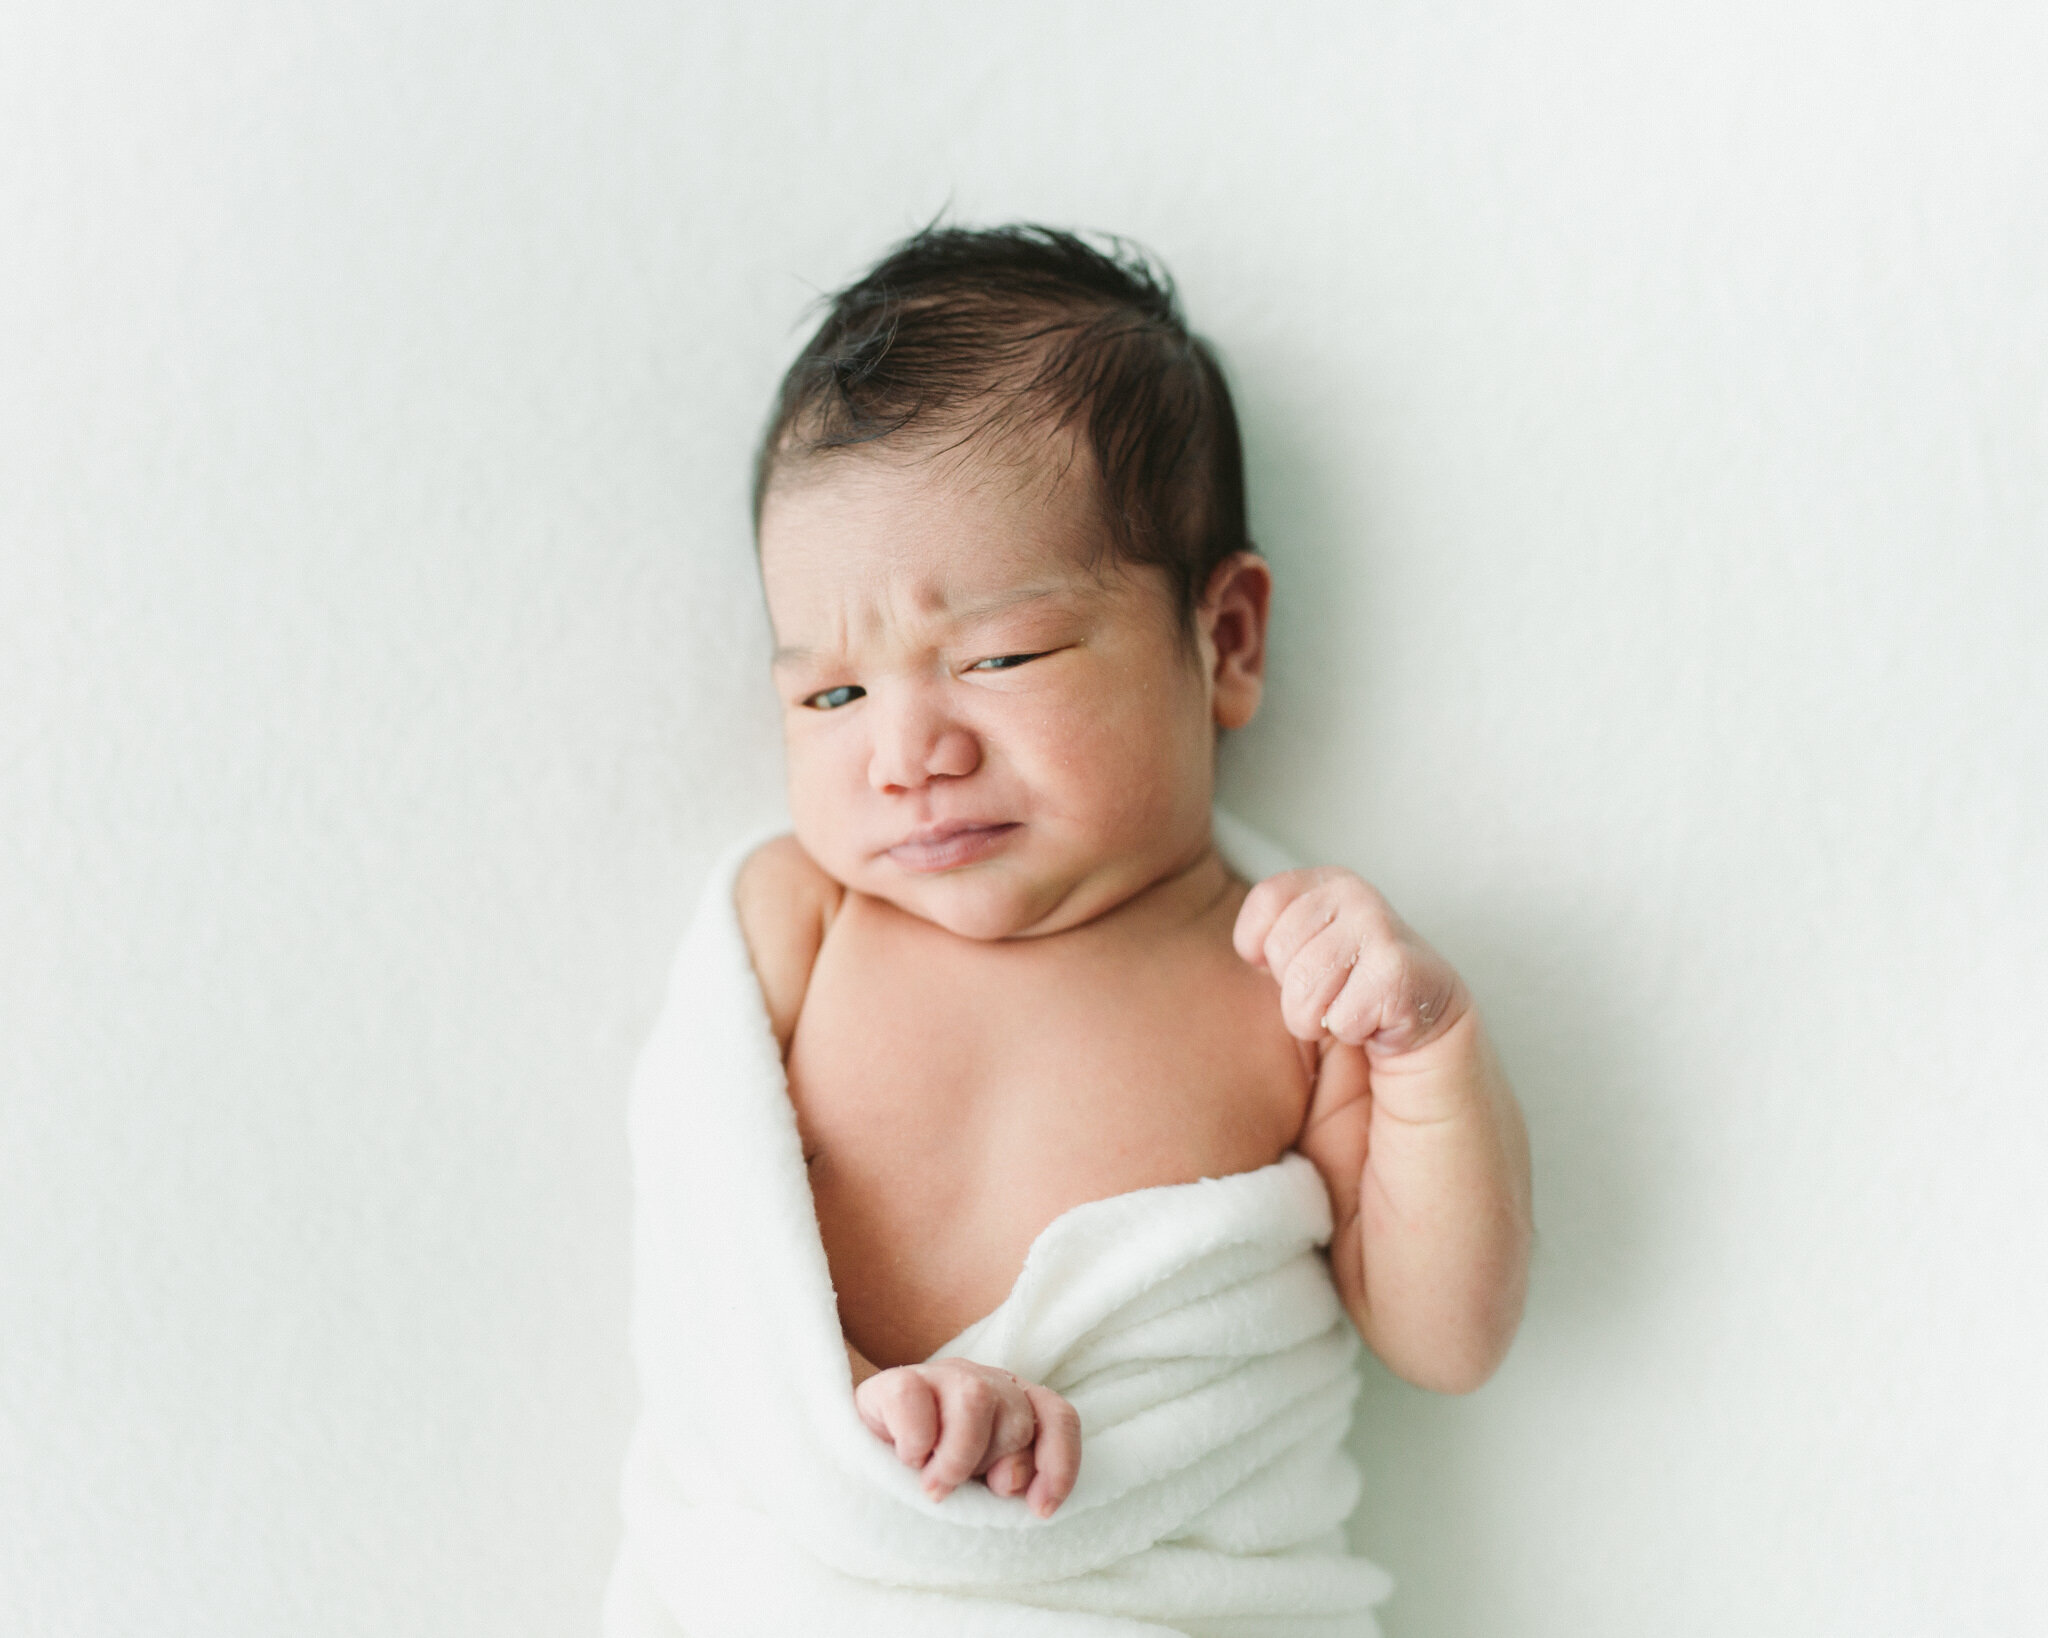
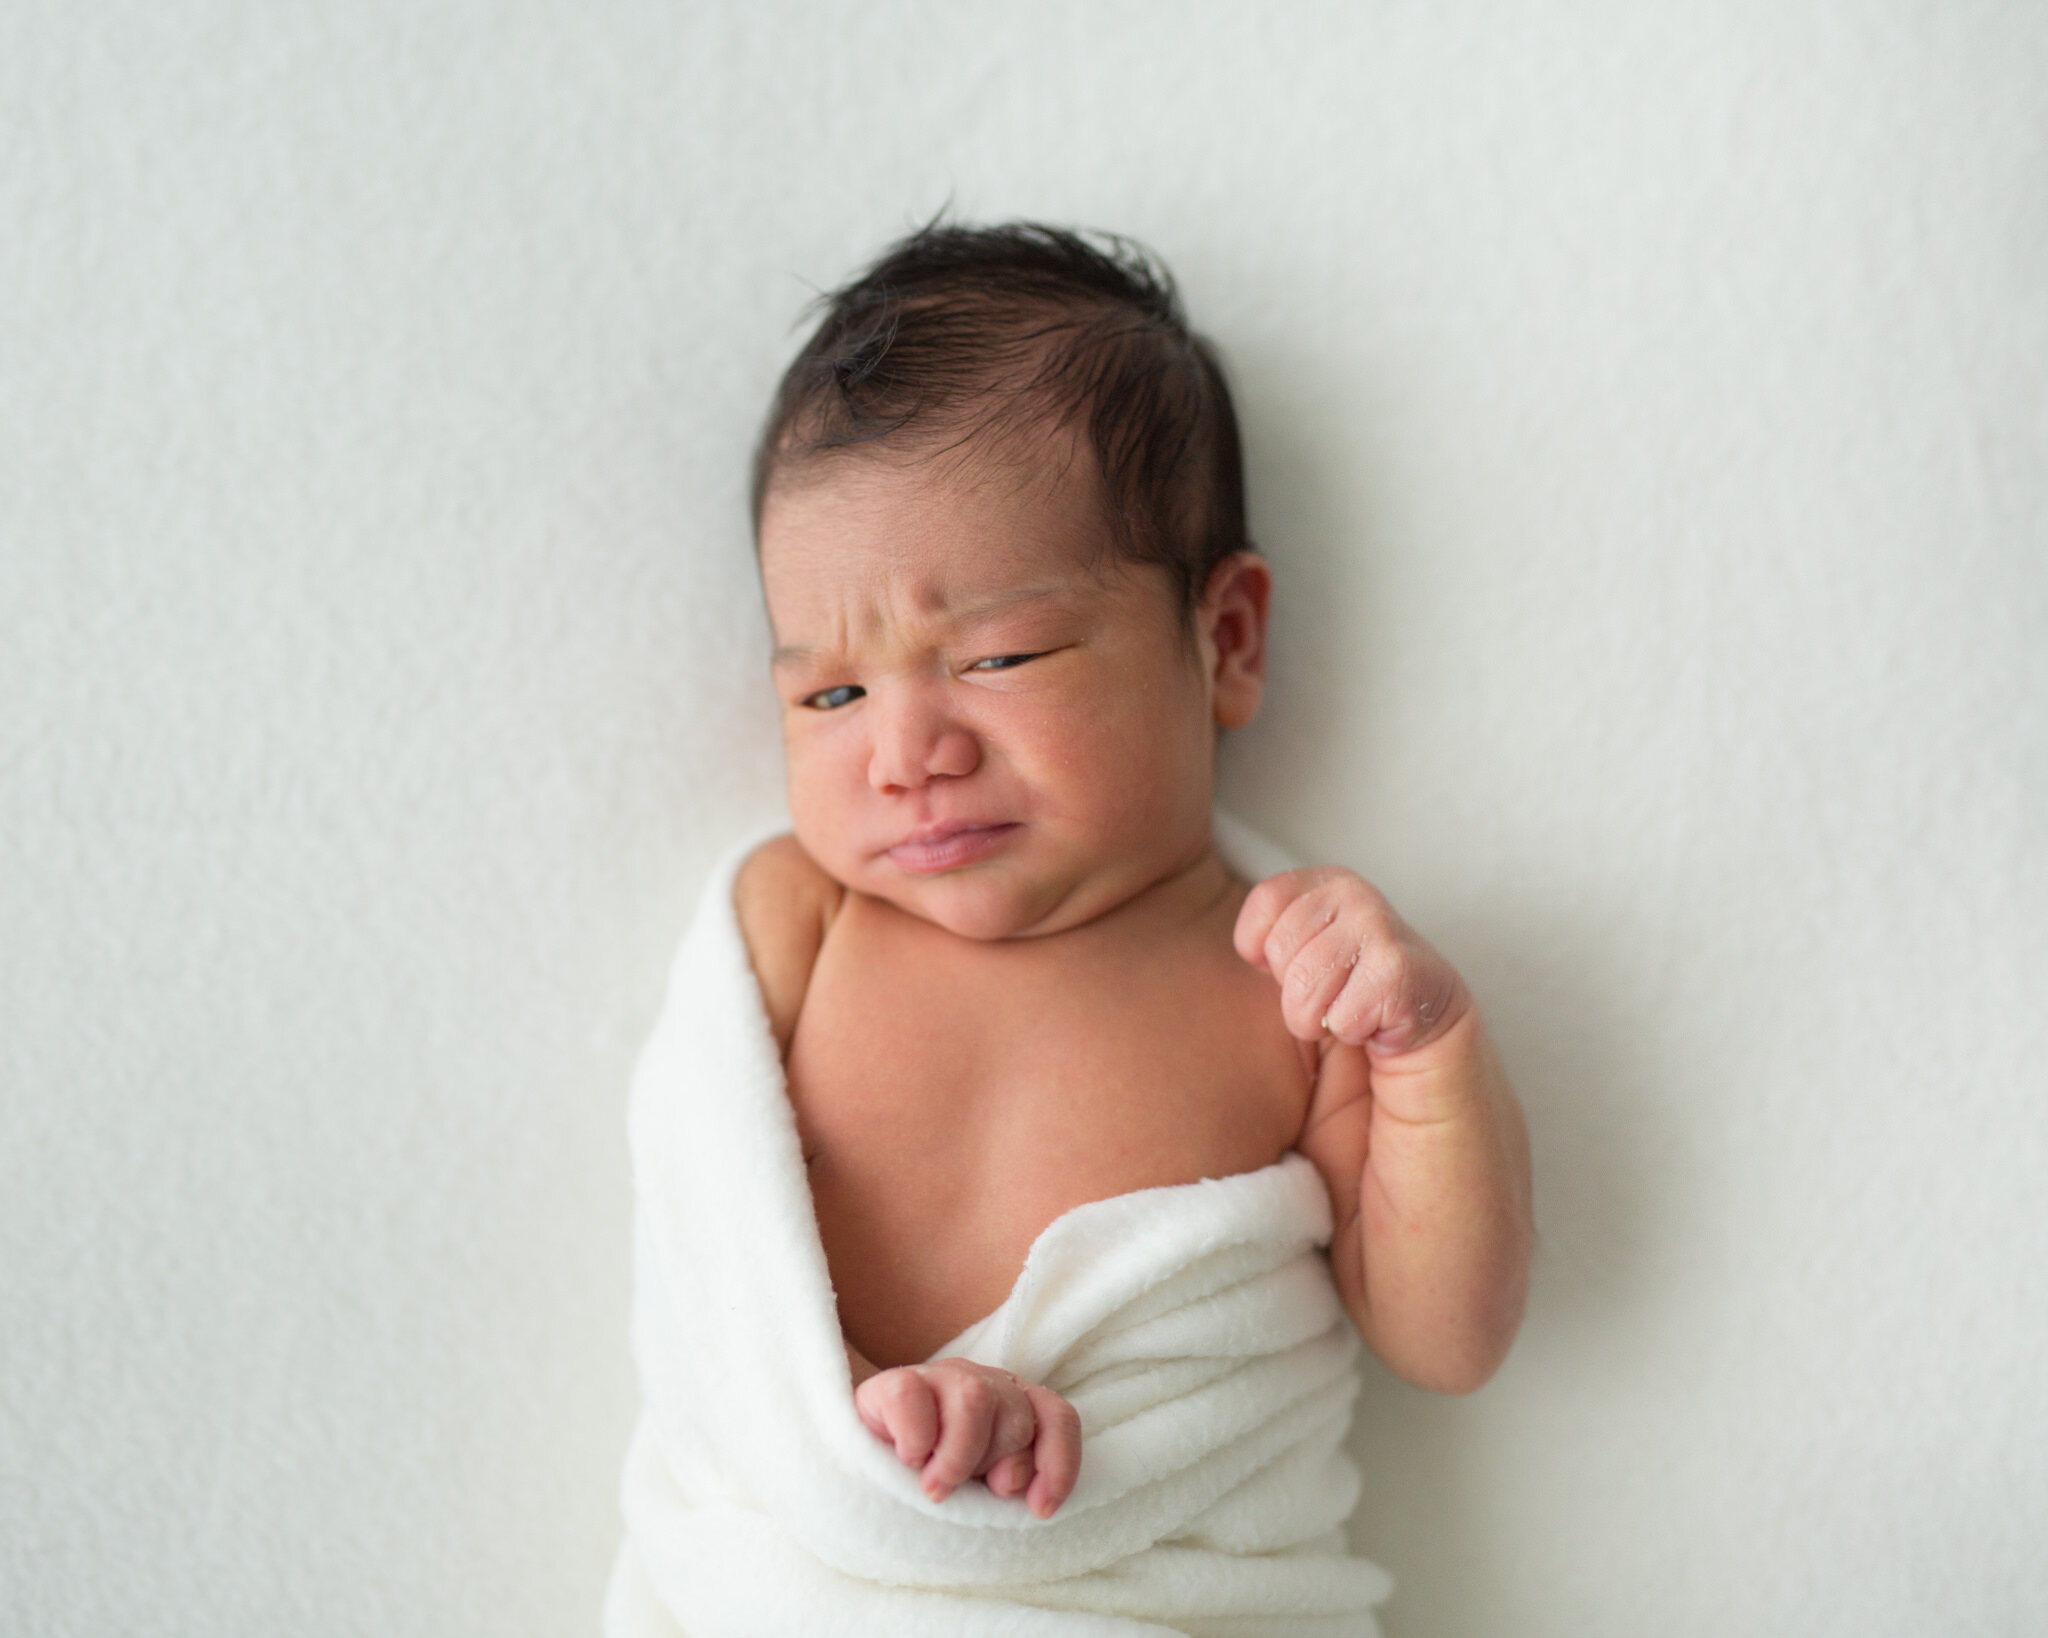
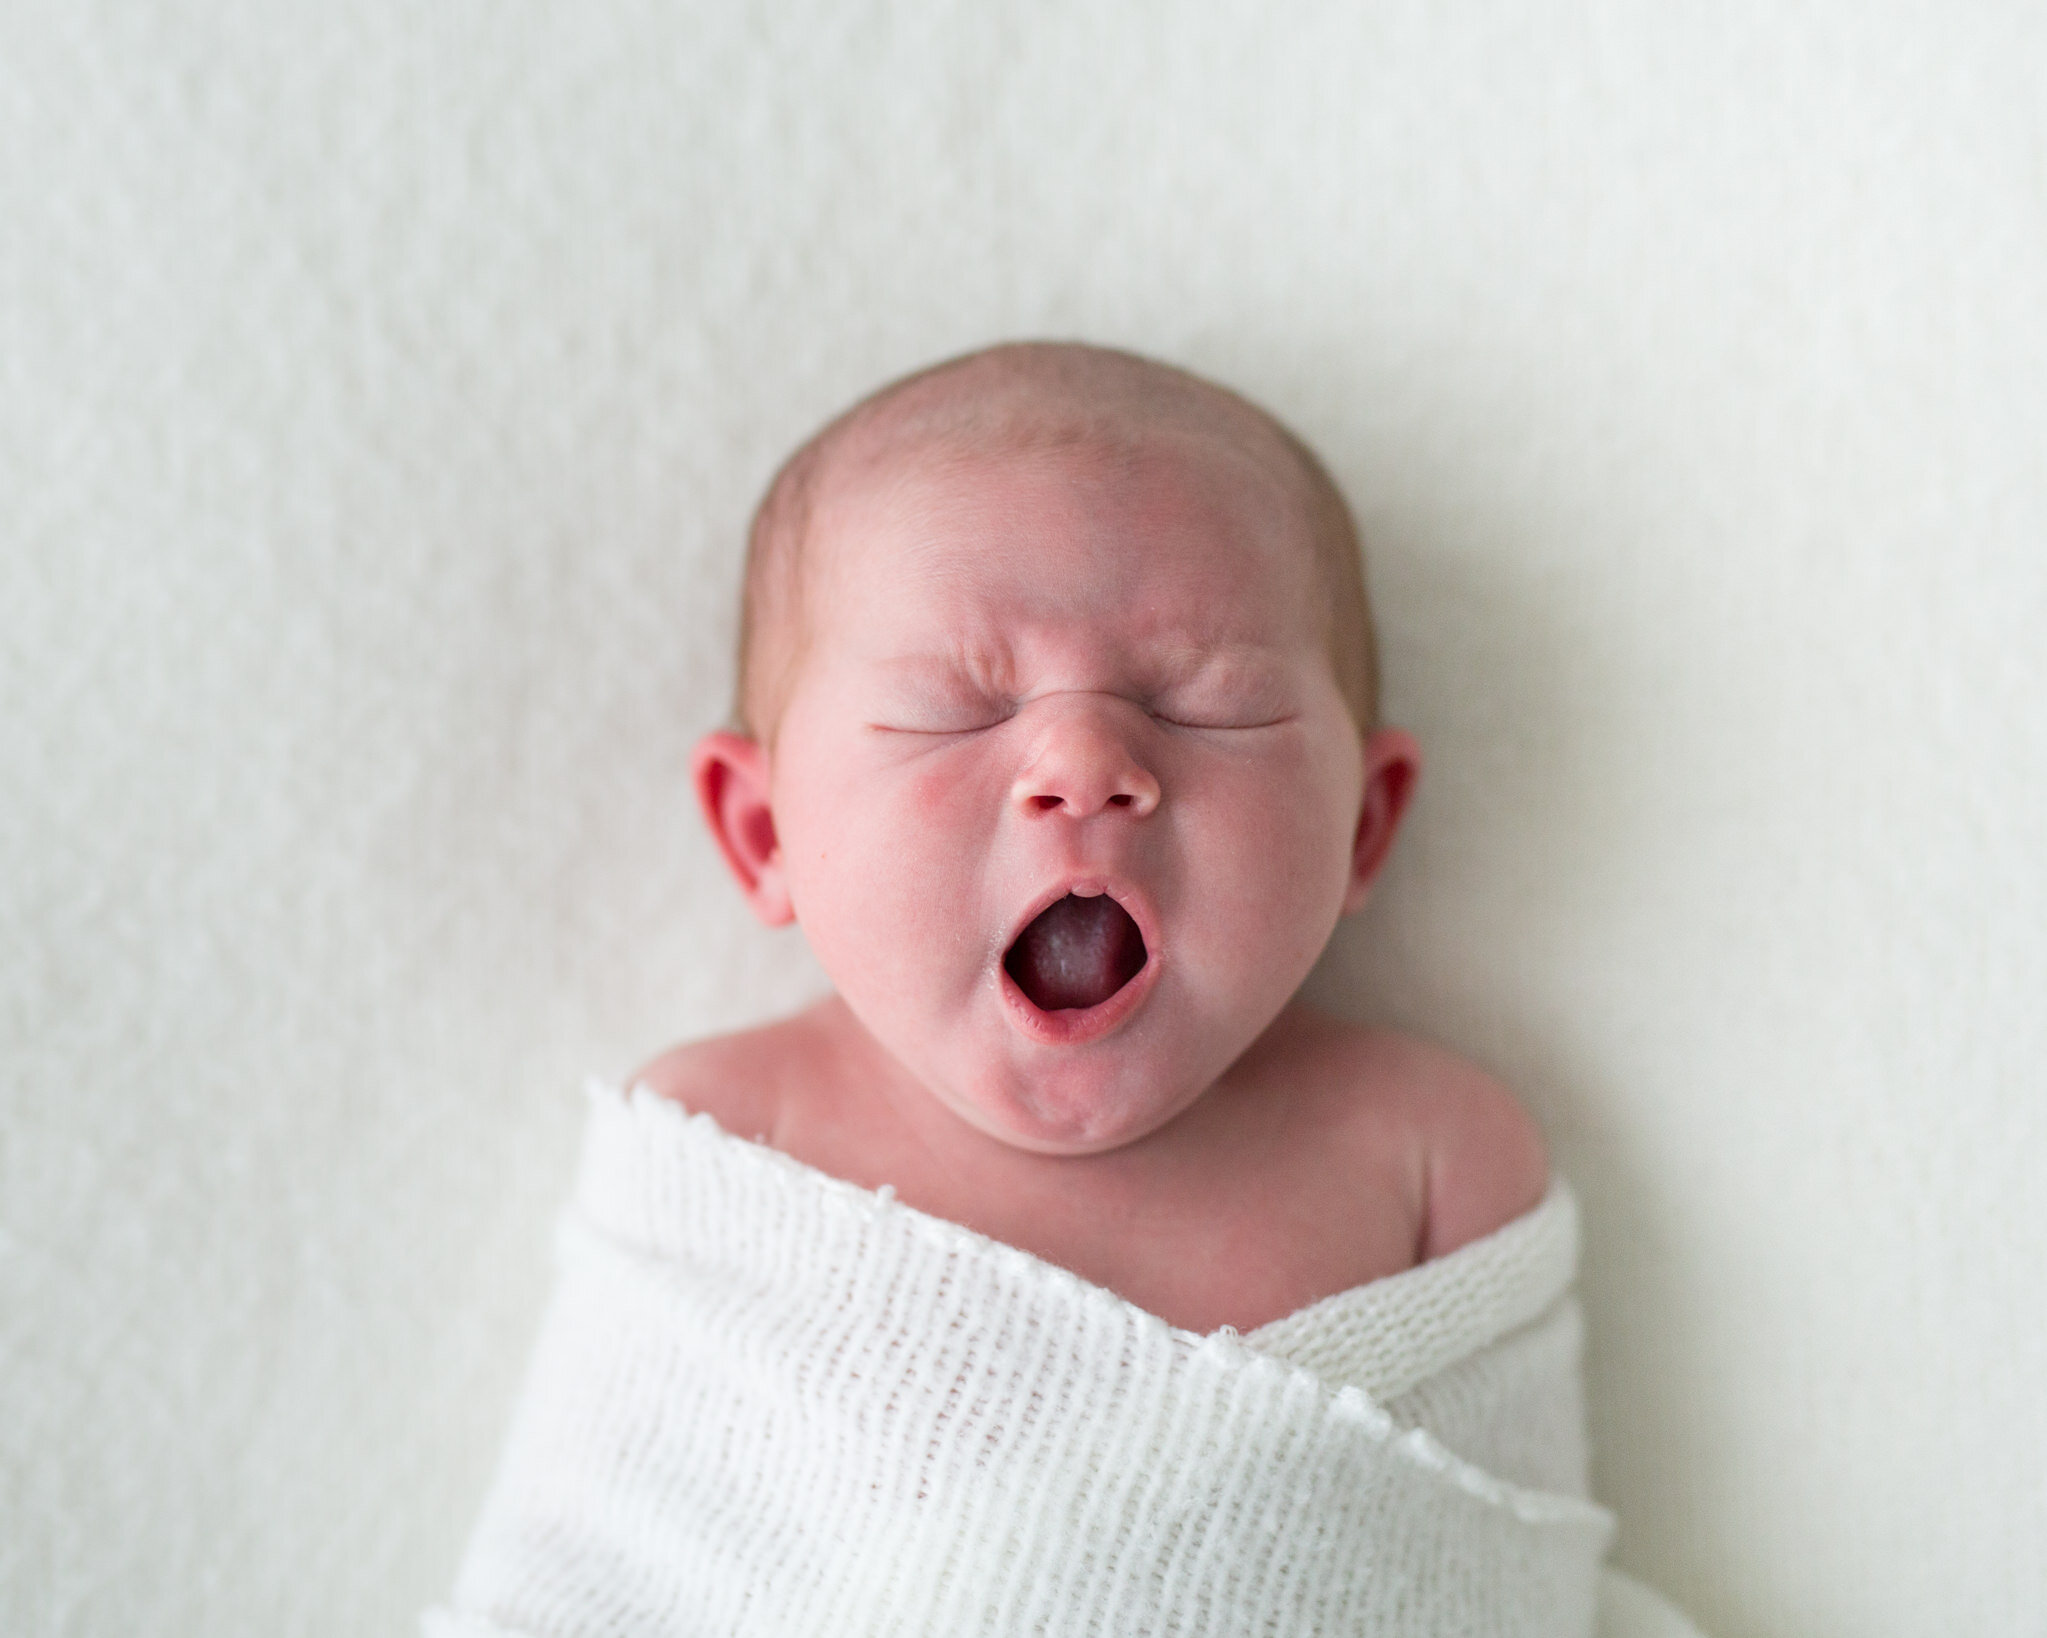
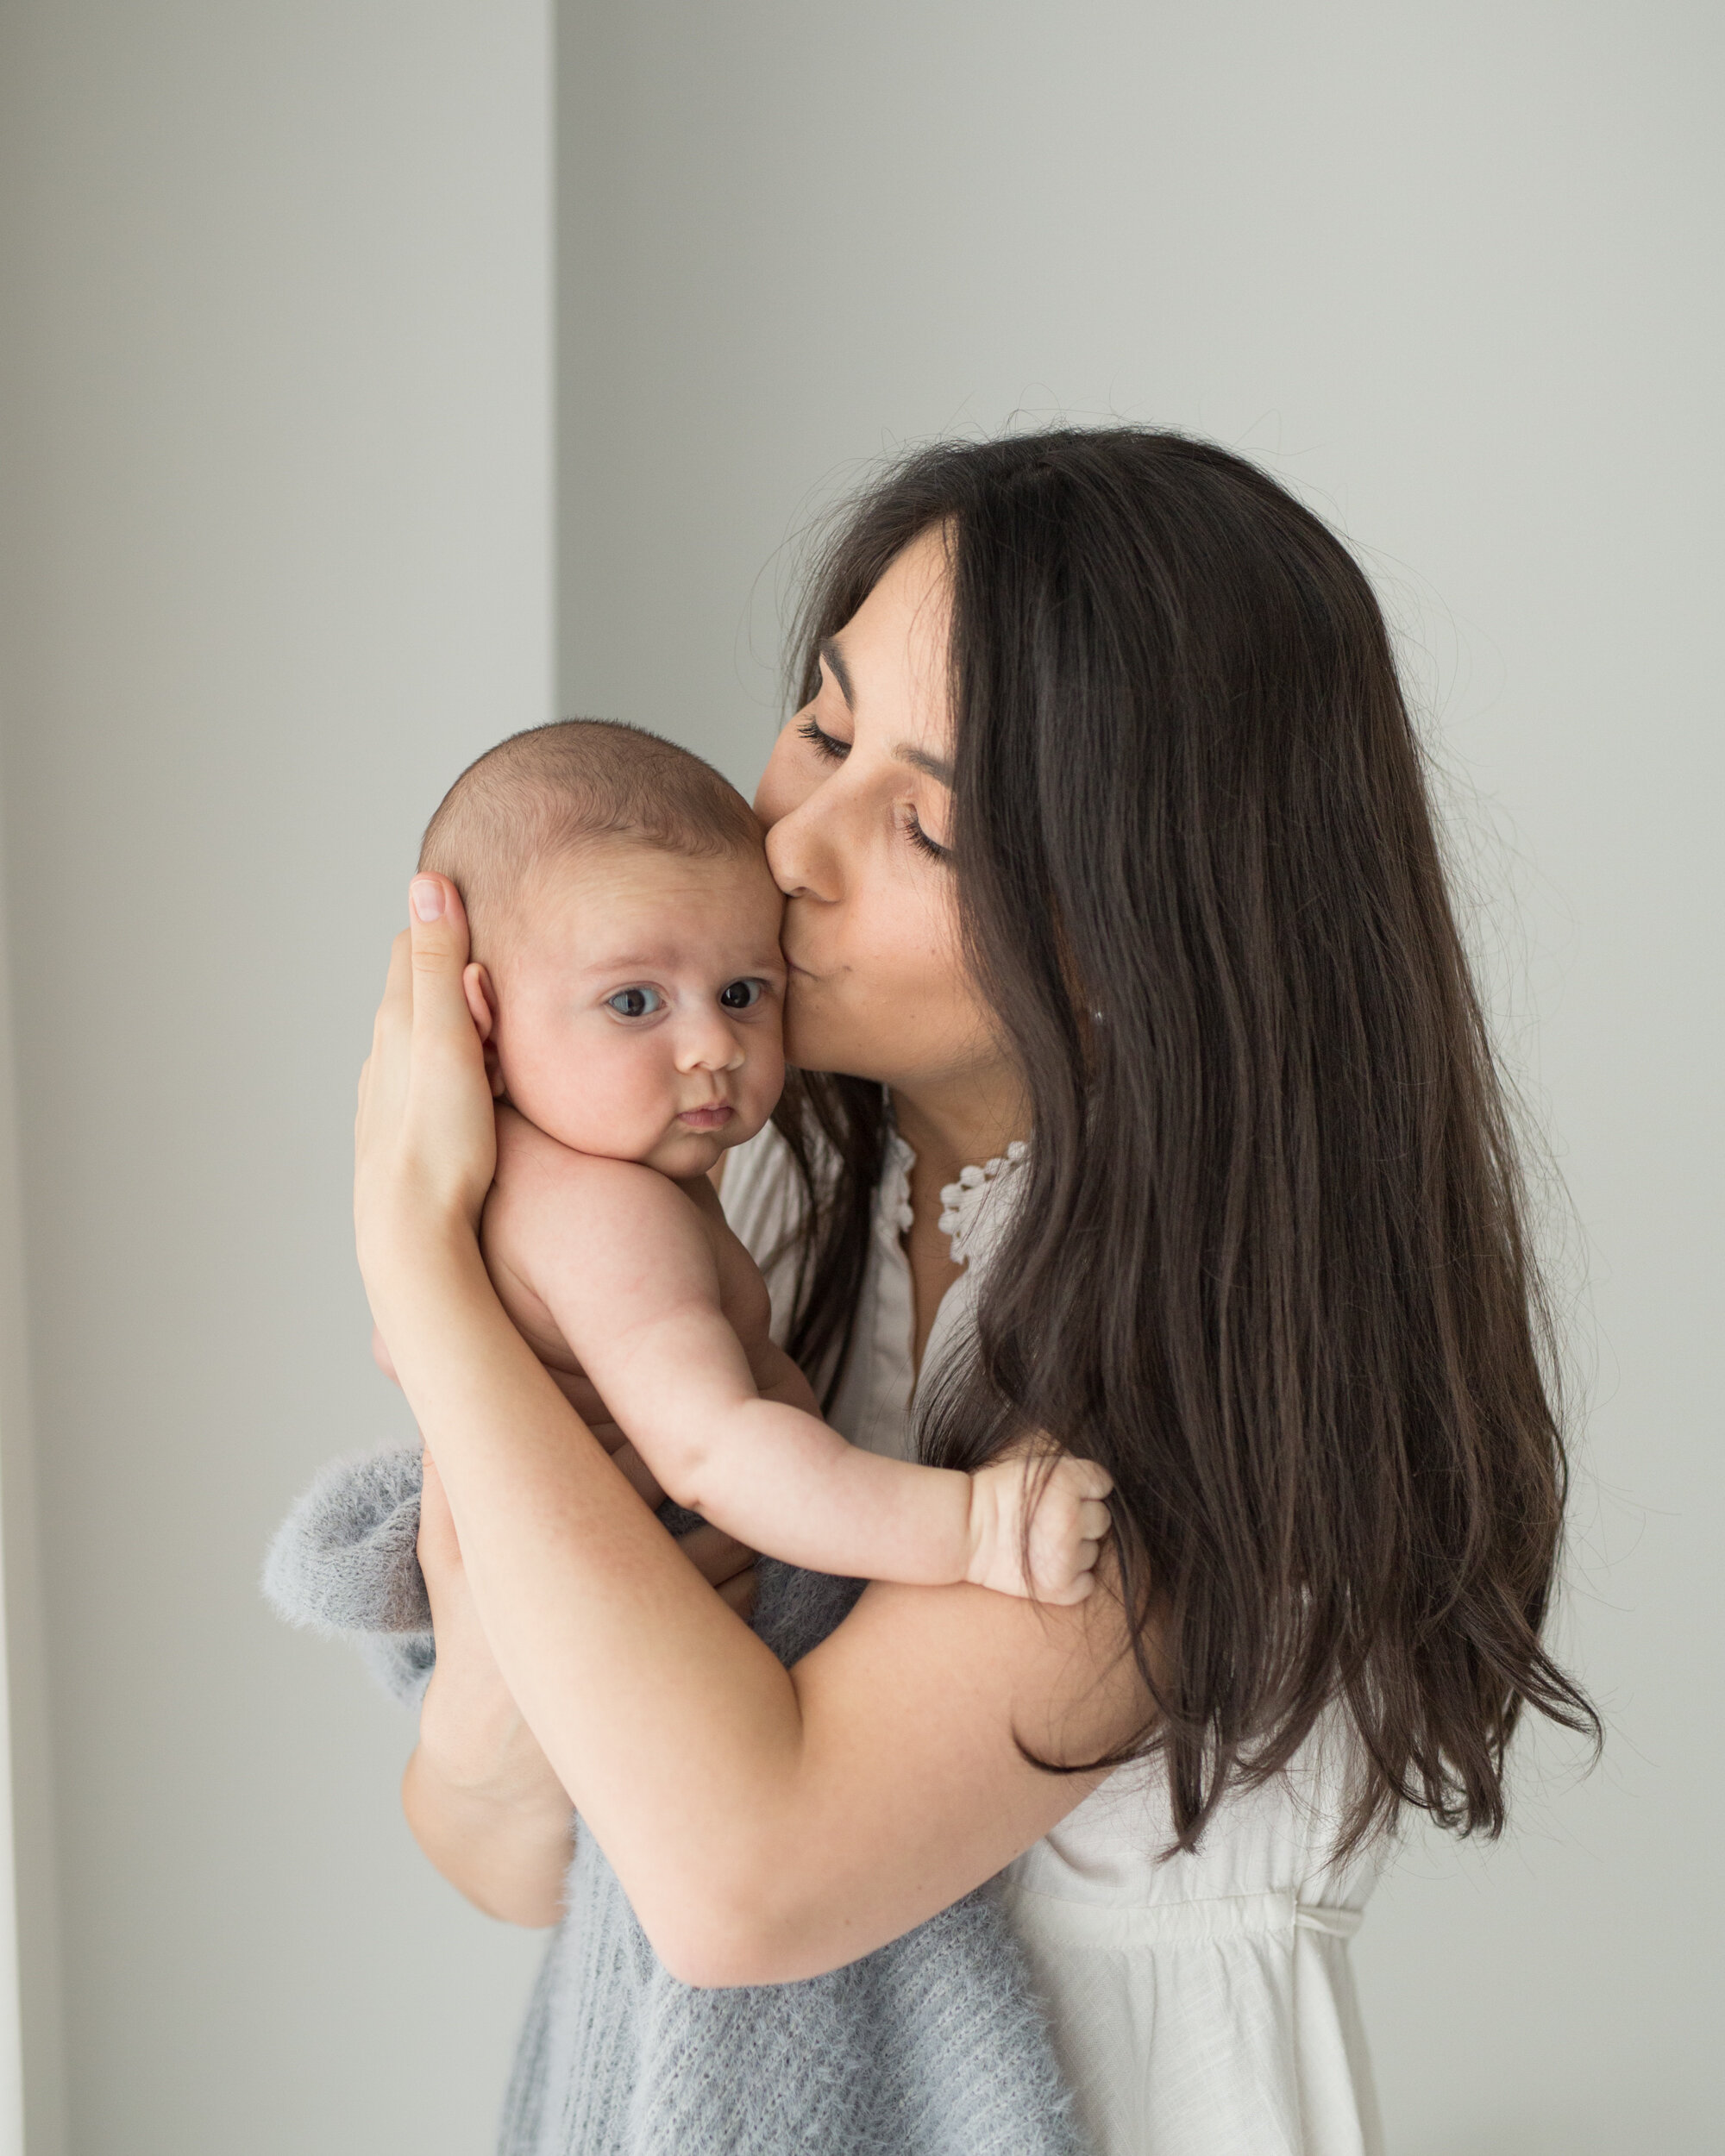
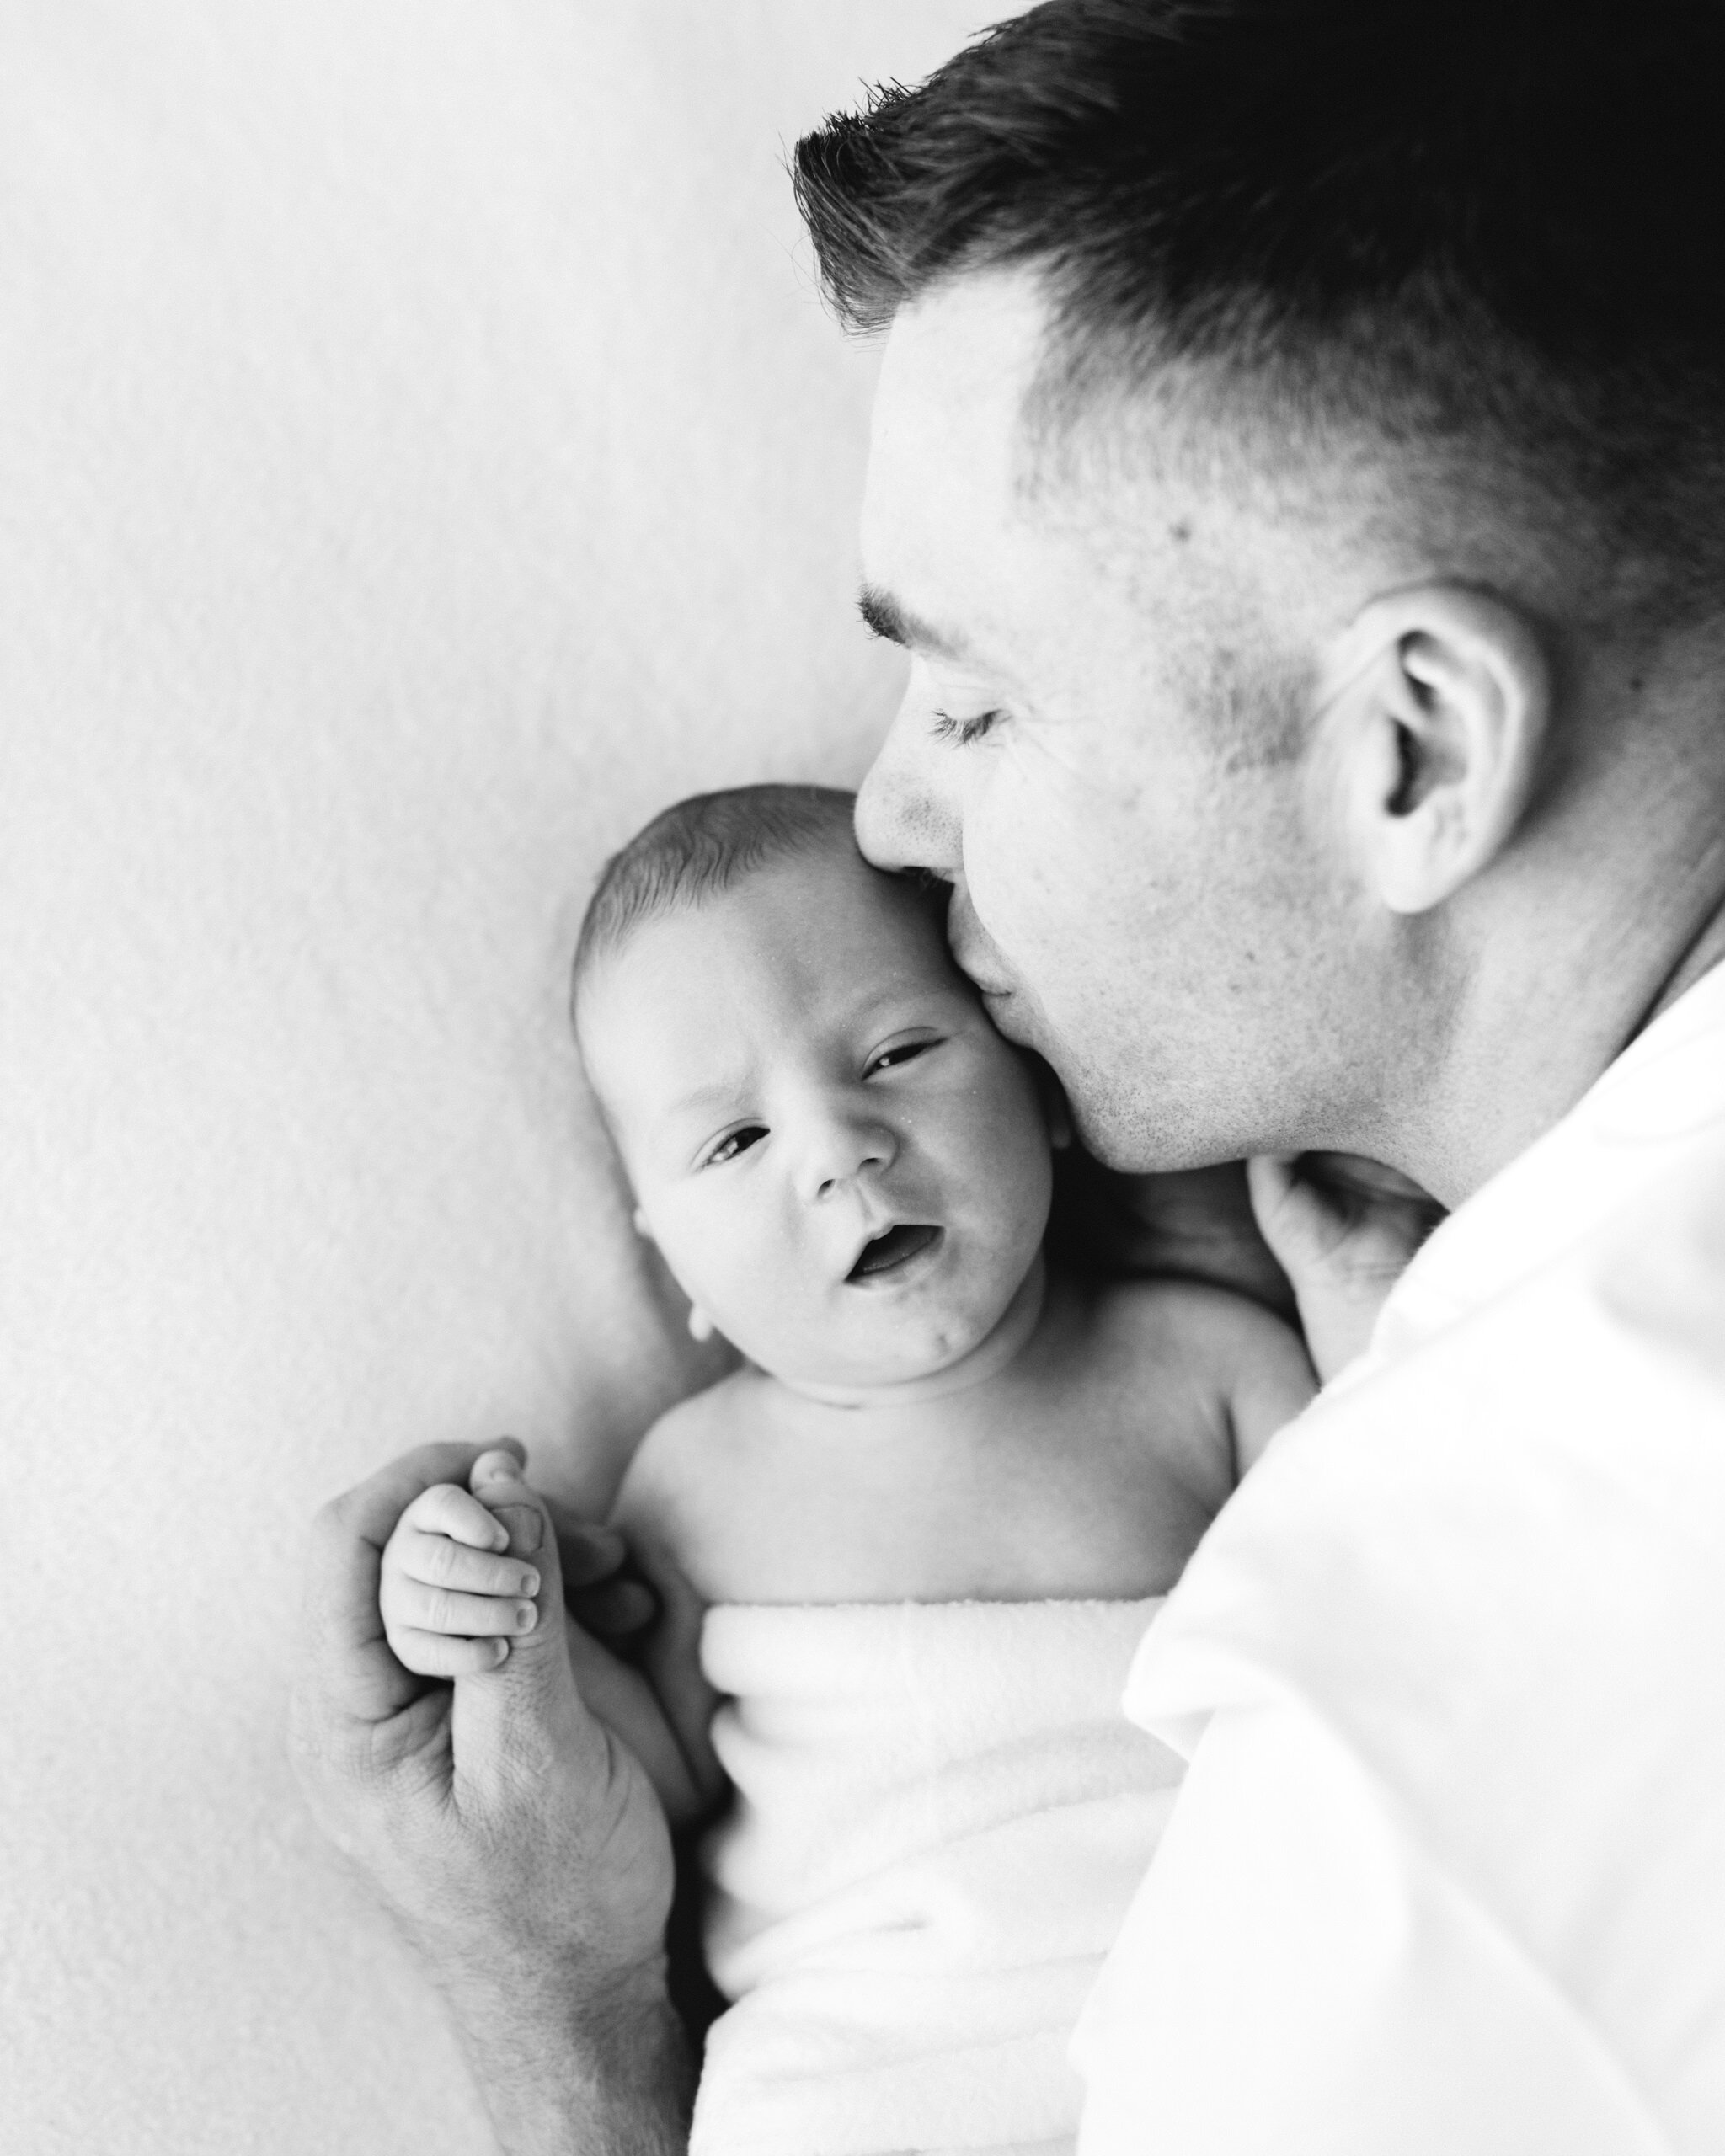
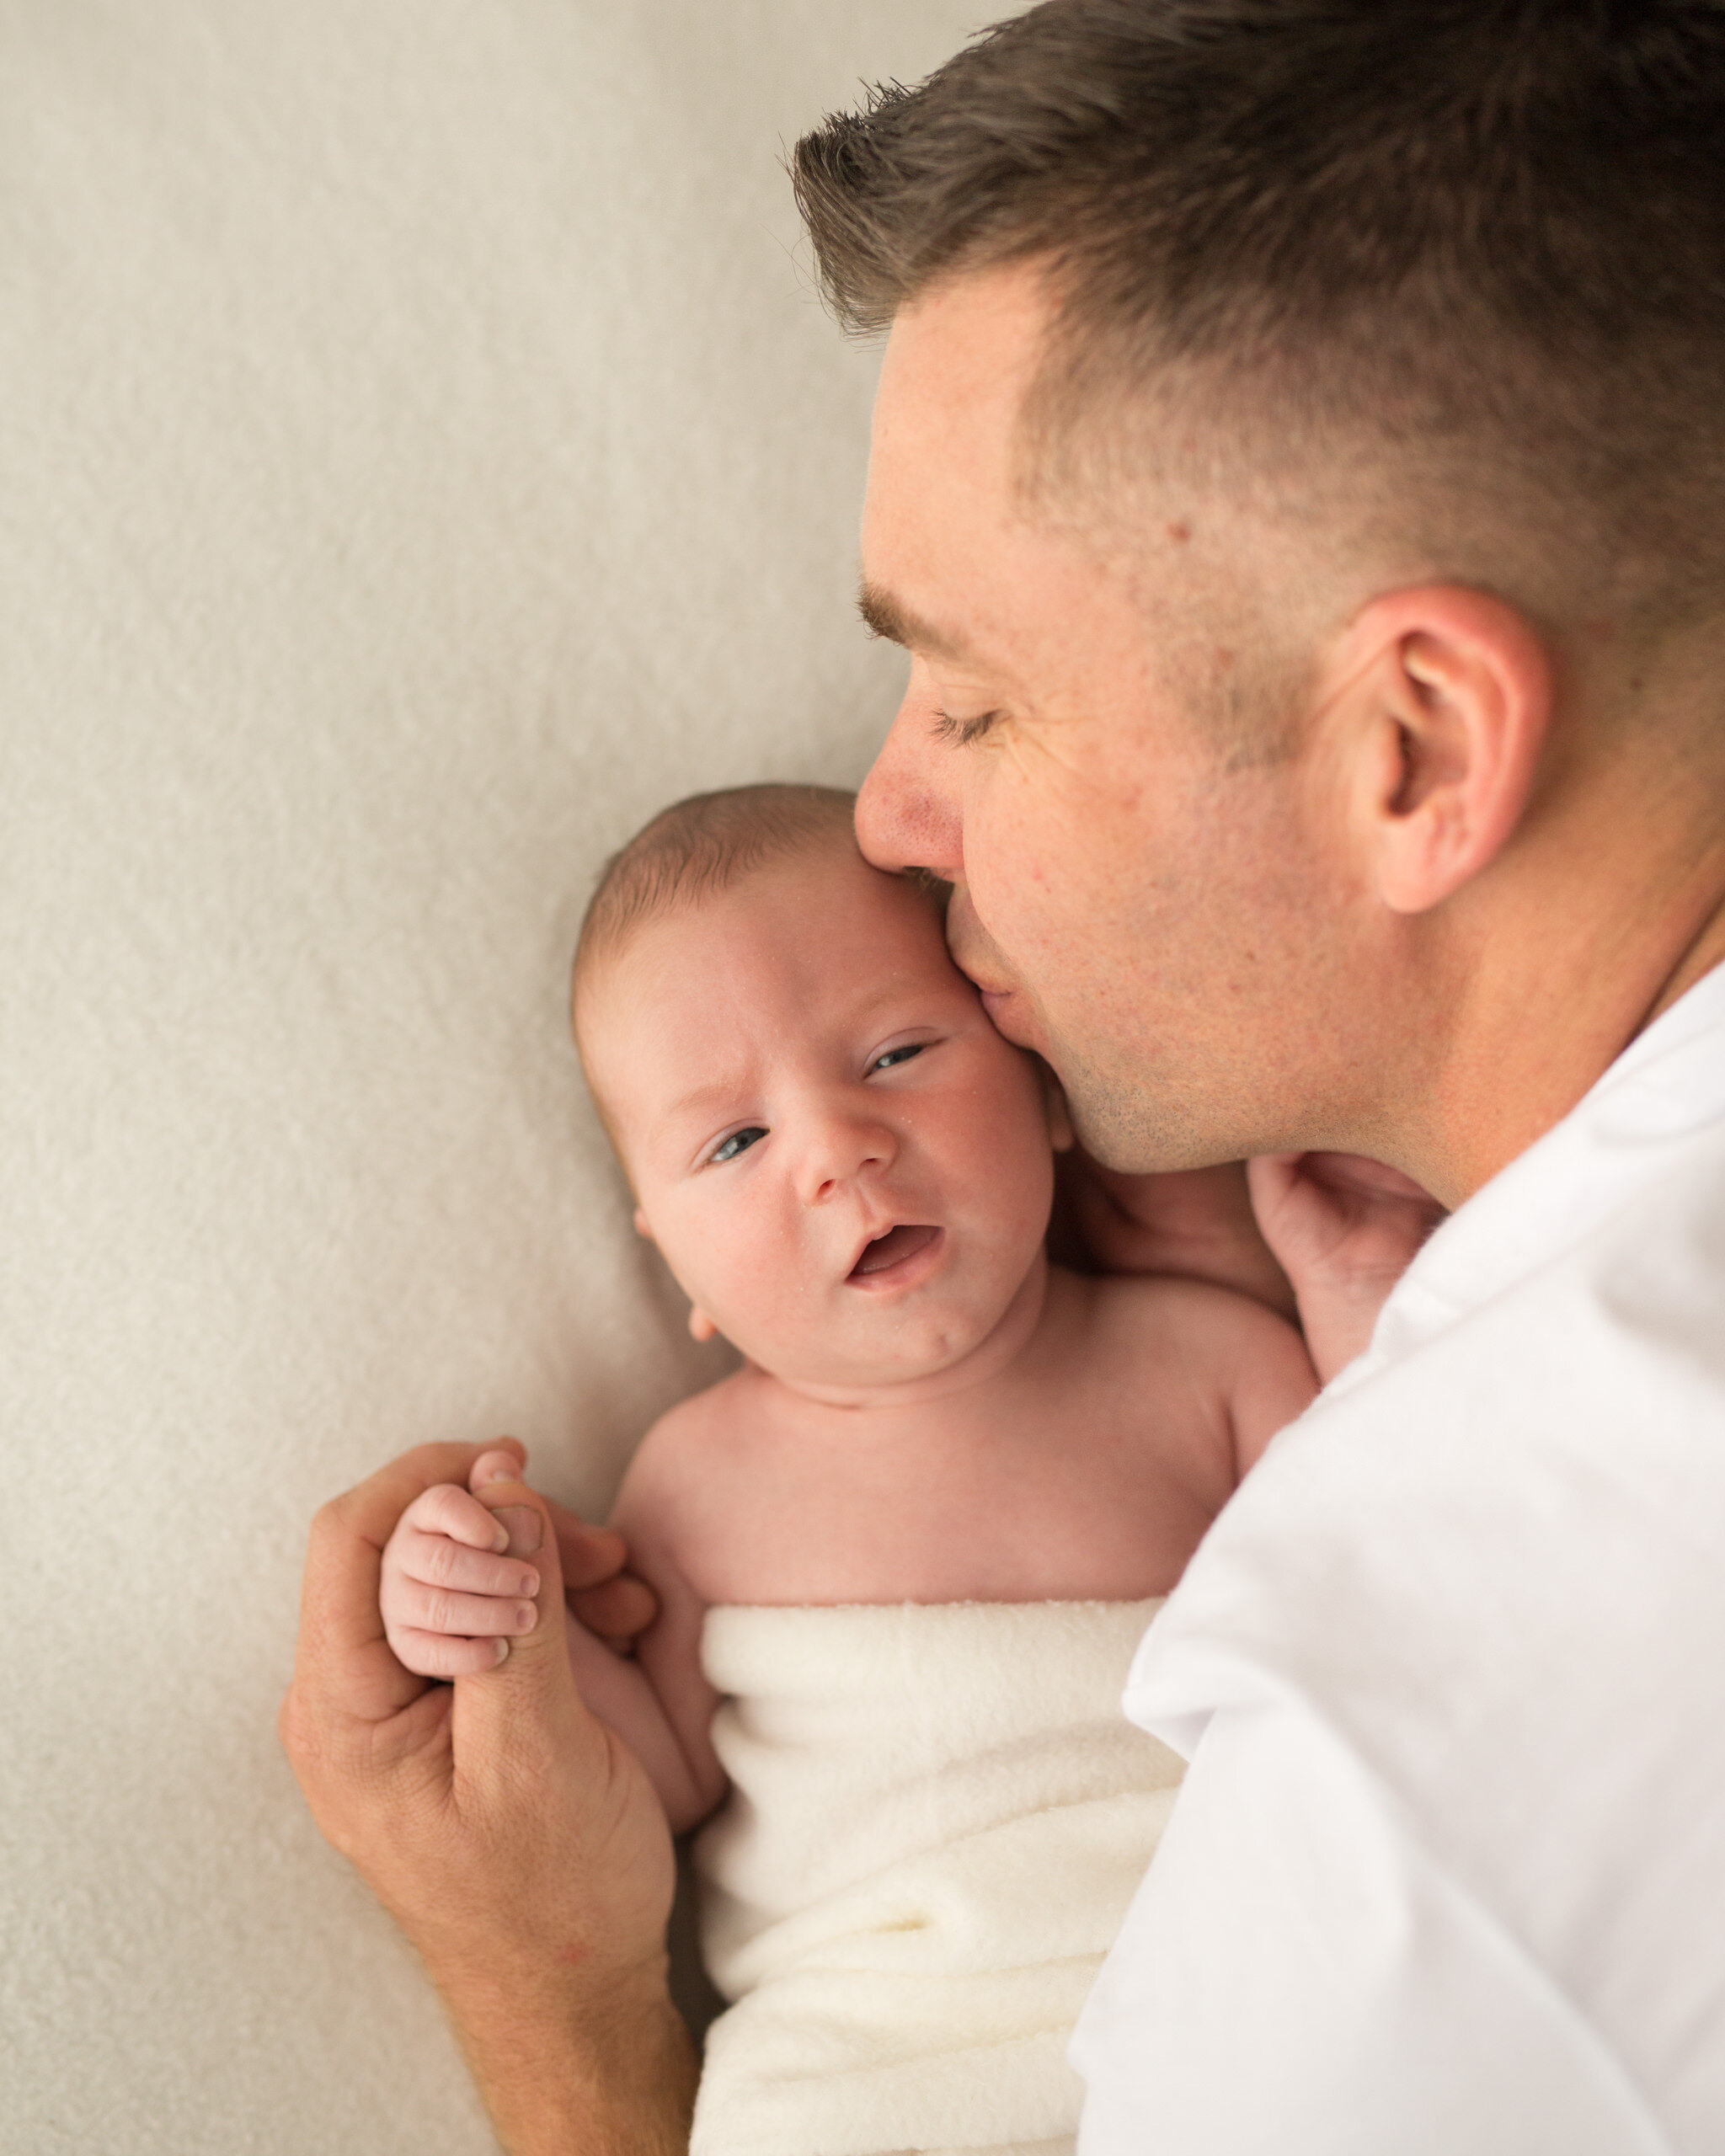
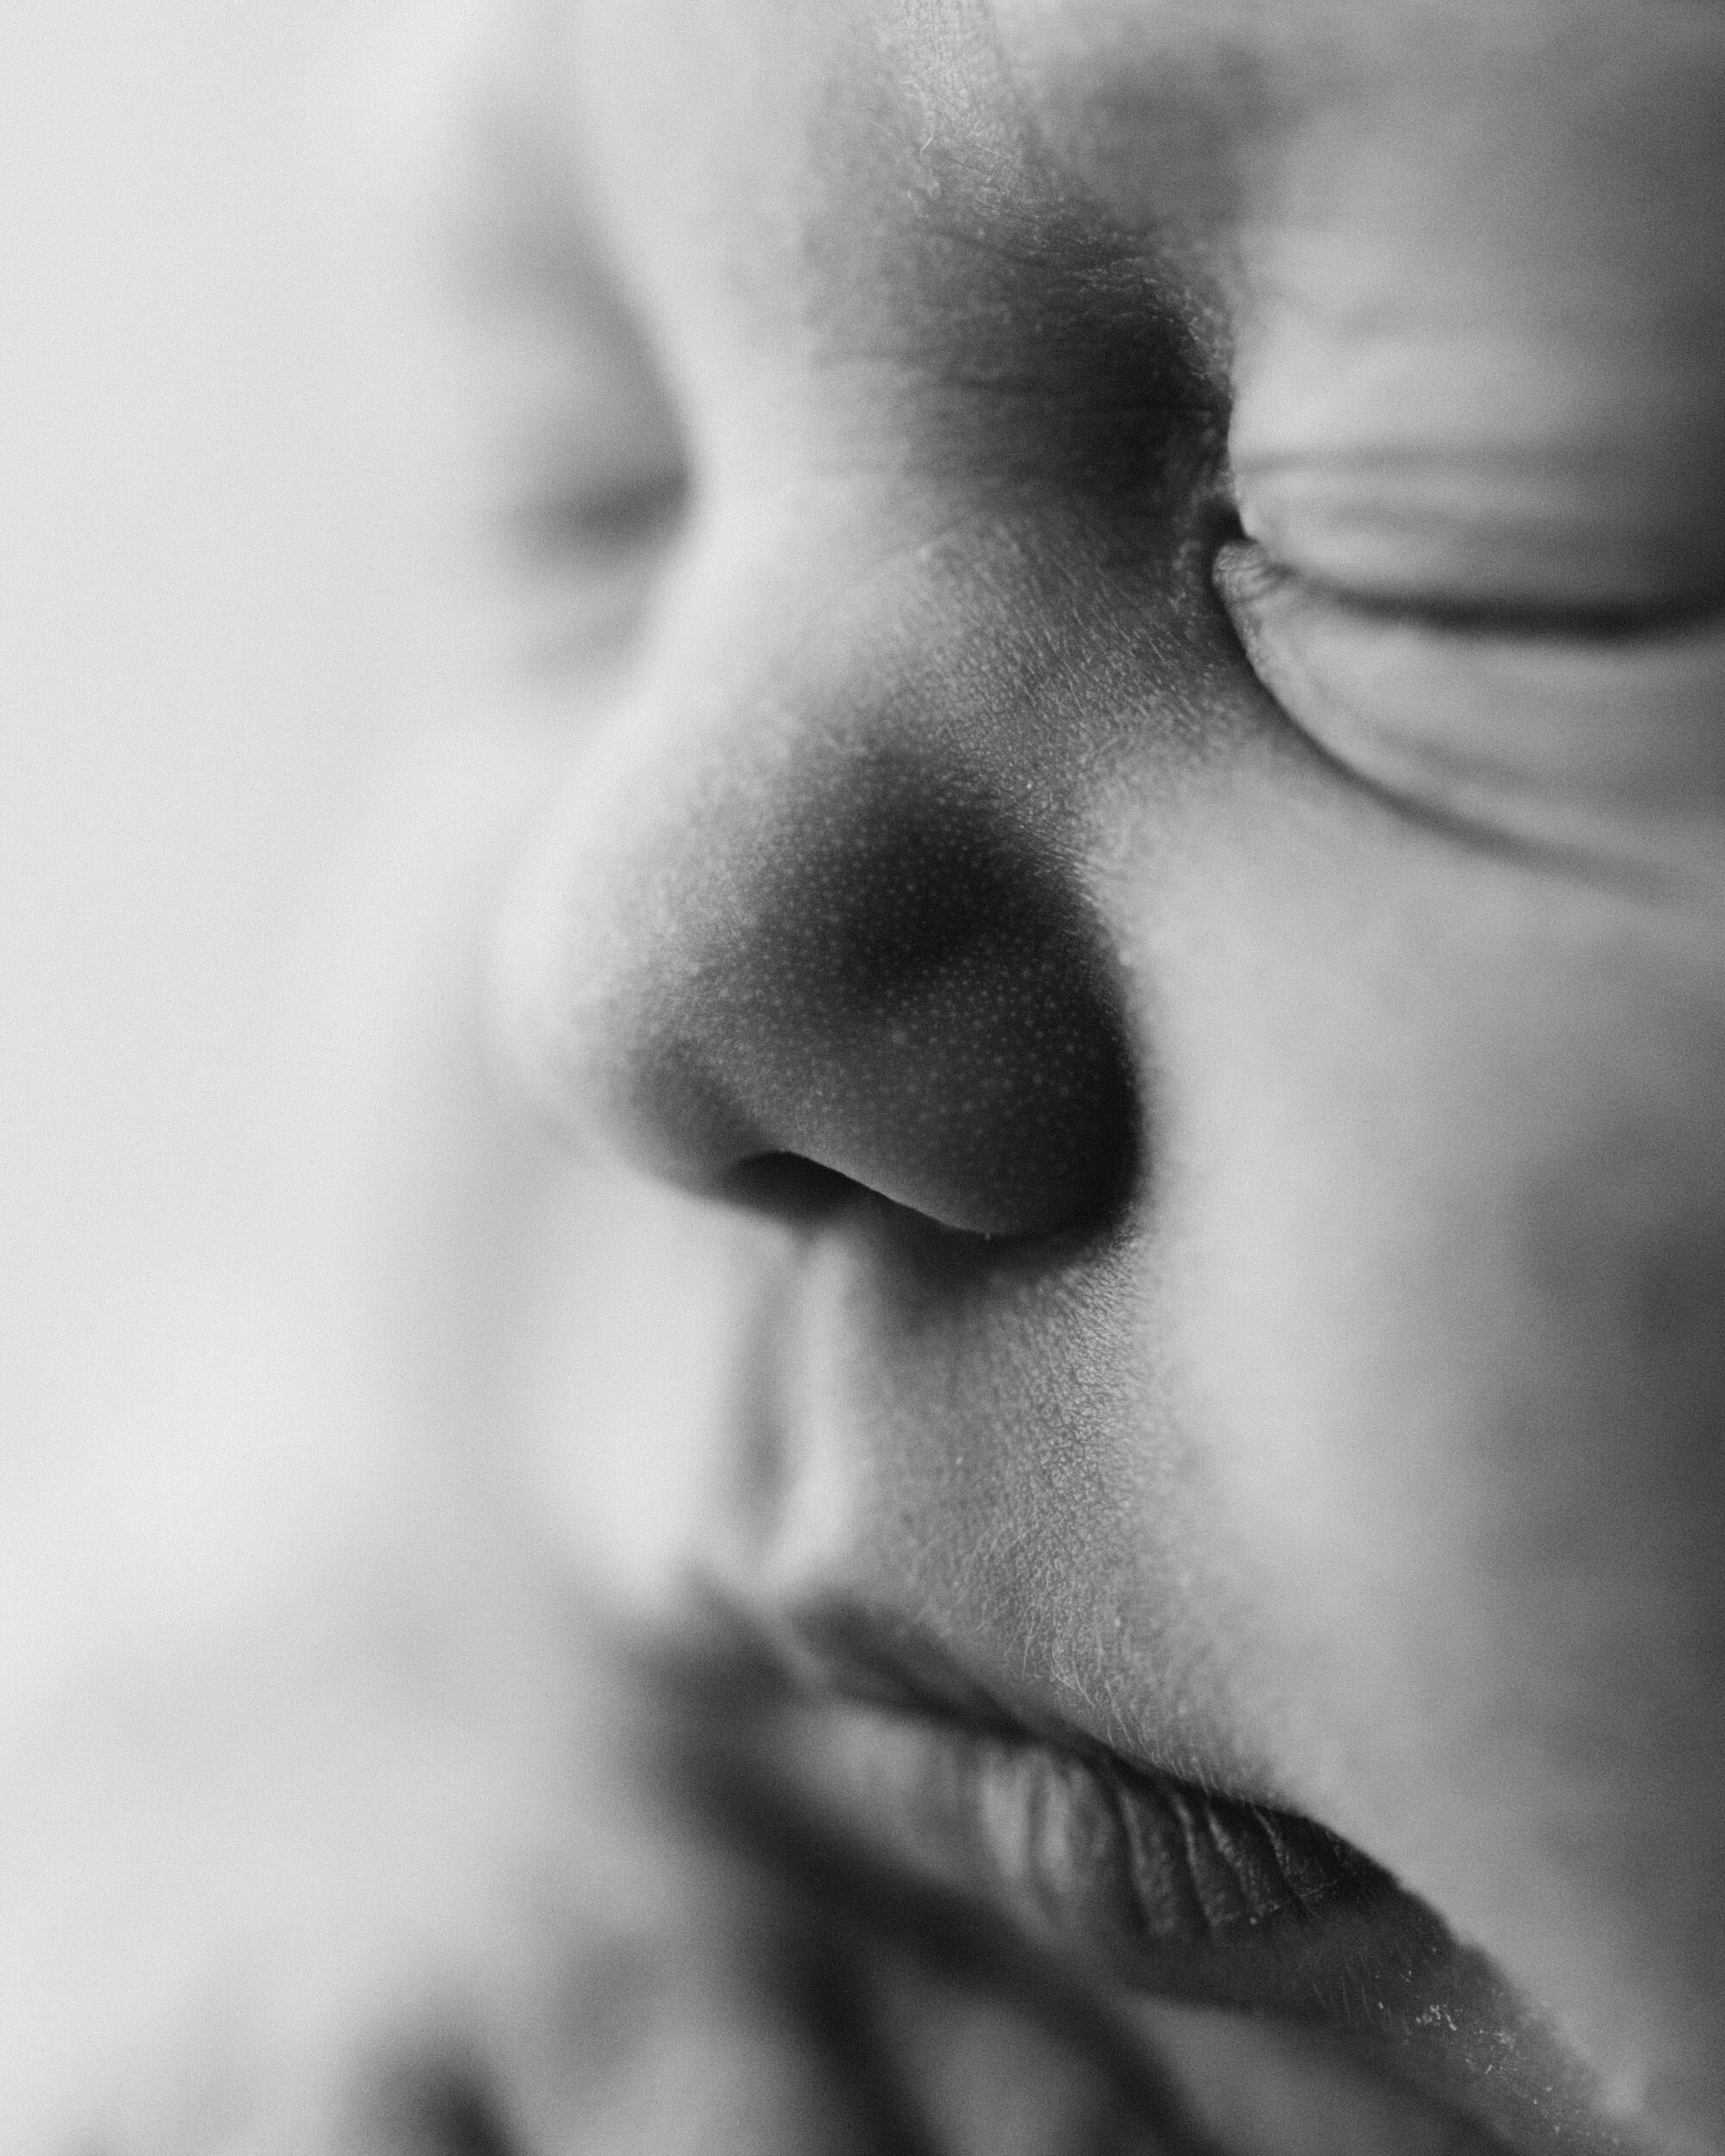
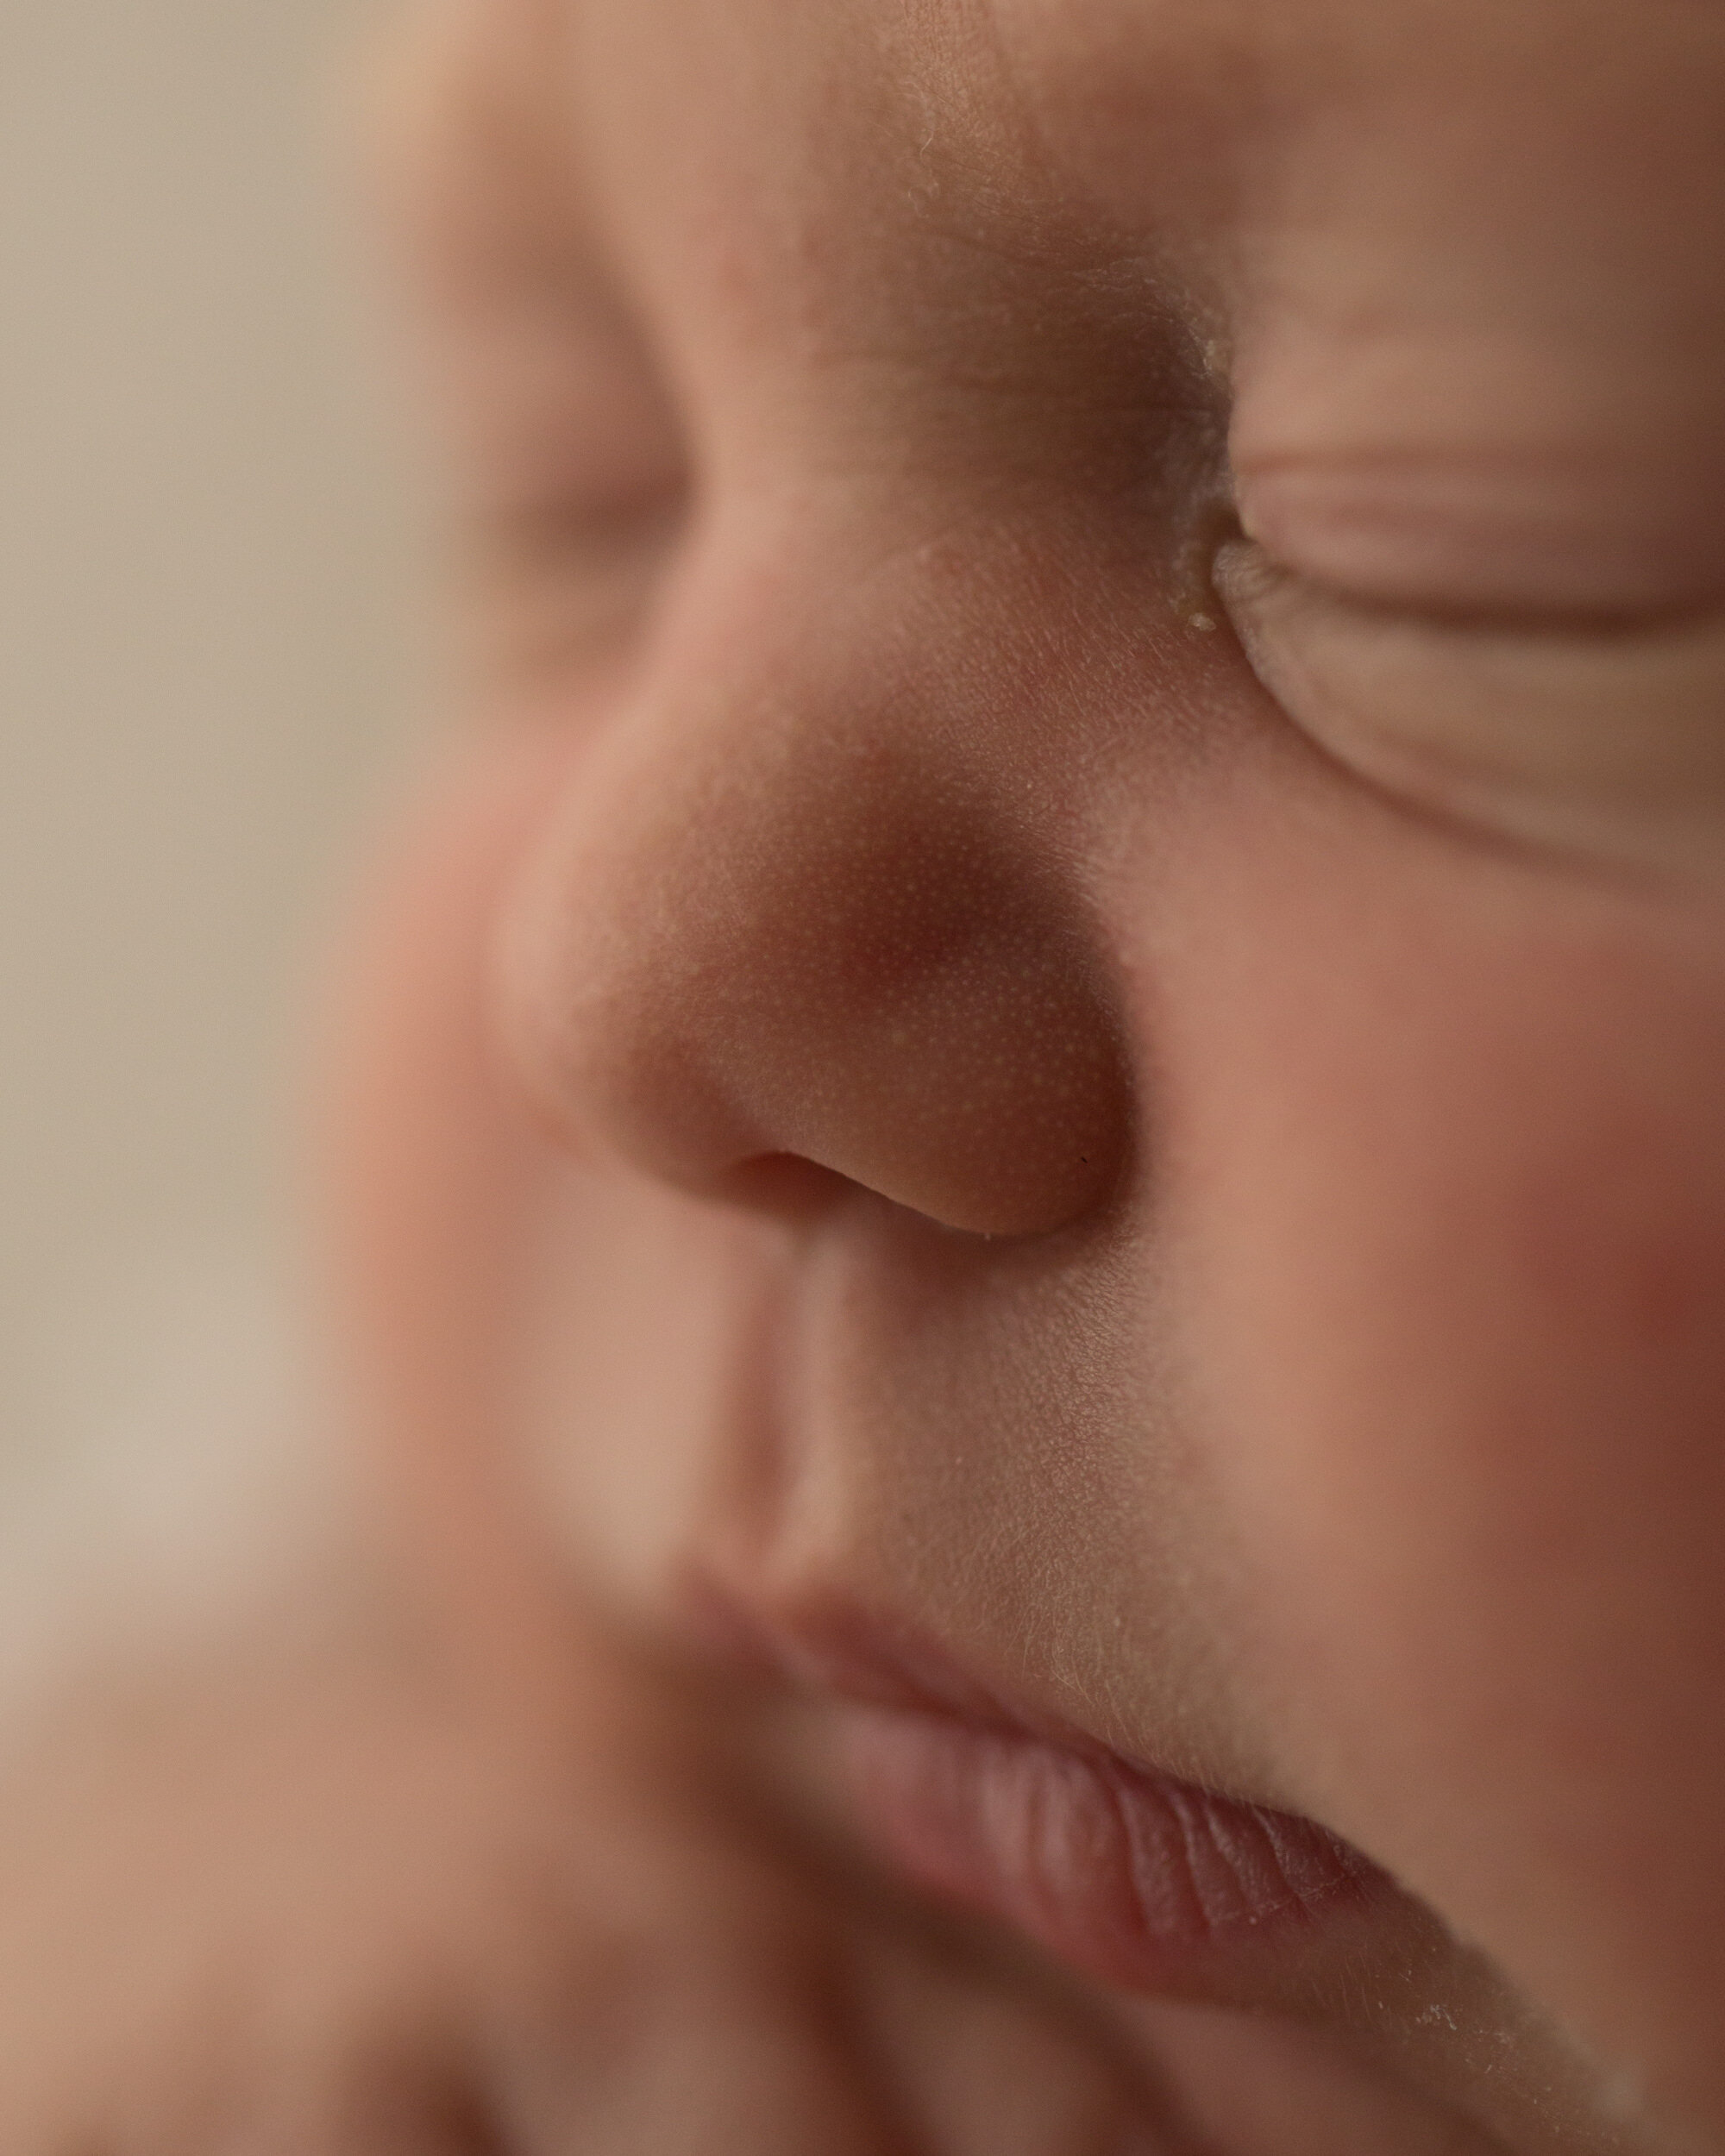
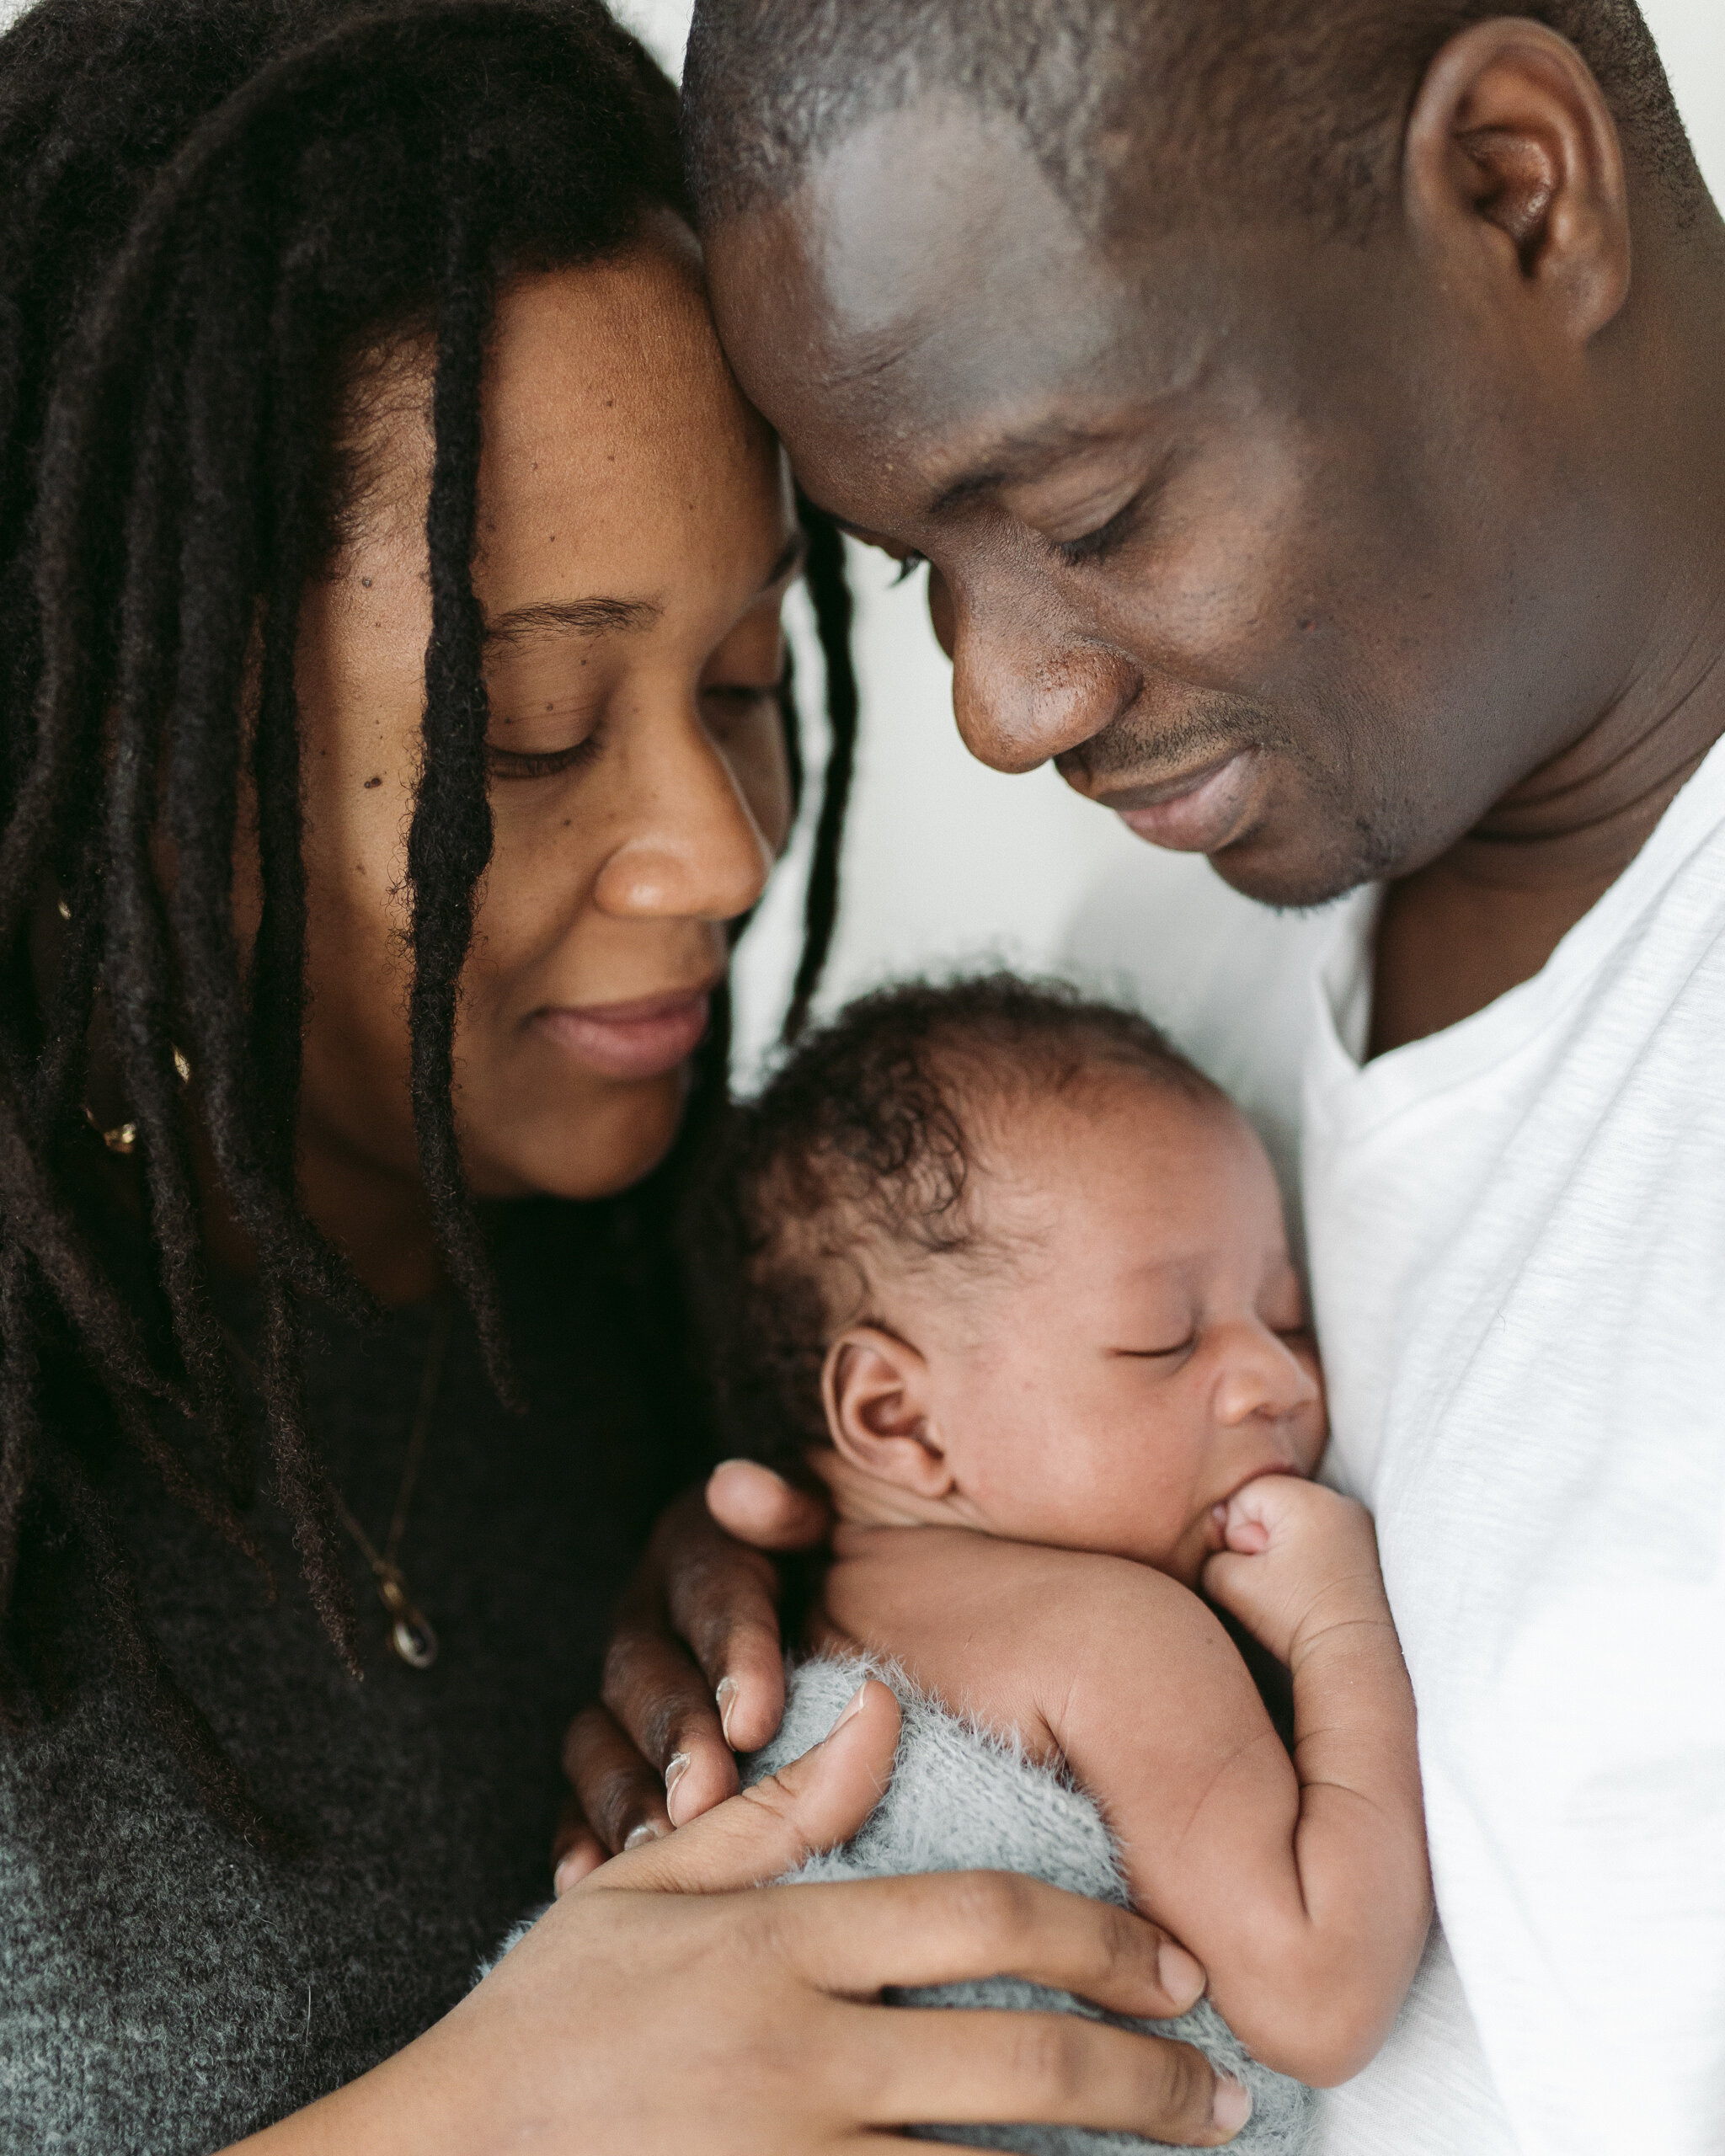
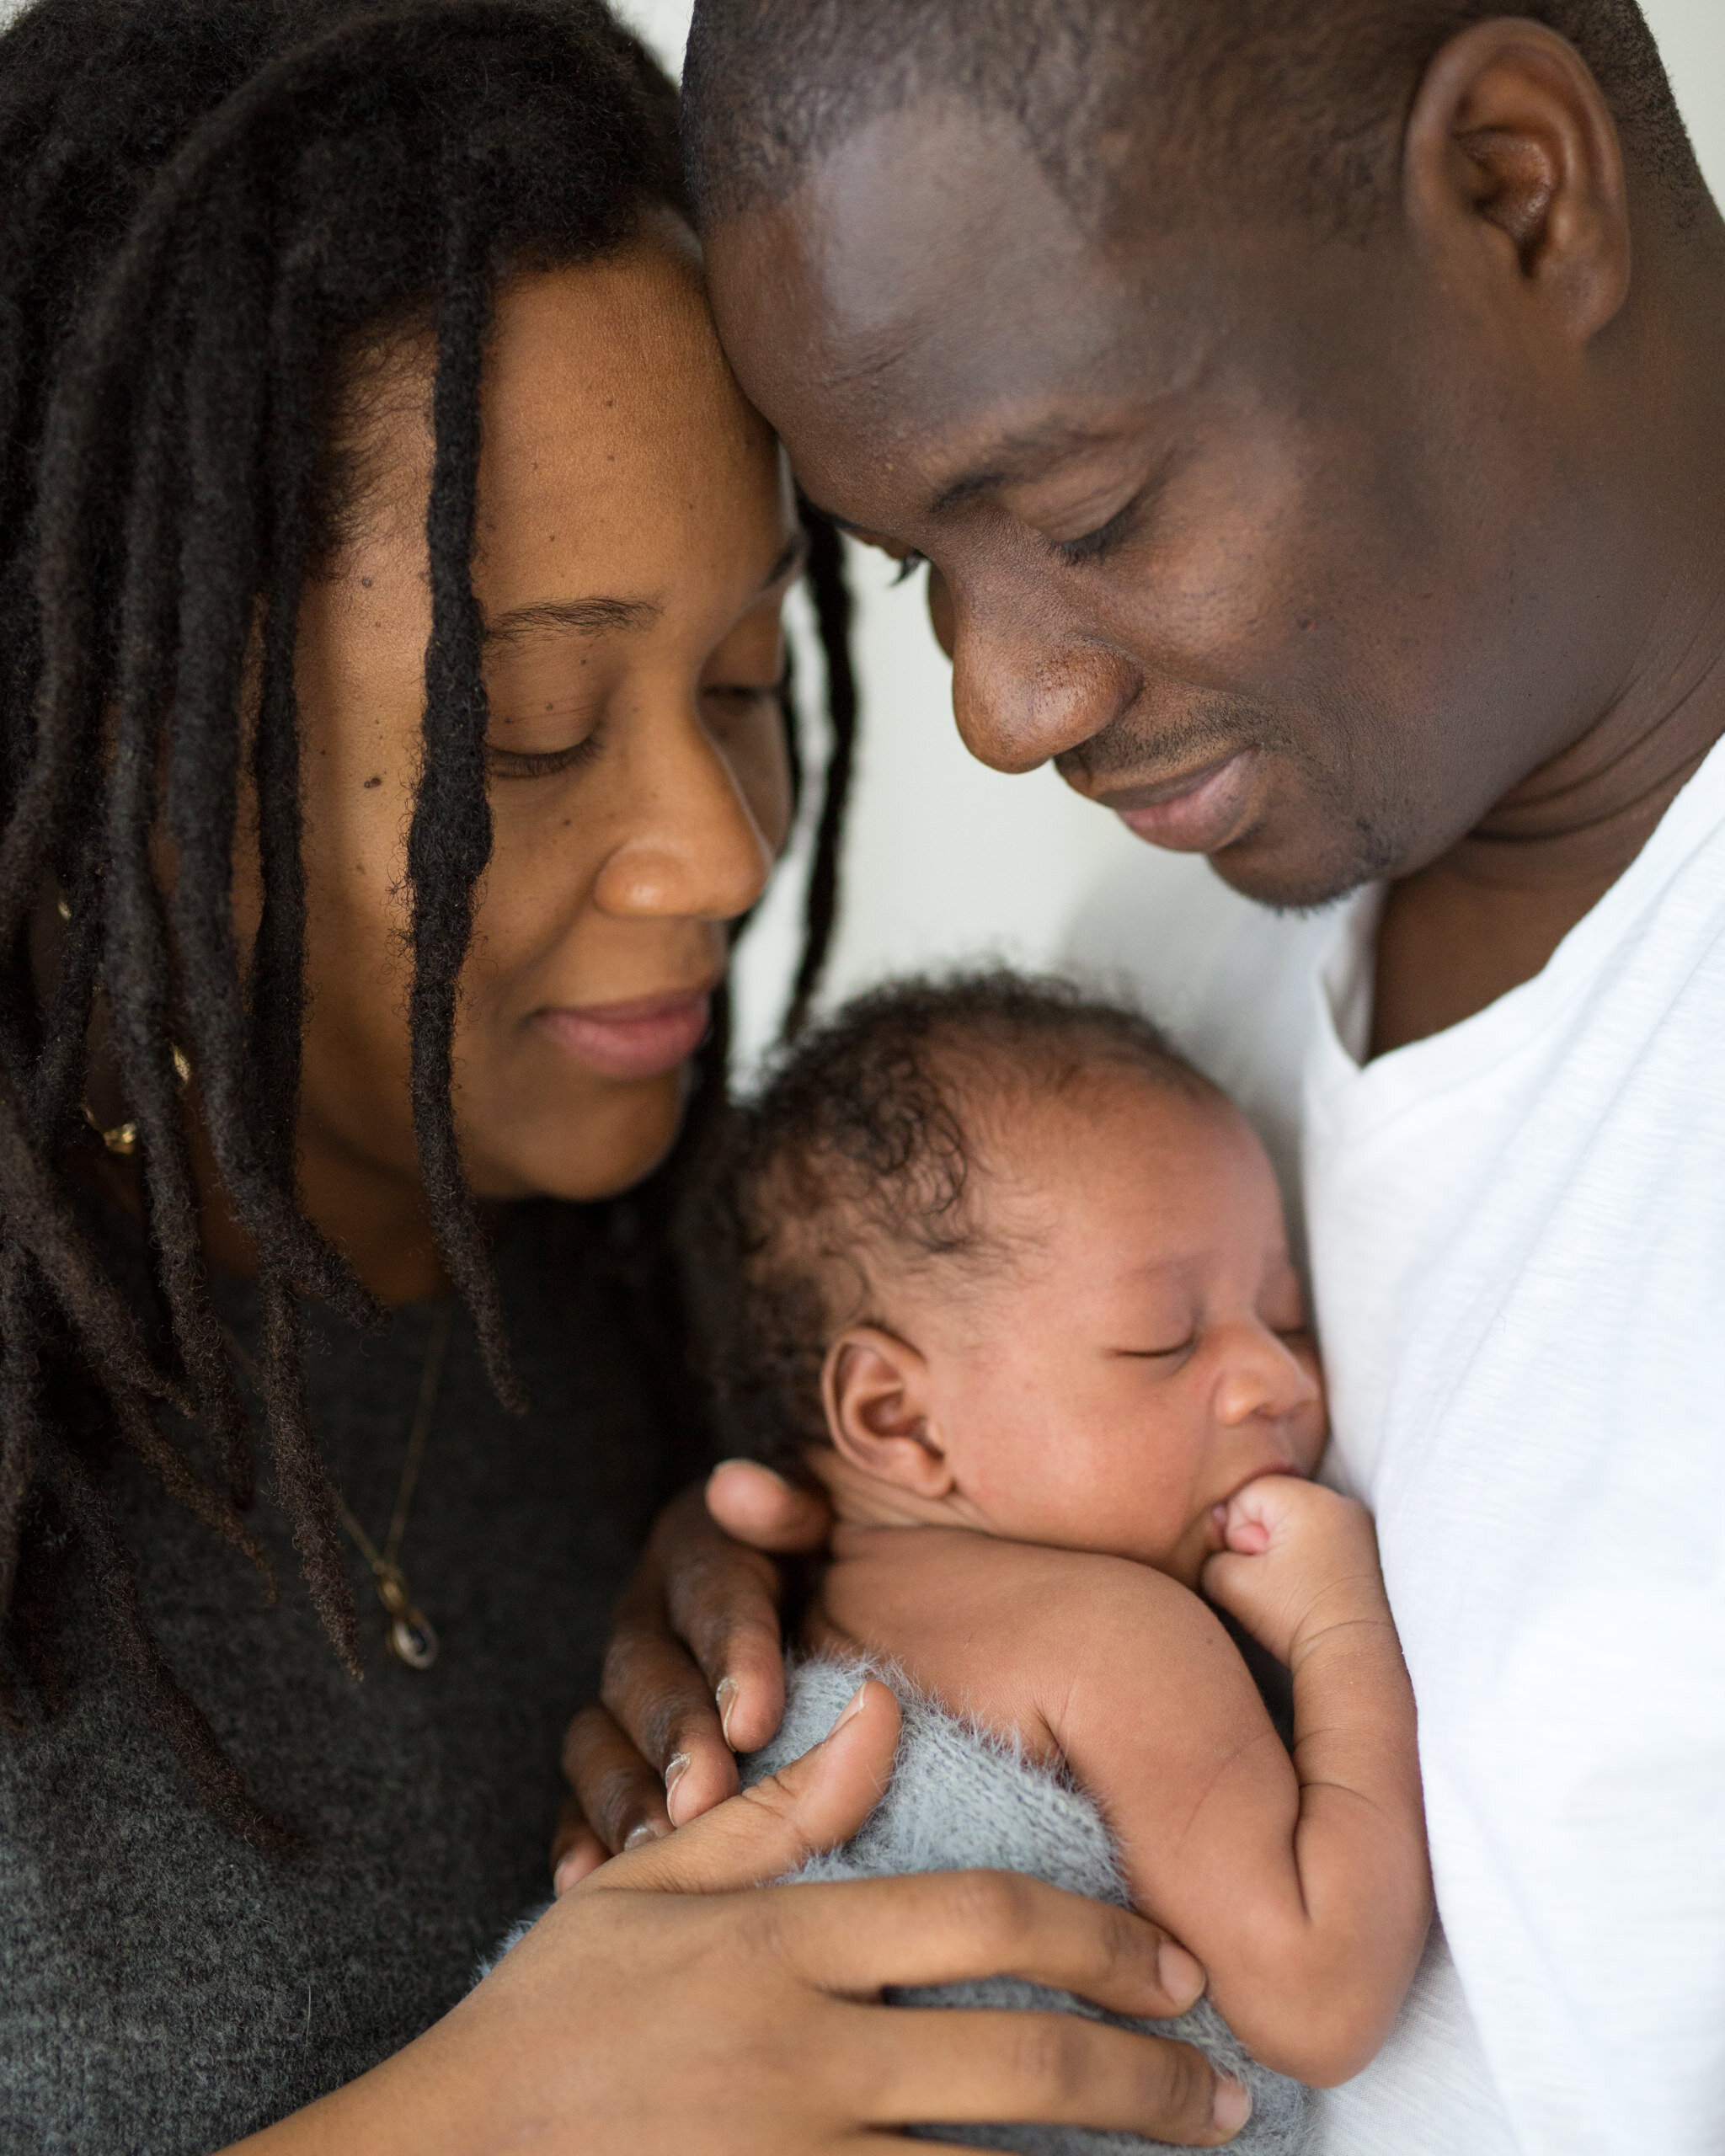
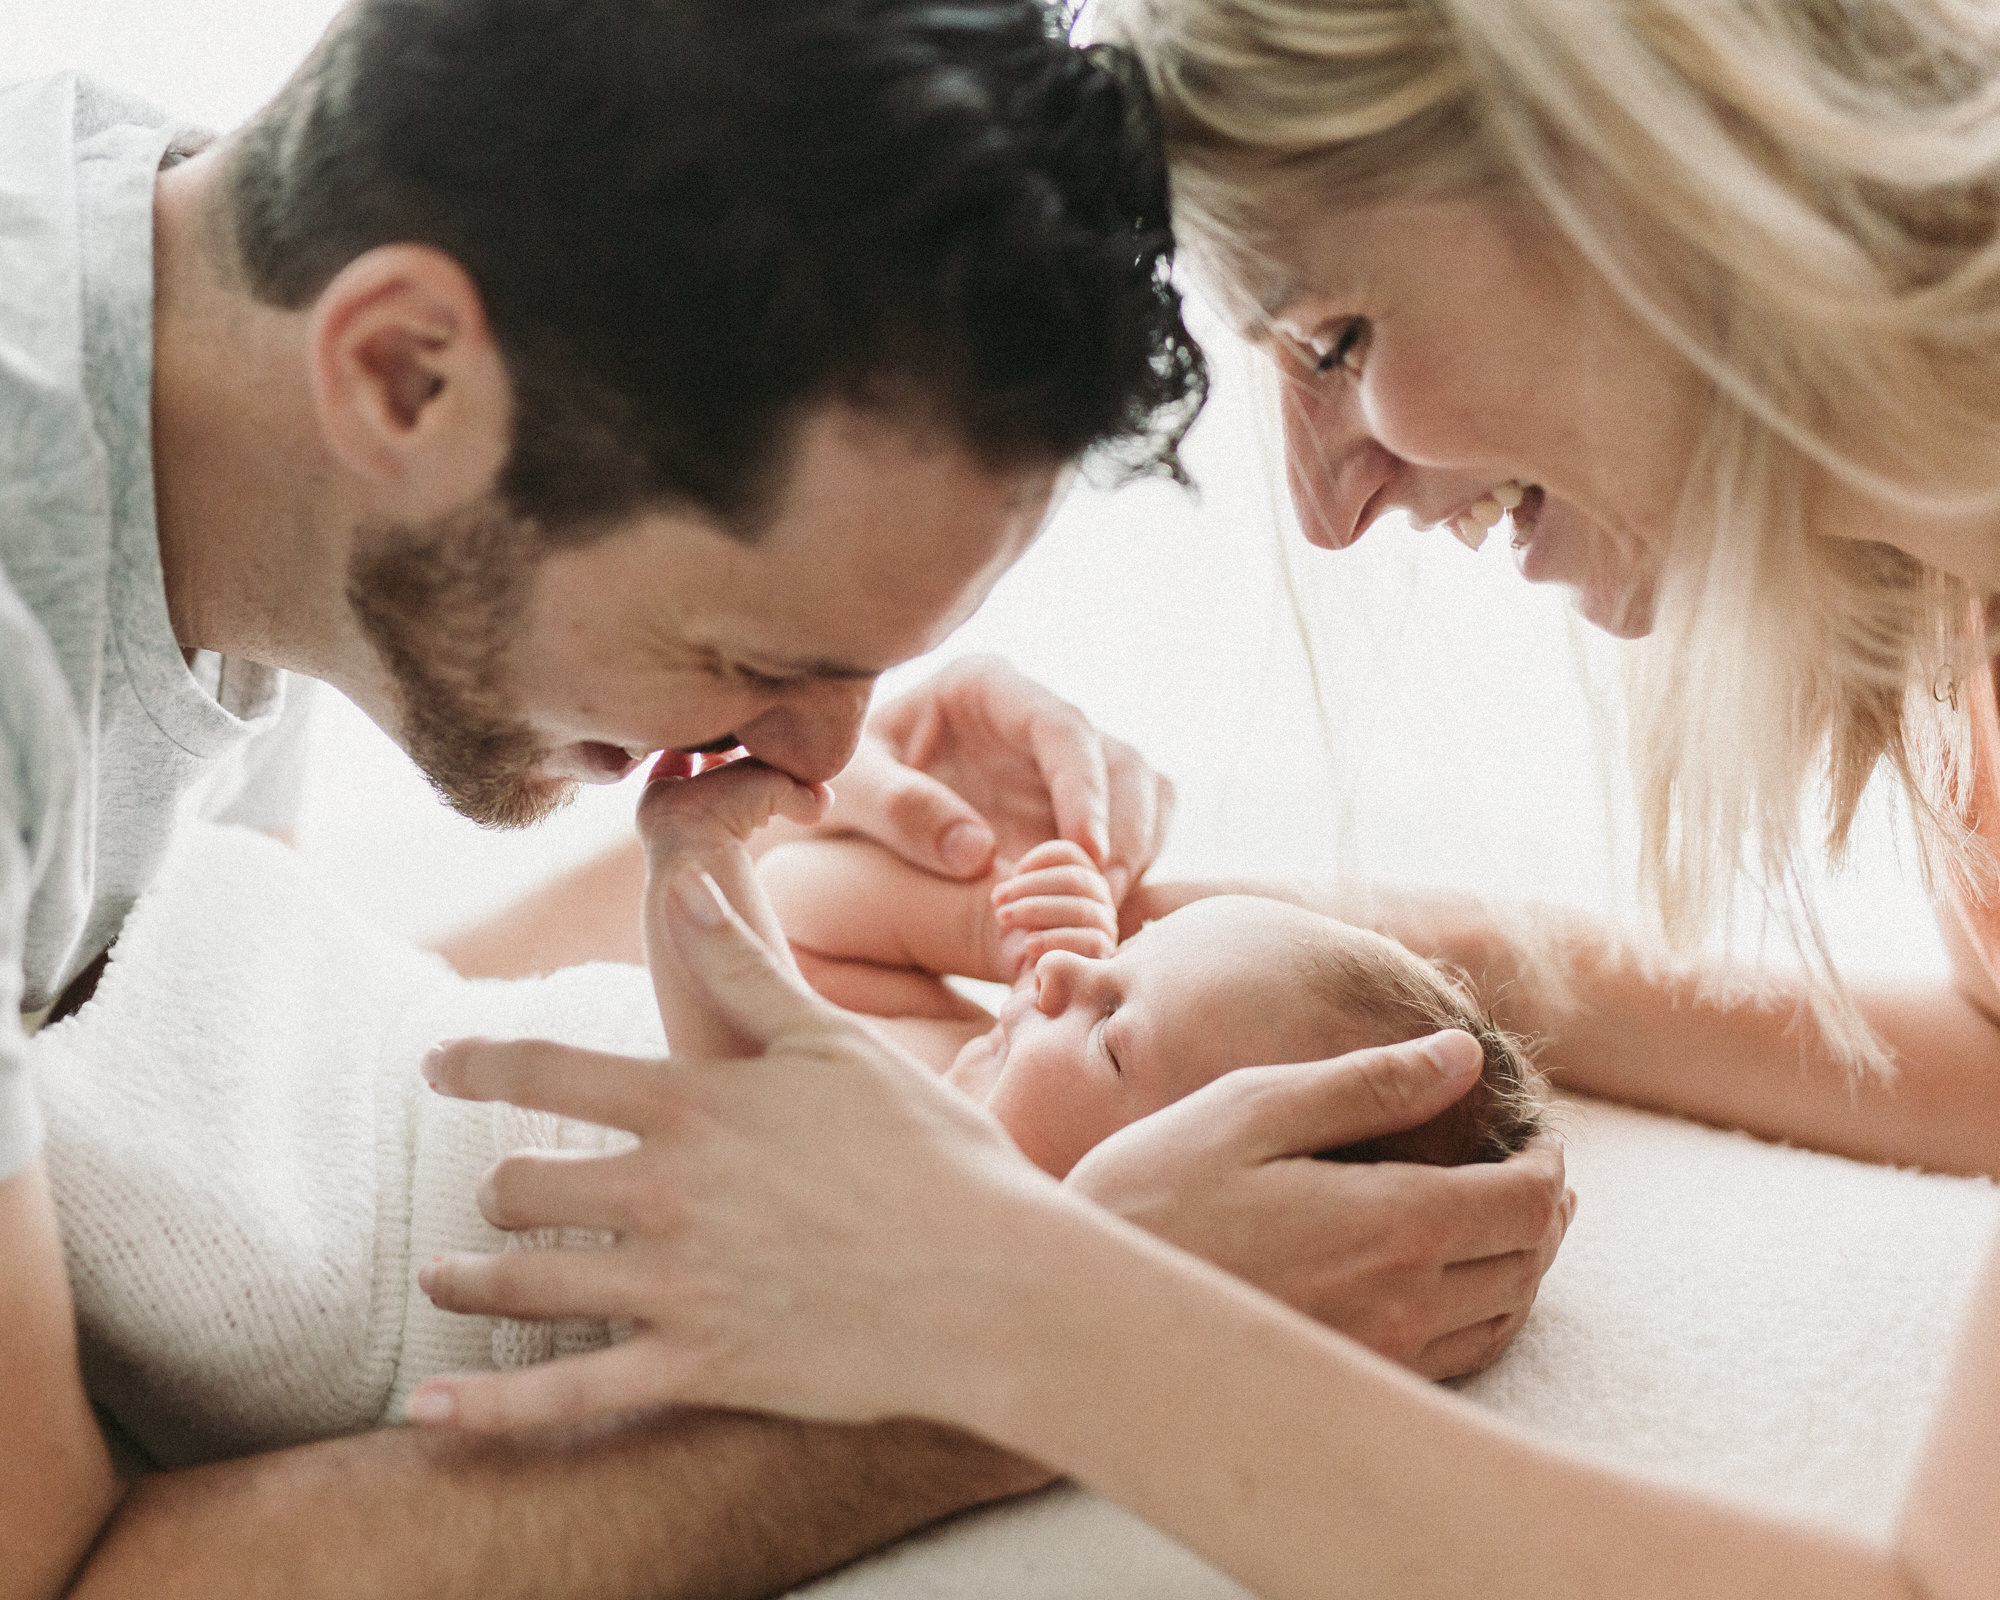
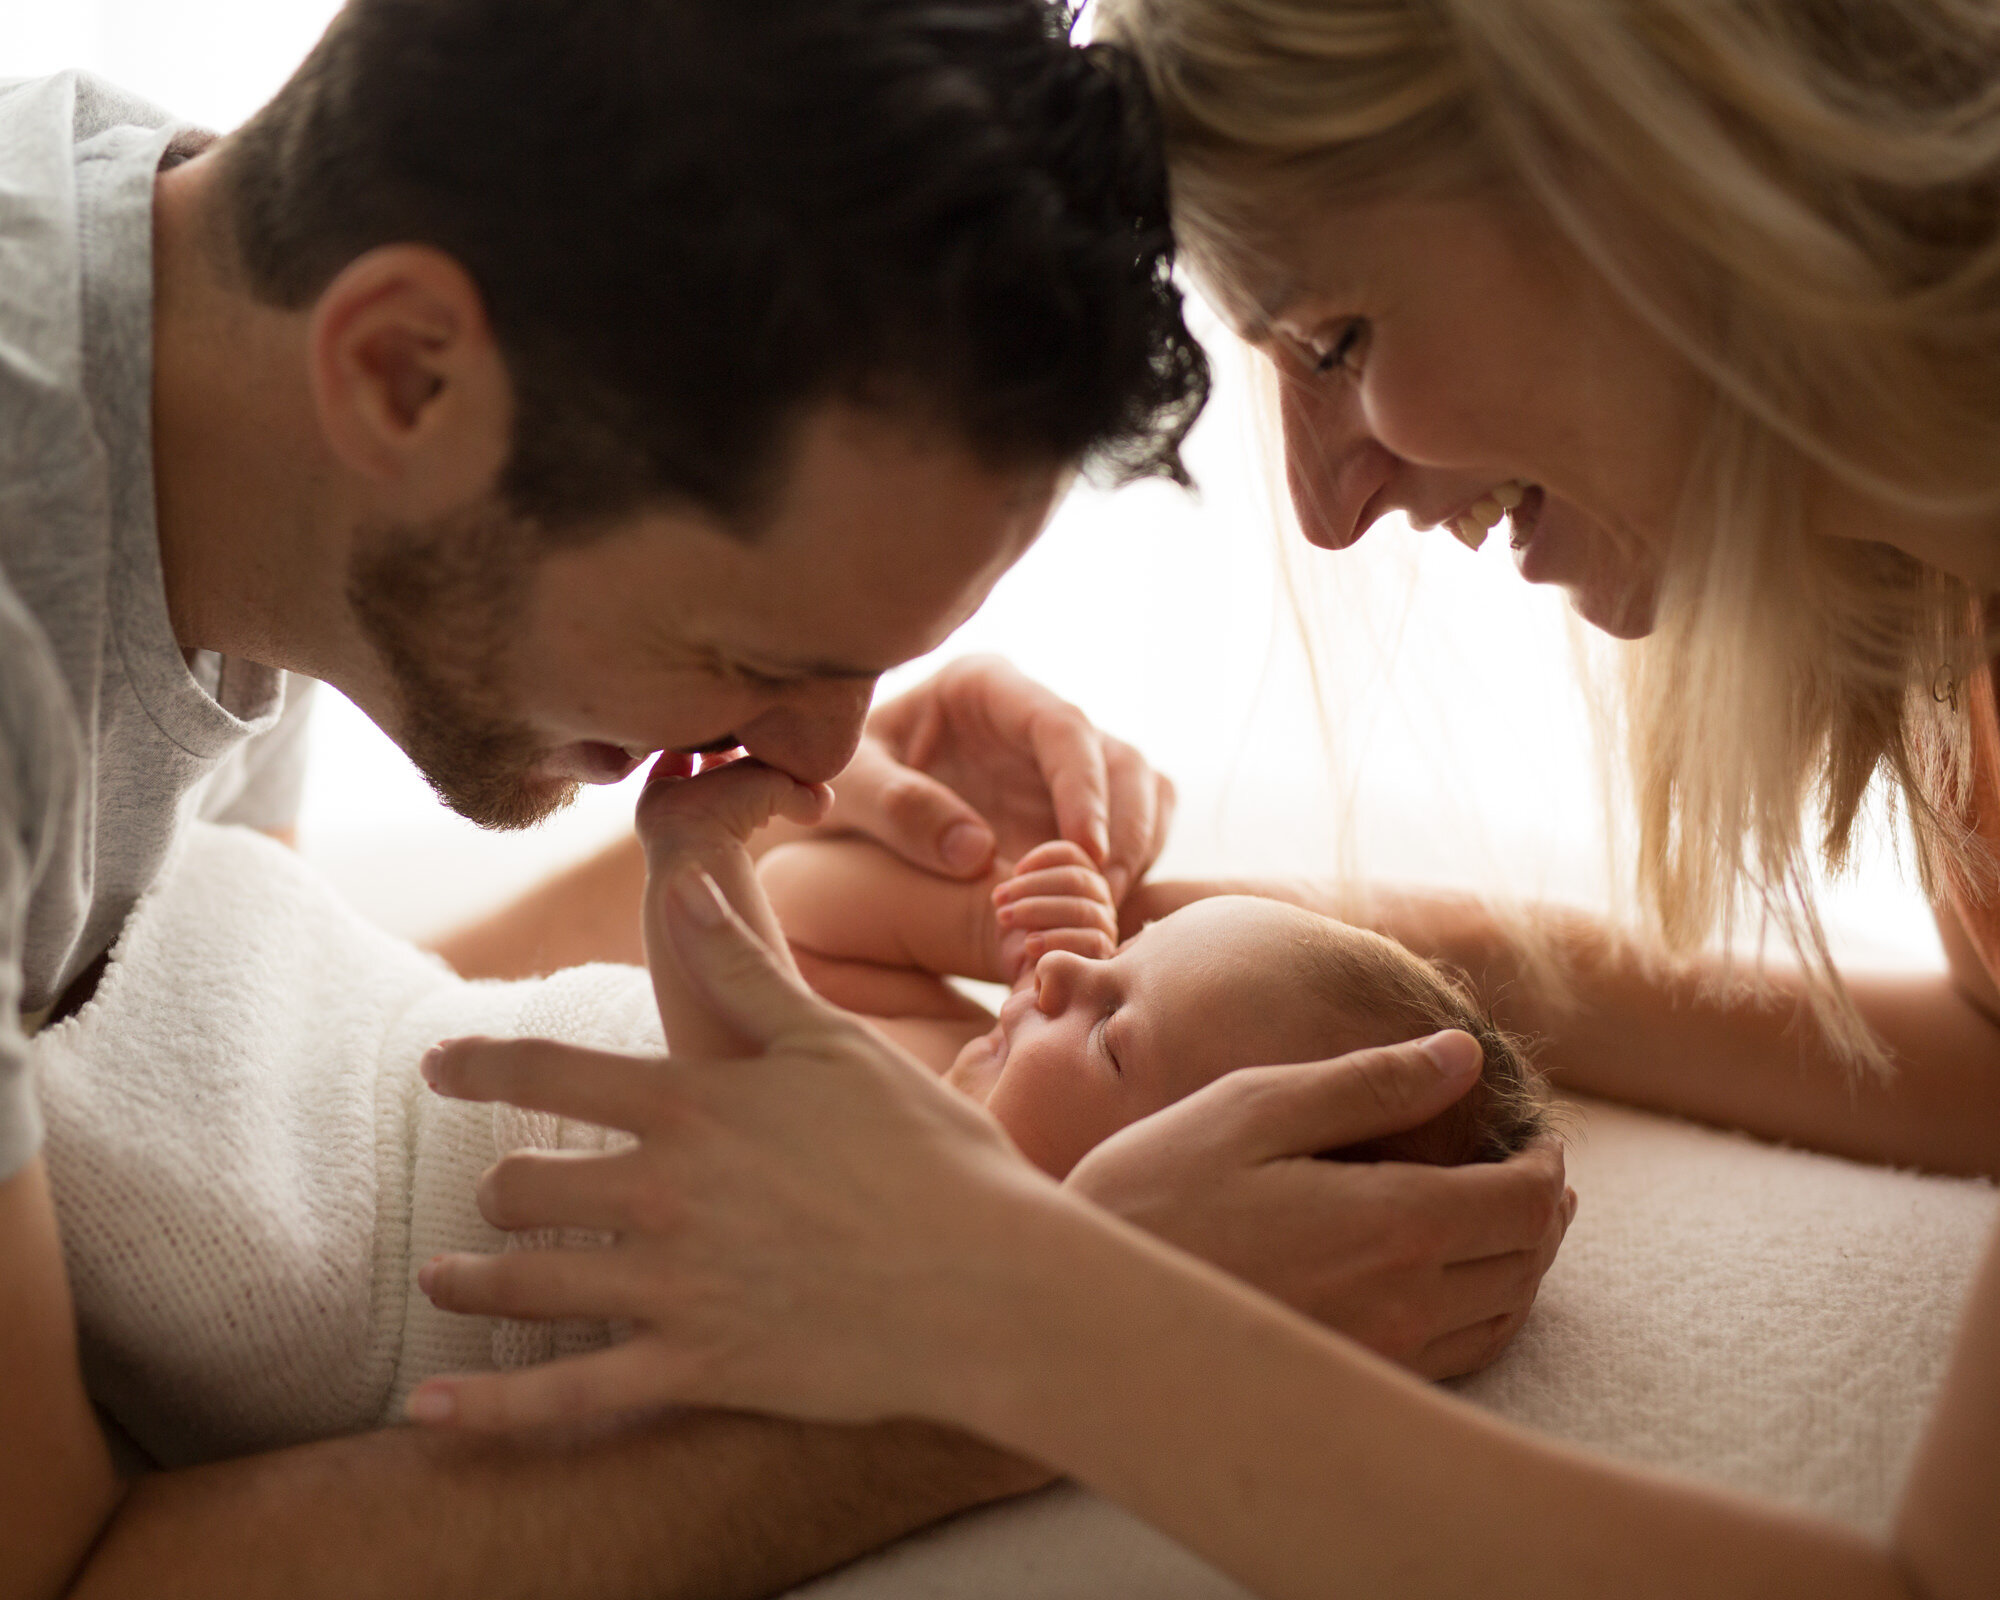
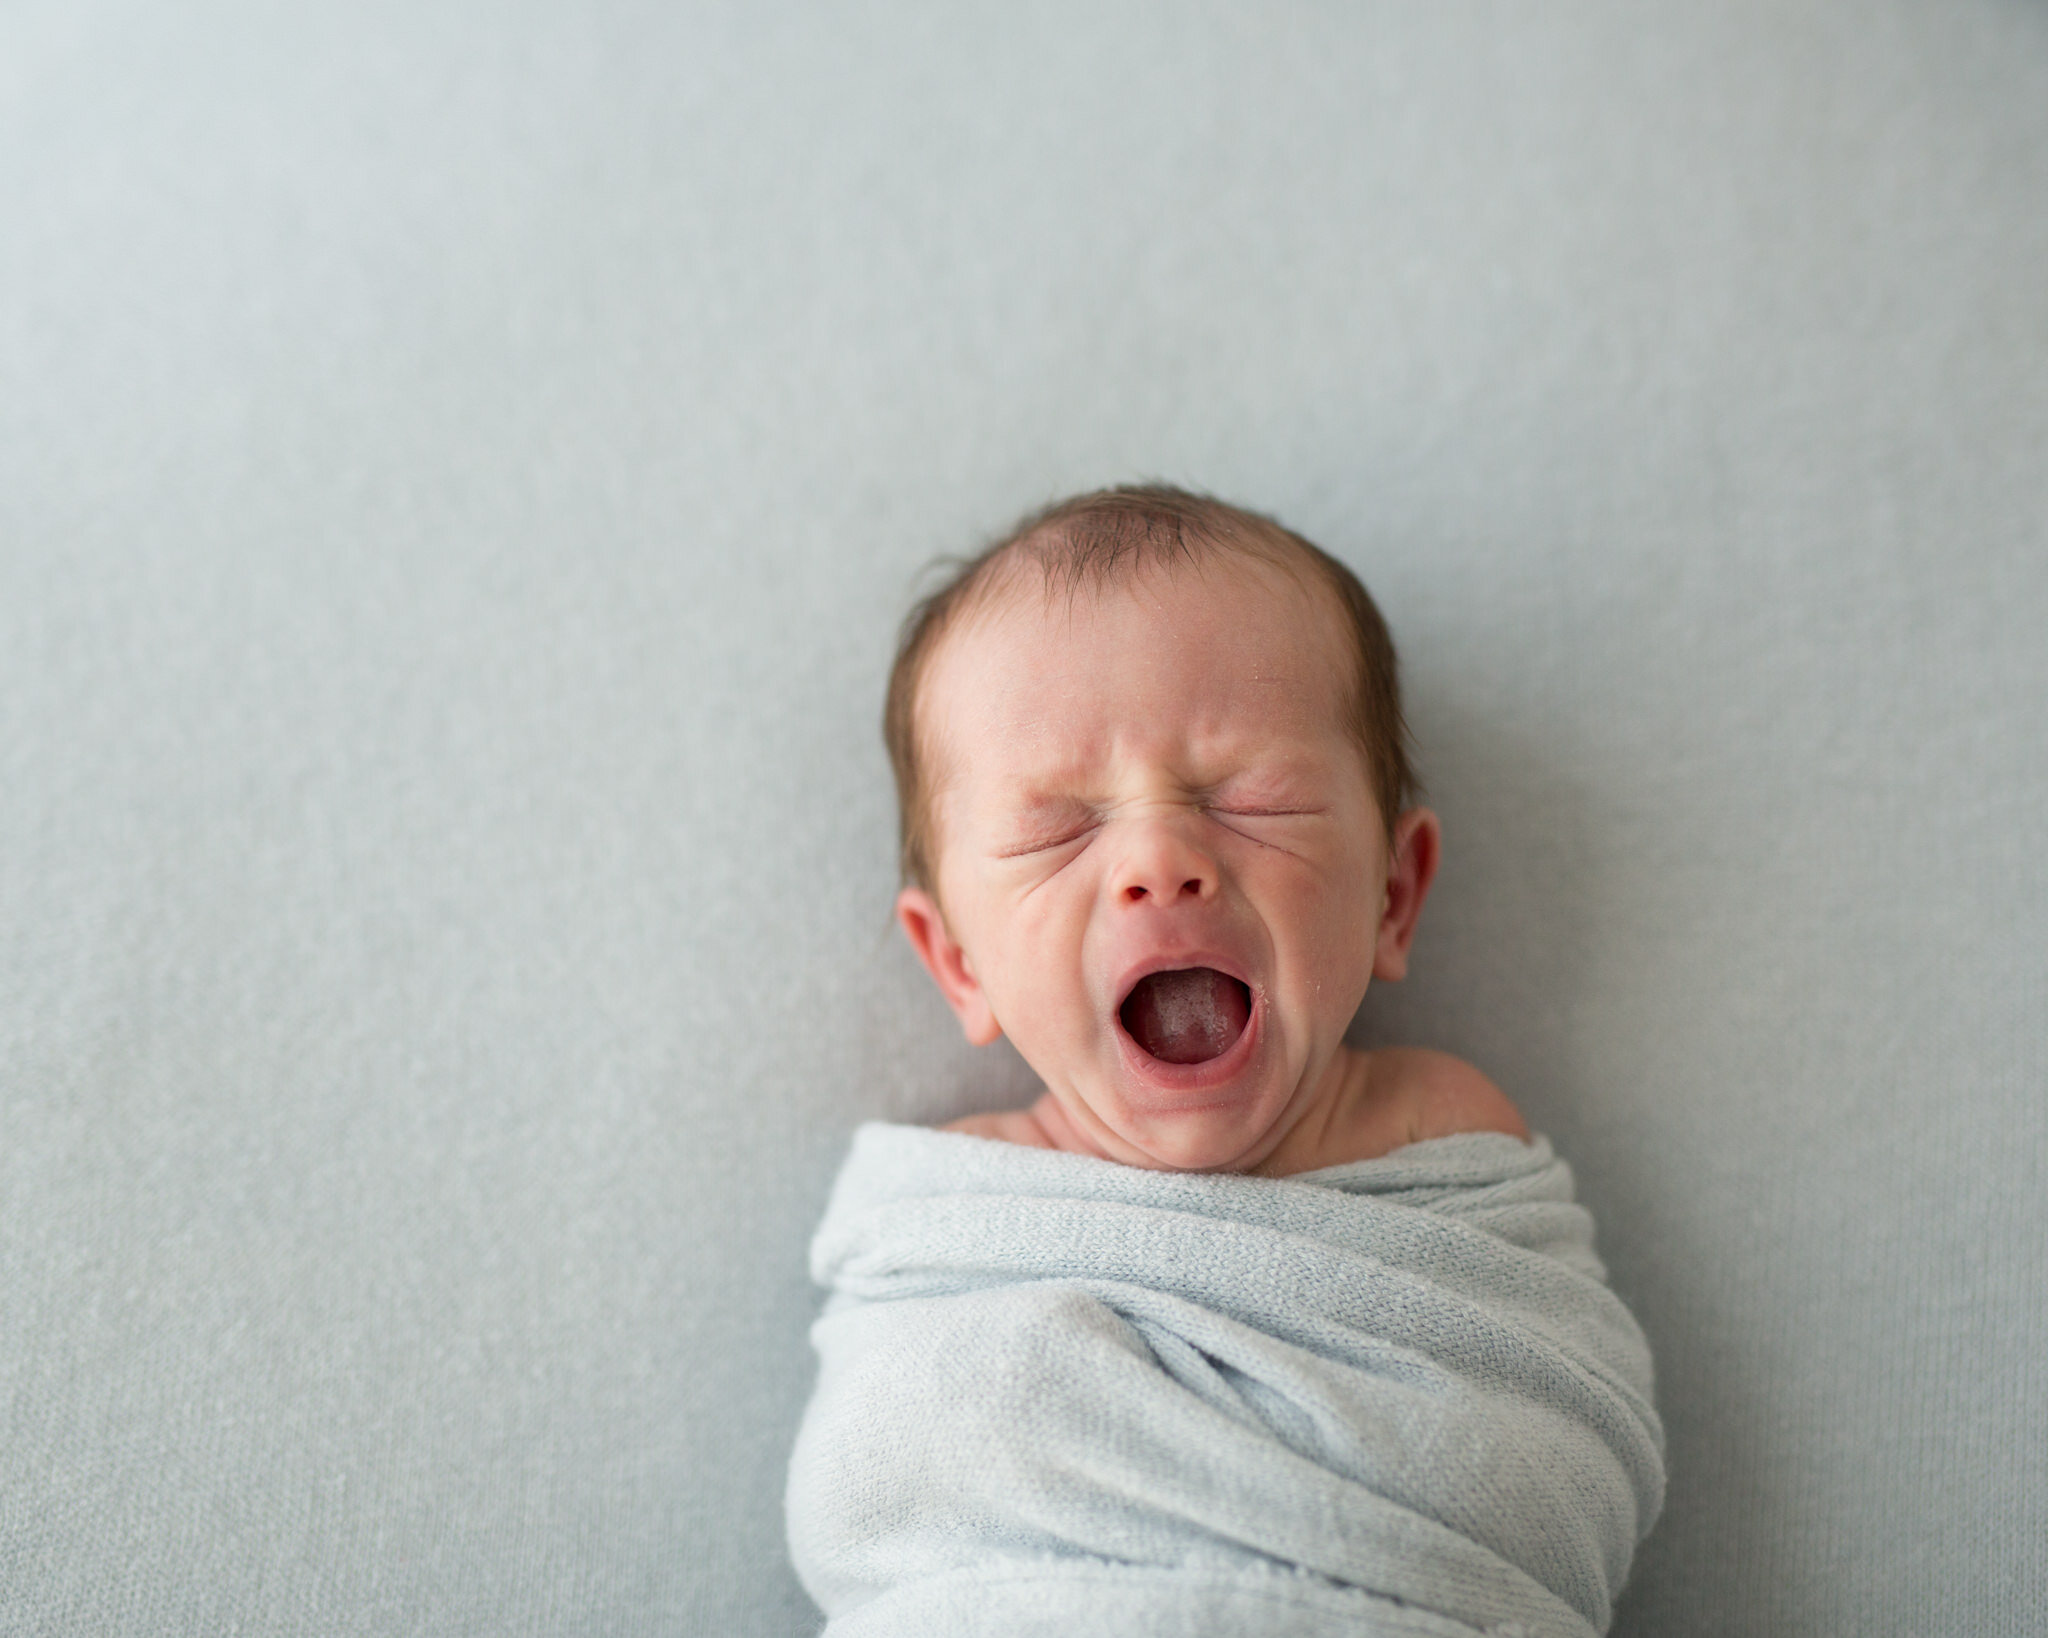
STUDIO PHOTOGRAPHY
My editing philosophy with everything these days is to preserve as much of the light + natural tones as possible. Simple is timeless, but achieving a beautiful simple edit is actually harder than it sounds. Balancing out skin tones is really important, especially with babies as they come in all different colours from black to brown to orange to red and yellow. All my edits and retouching is minimal, especially to skin! I will remove any ulcers, giant pimples, scratches or big flakes of skin that are distracting, but otherwise I like to make sure I’m making as little change as possible, and leaving as much detail in the skin as I can - milk pimples and little scratches and soft bits of flaky skin are all part of having a baby. Birth marks, moles, freckles and other permanent things are never altered or retouched - these are part of who you are and capturing who you are is my job.


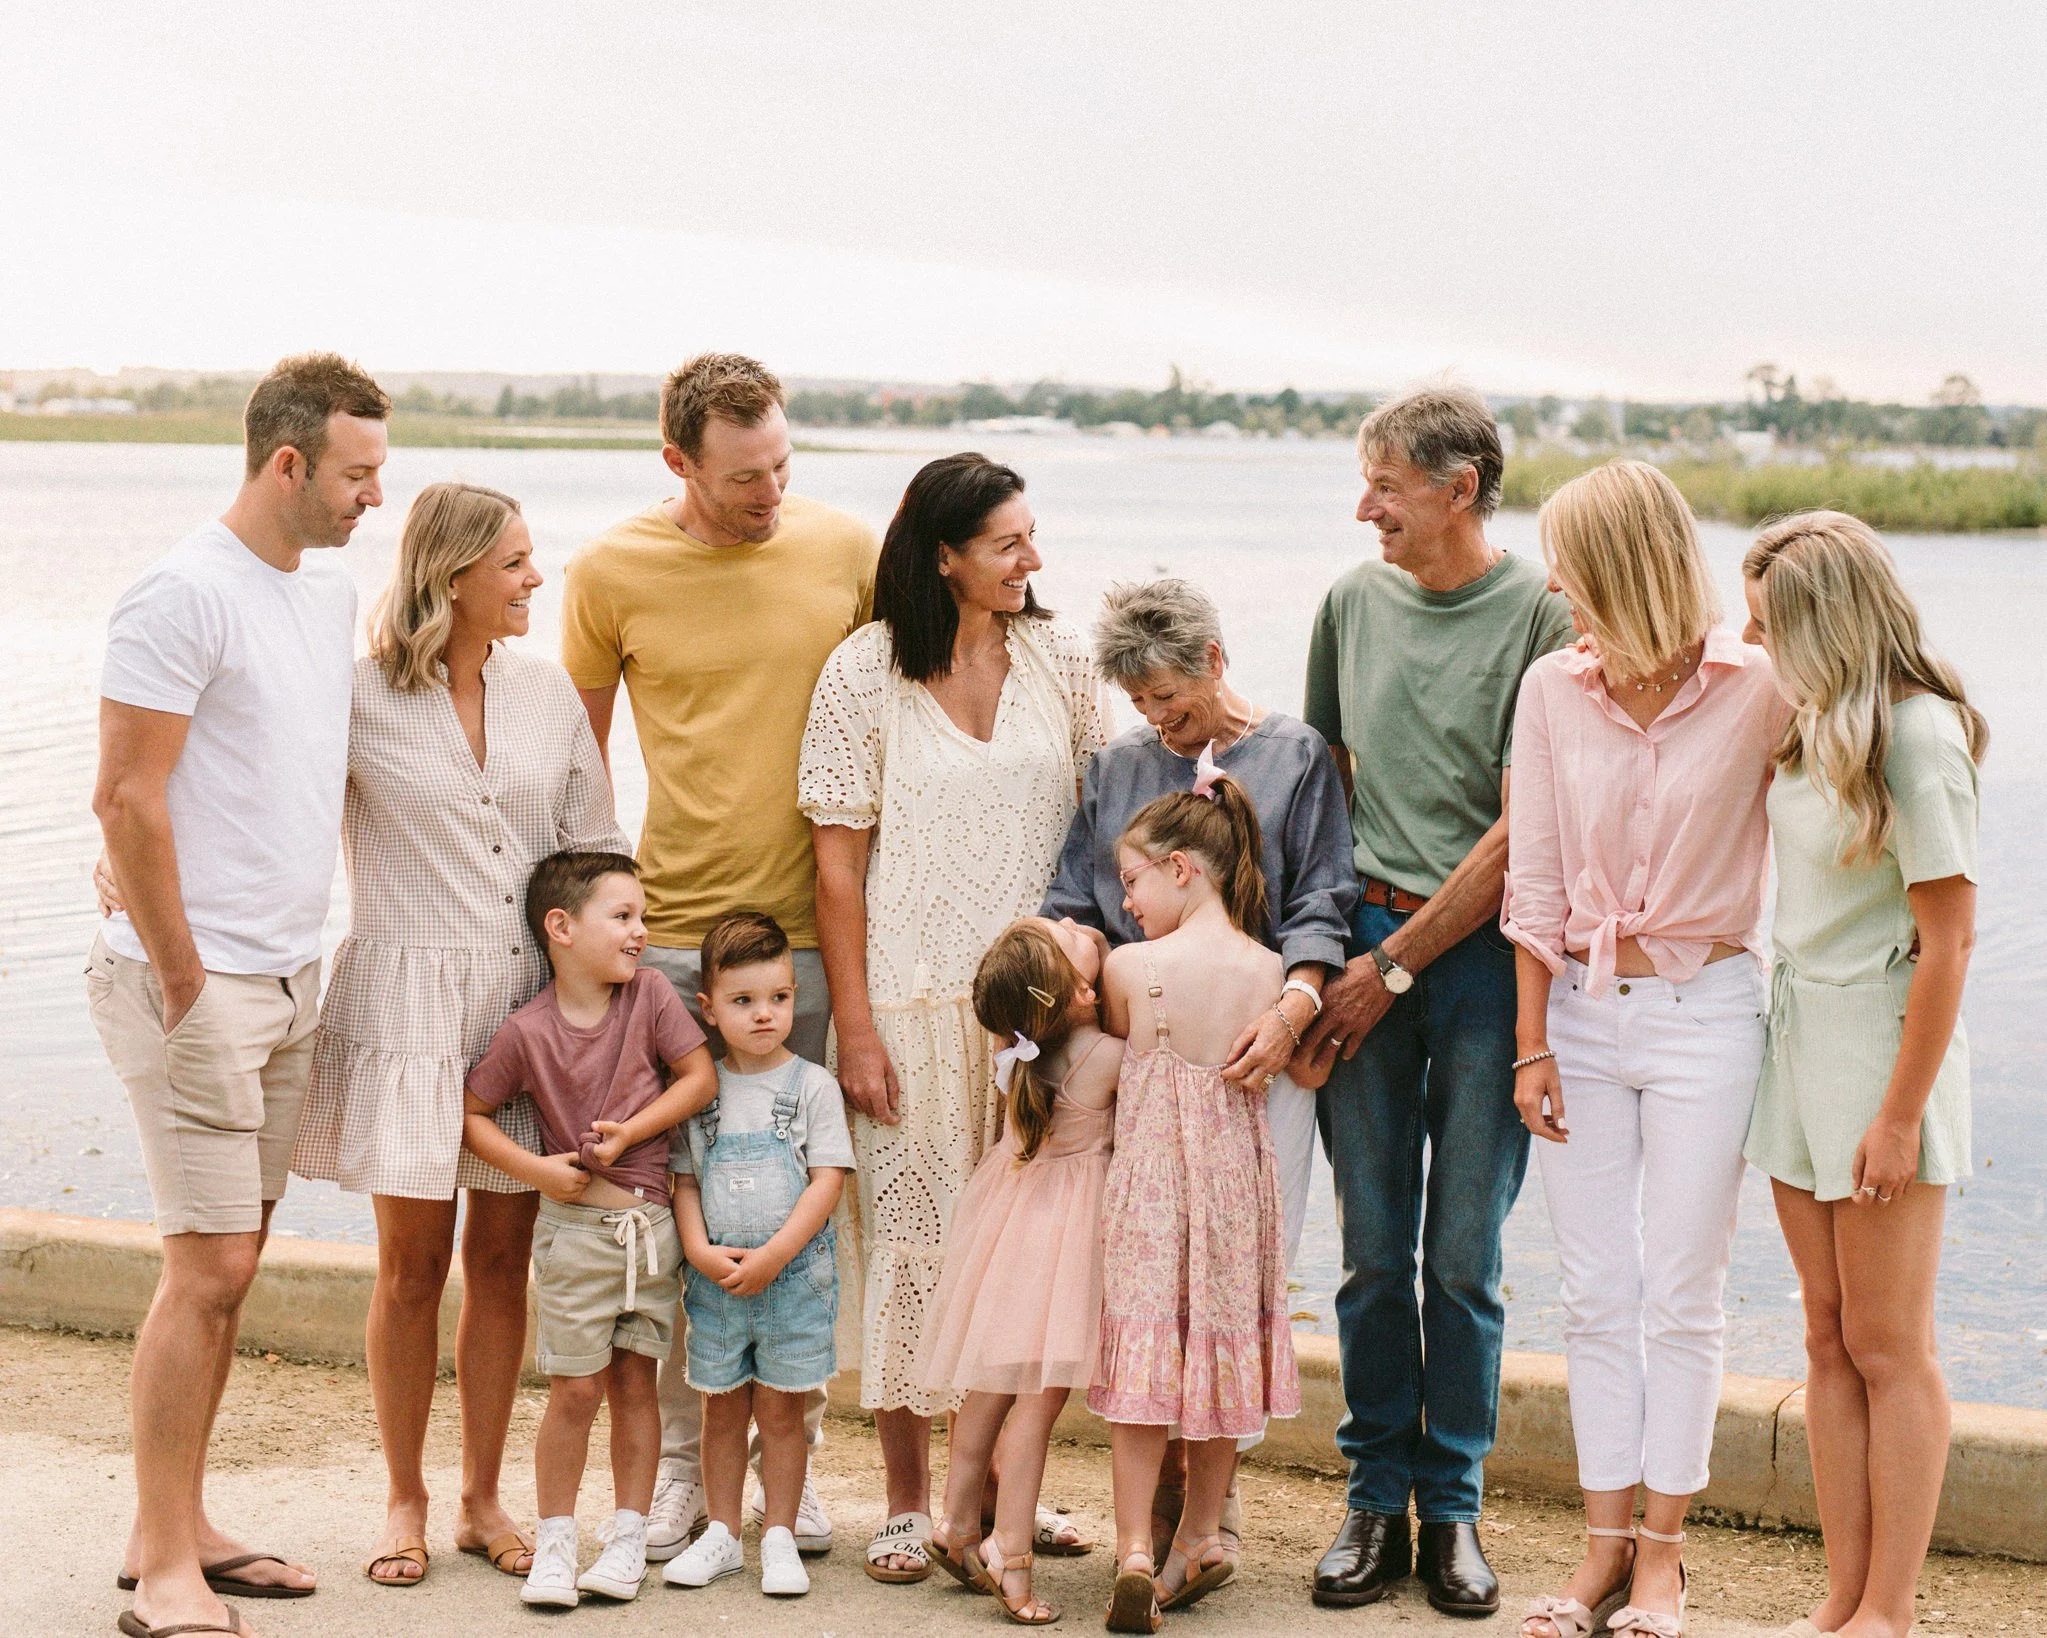
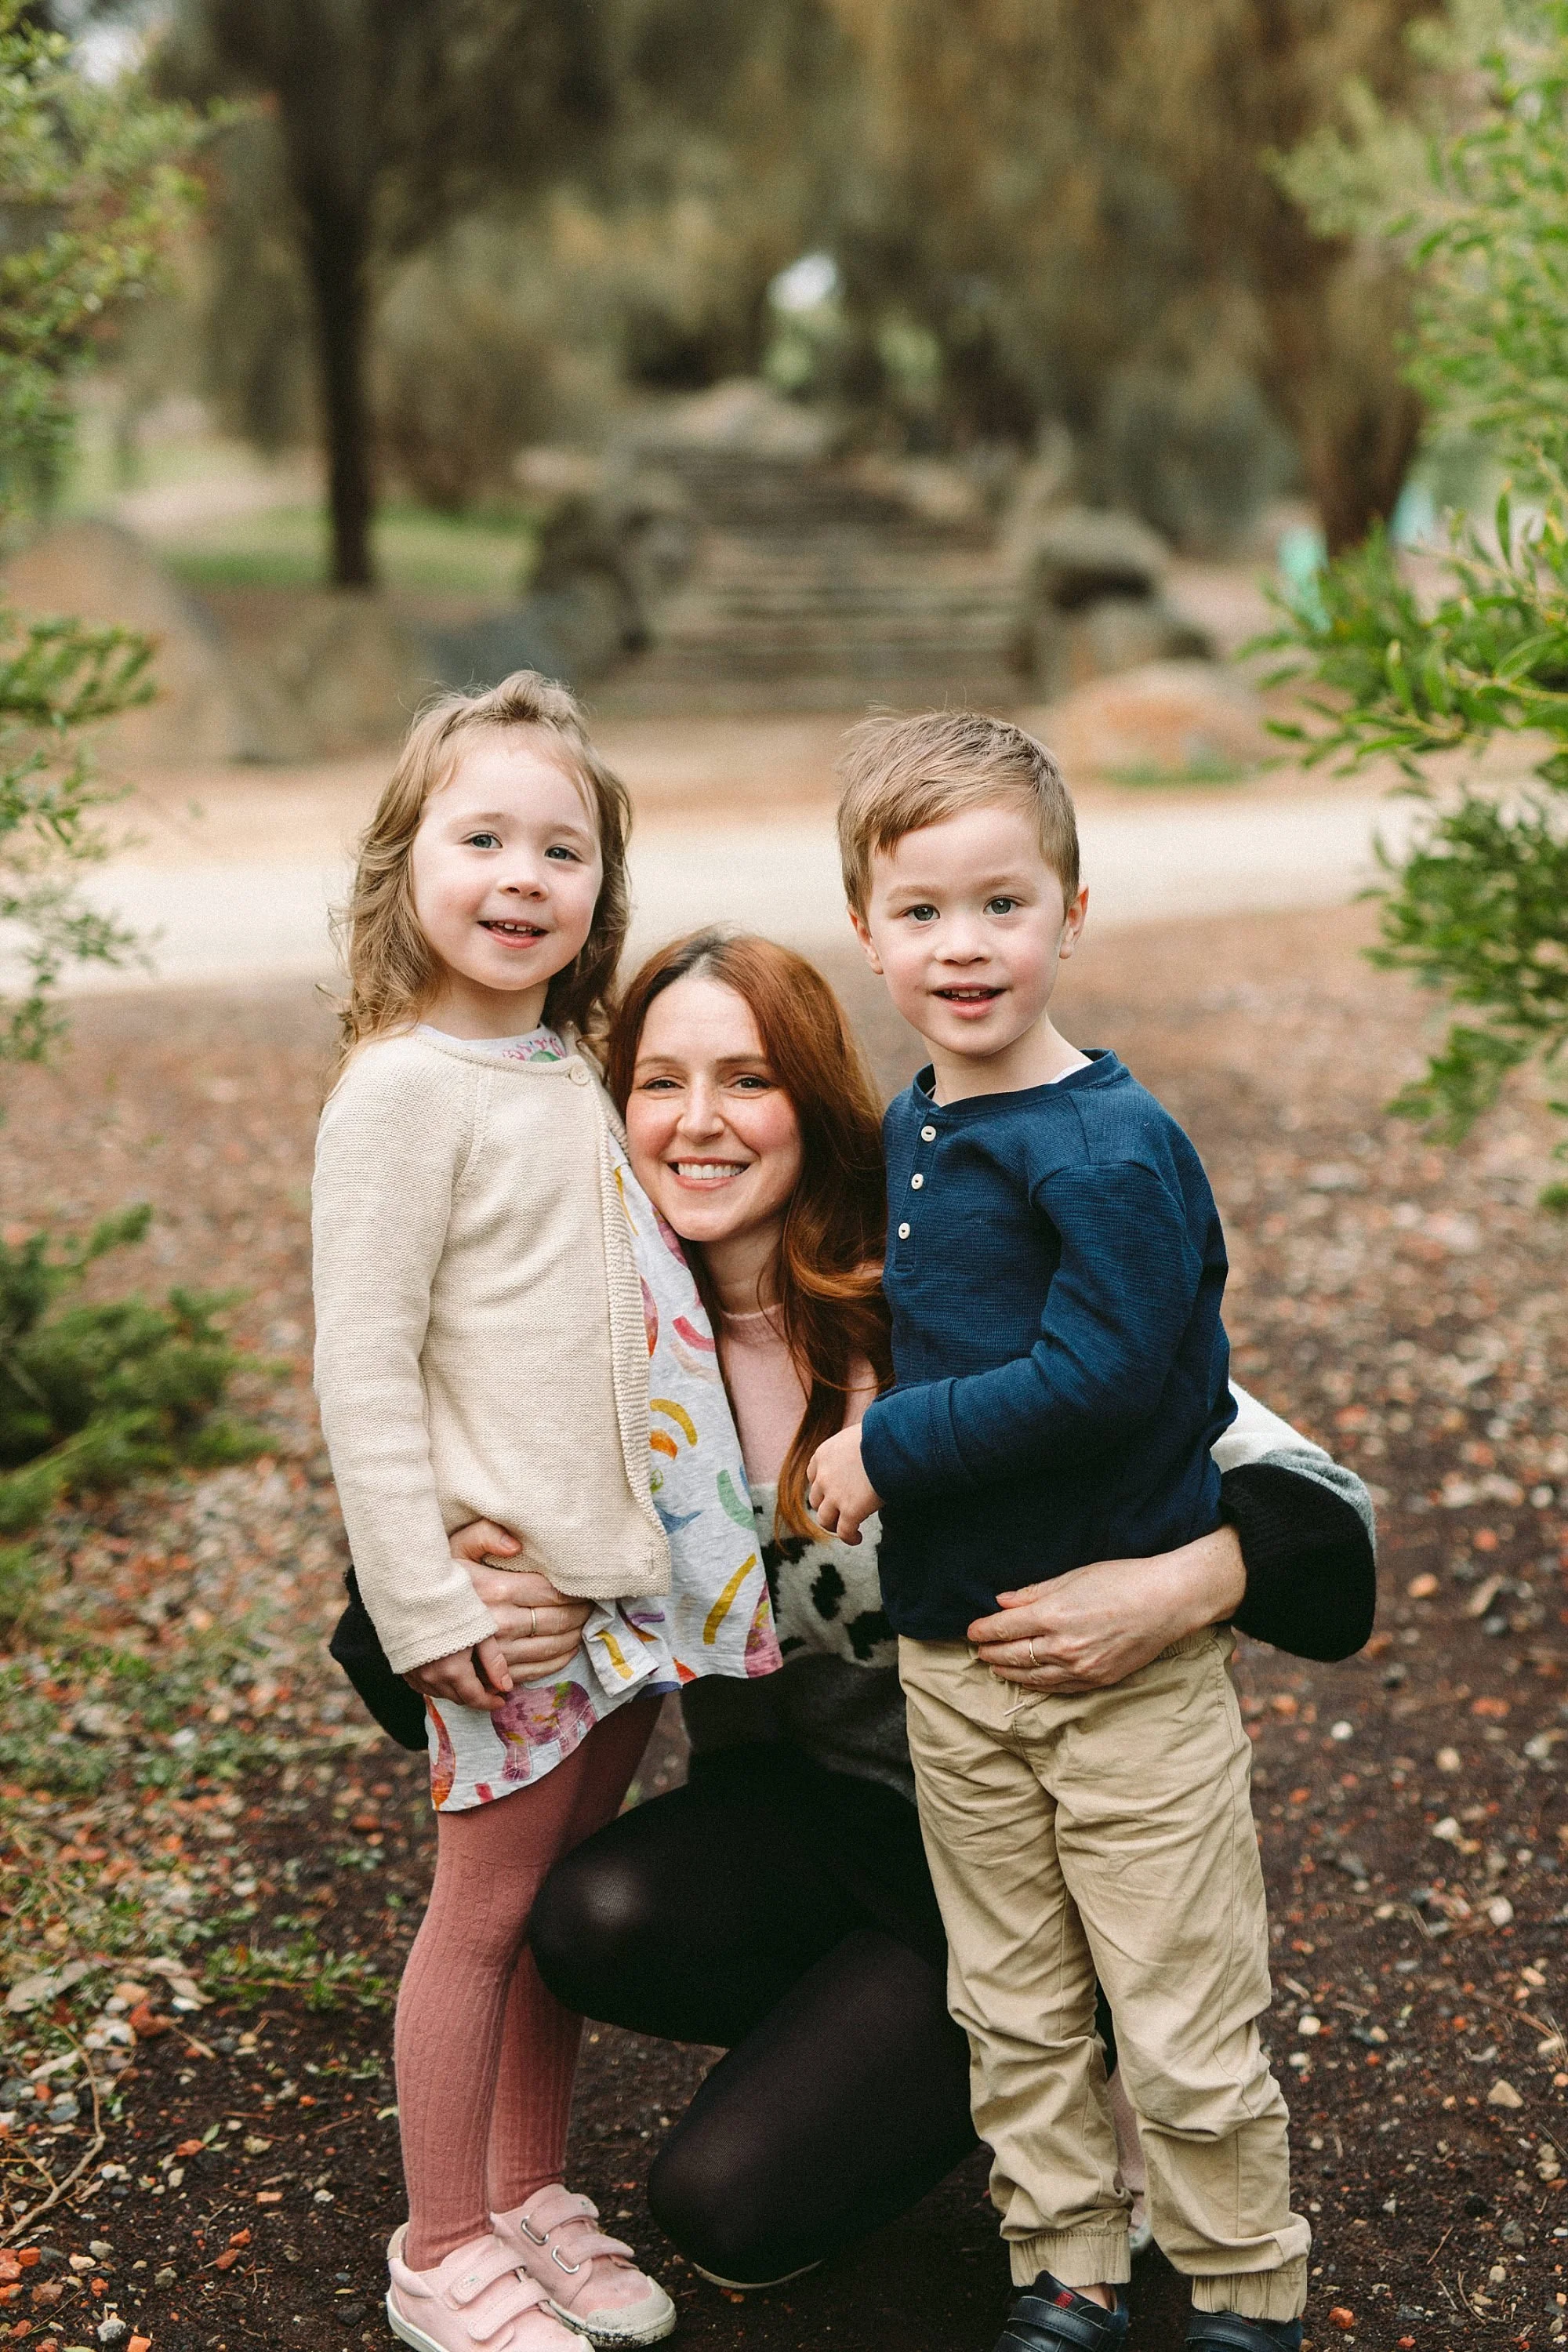
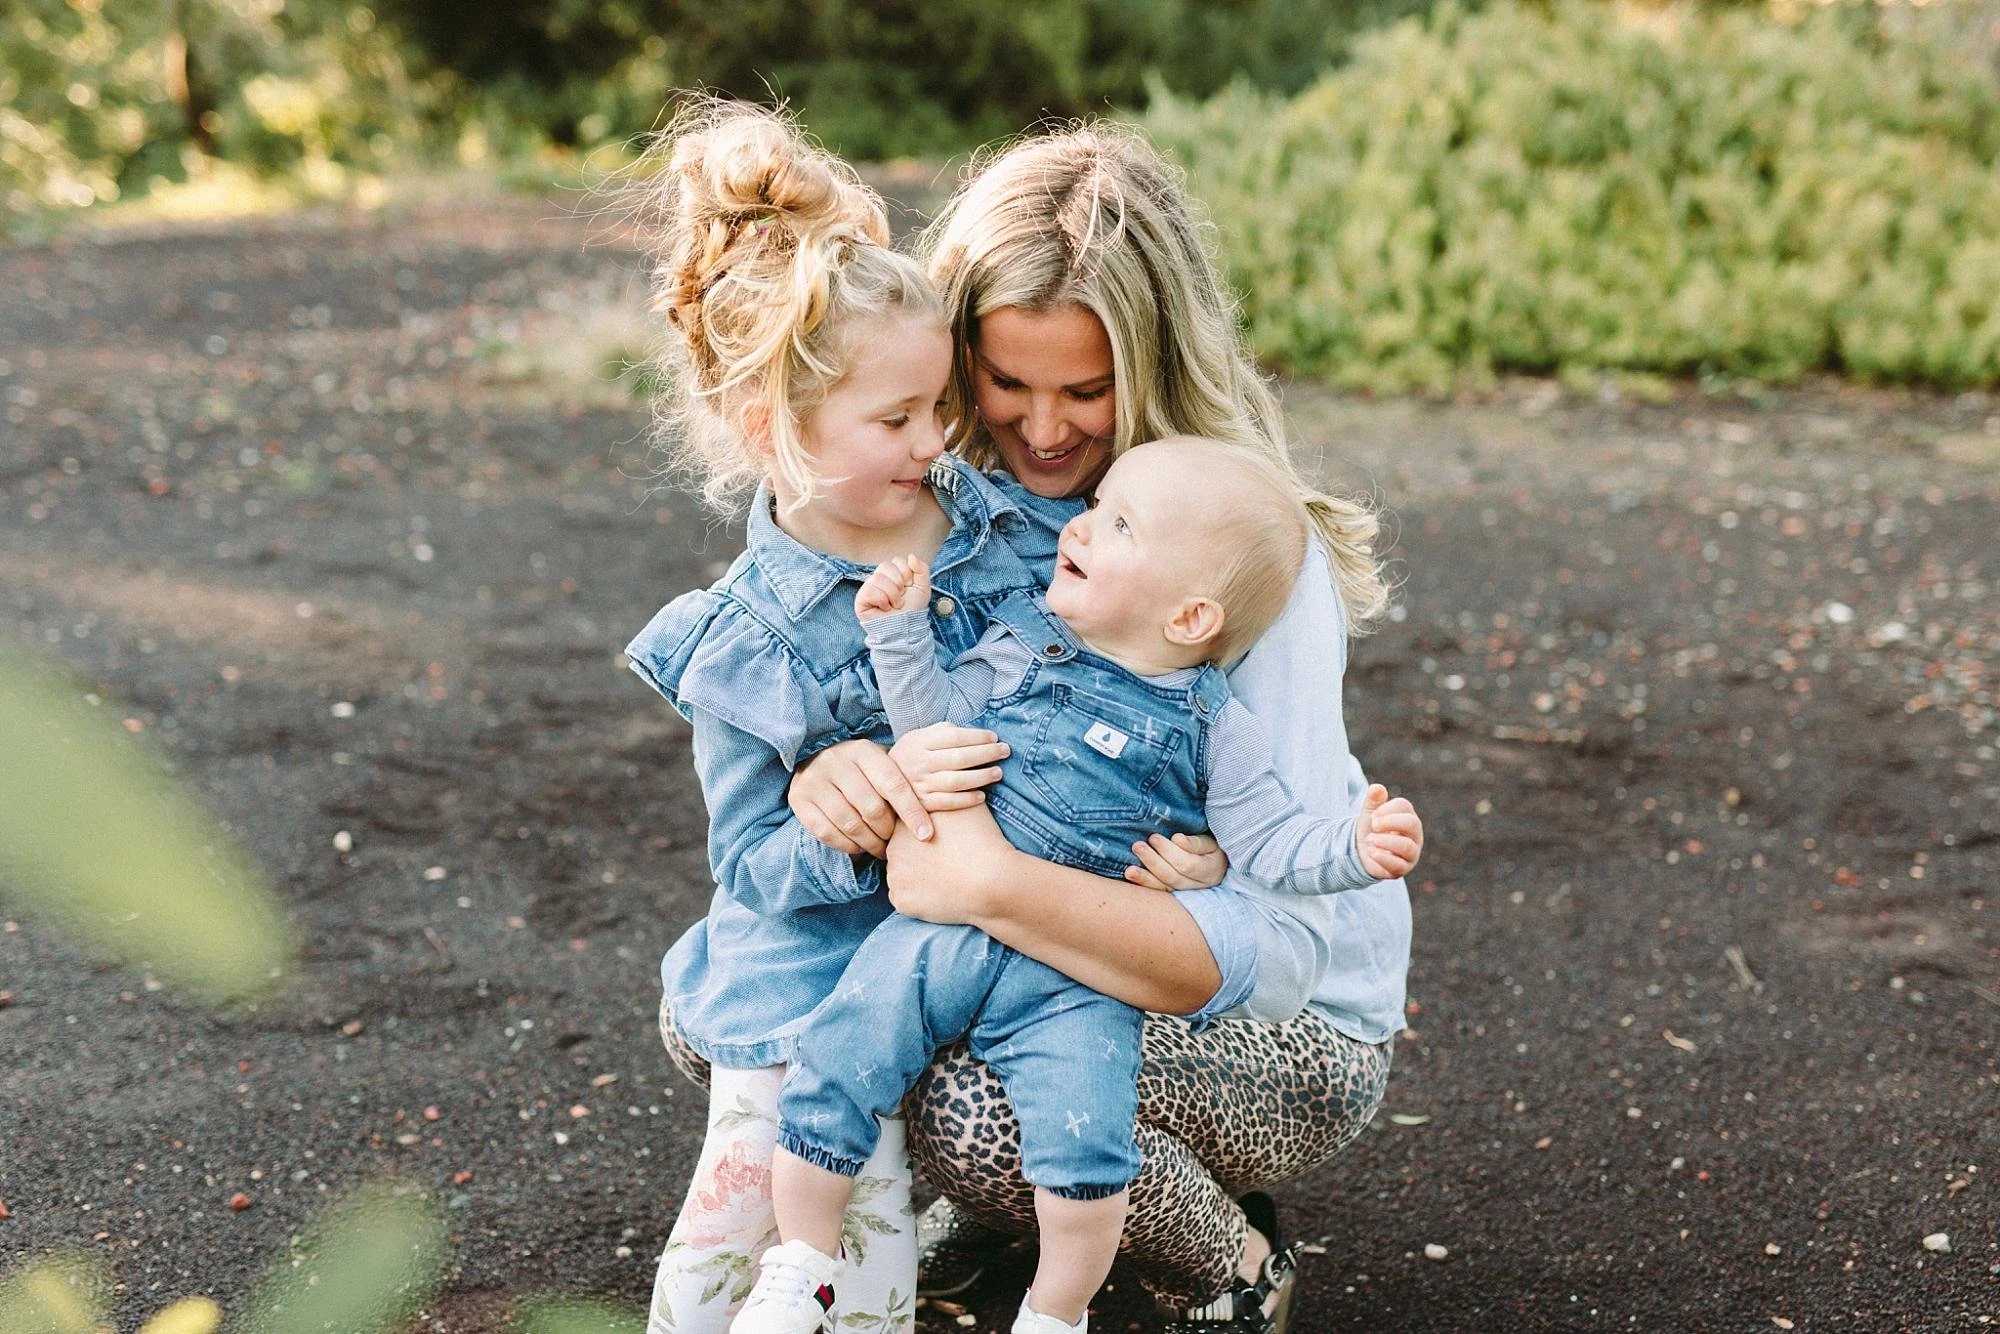
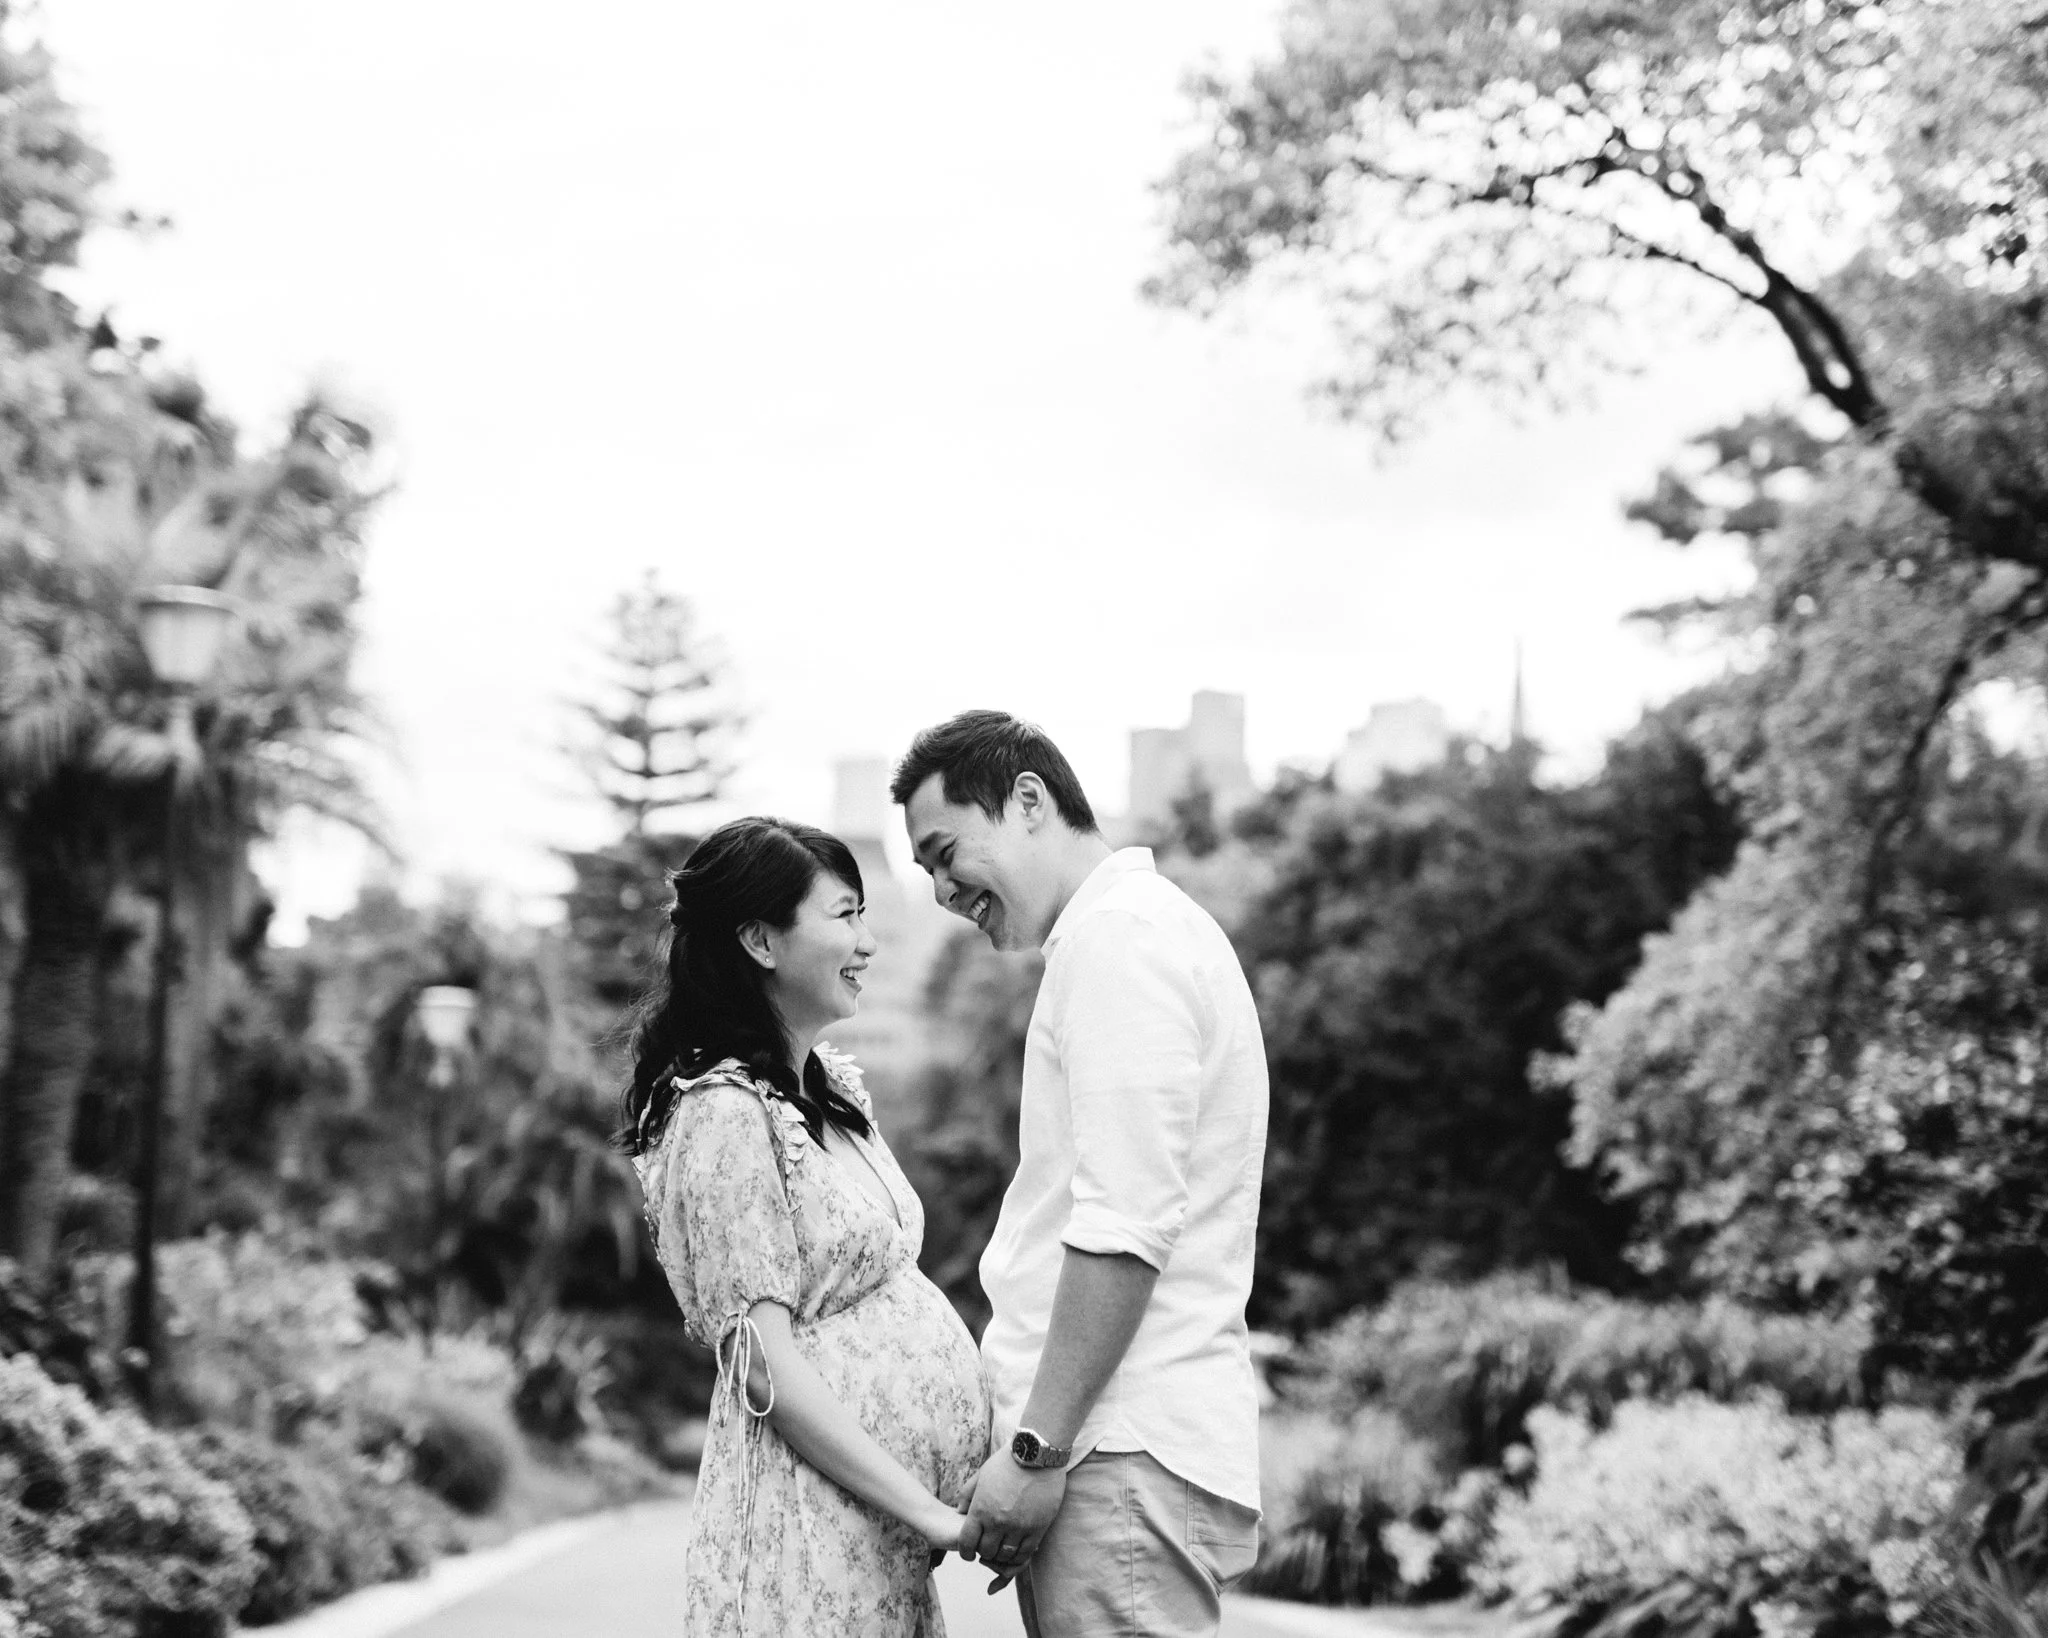
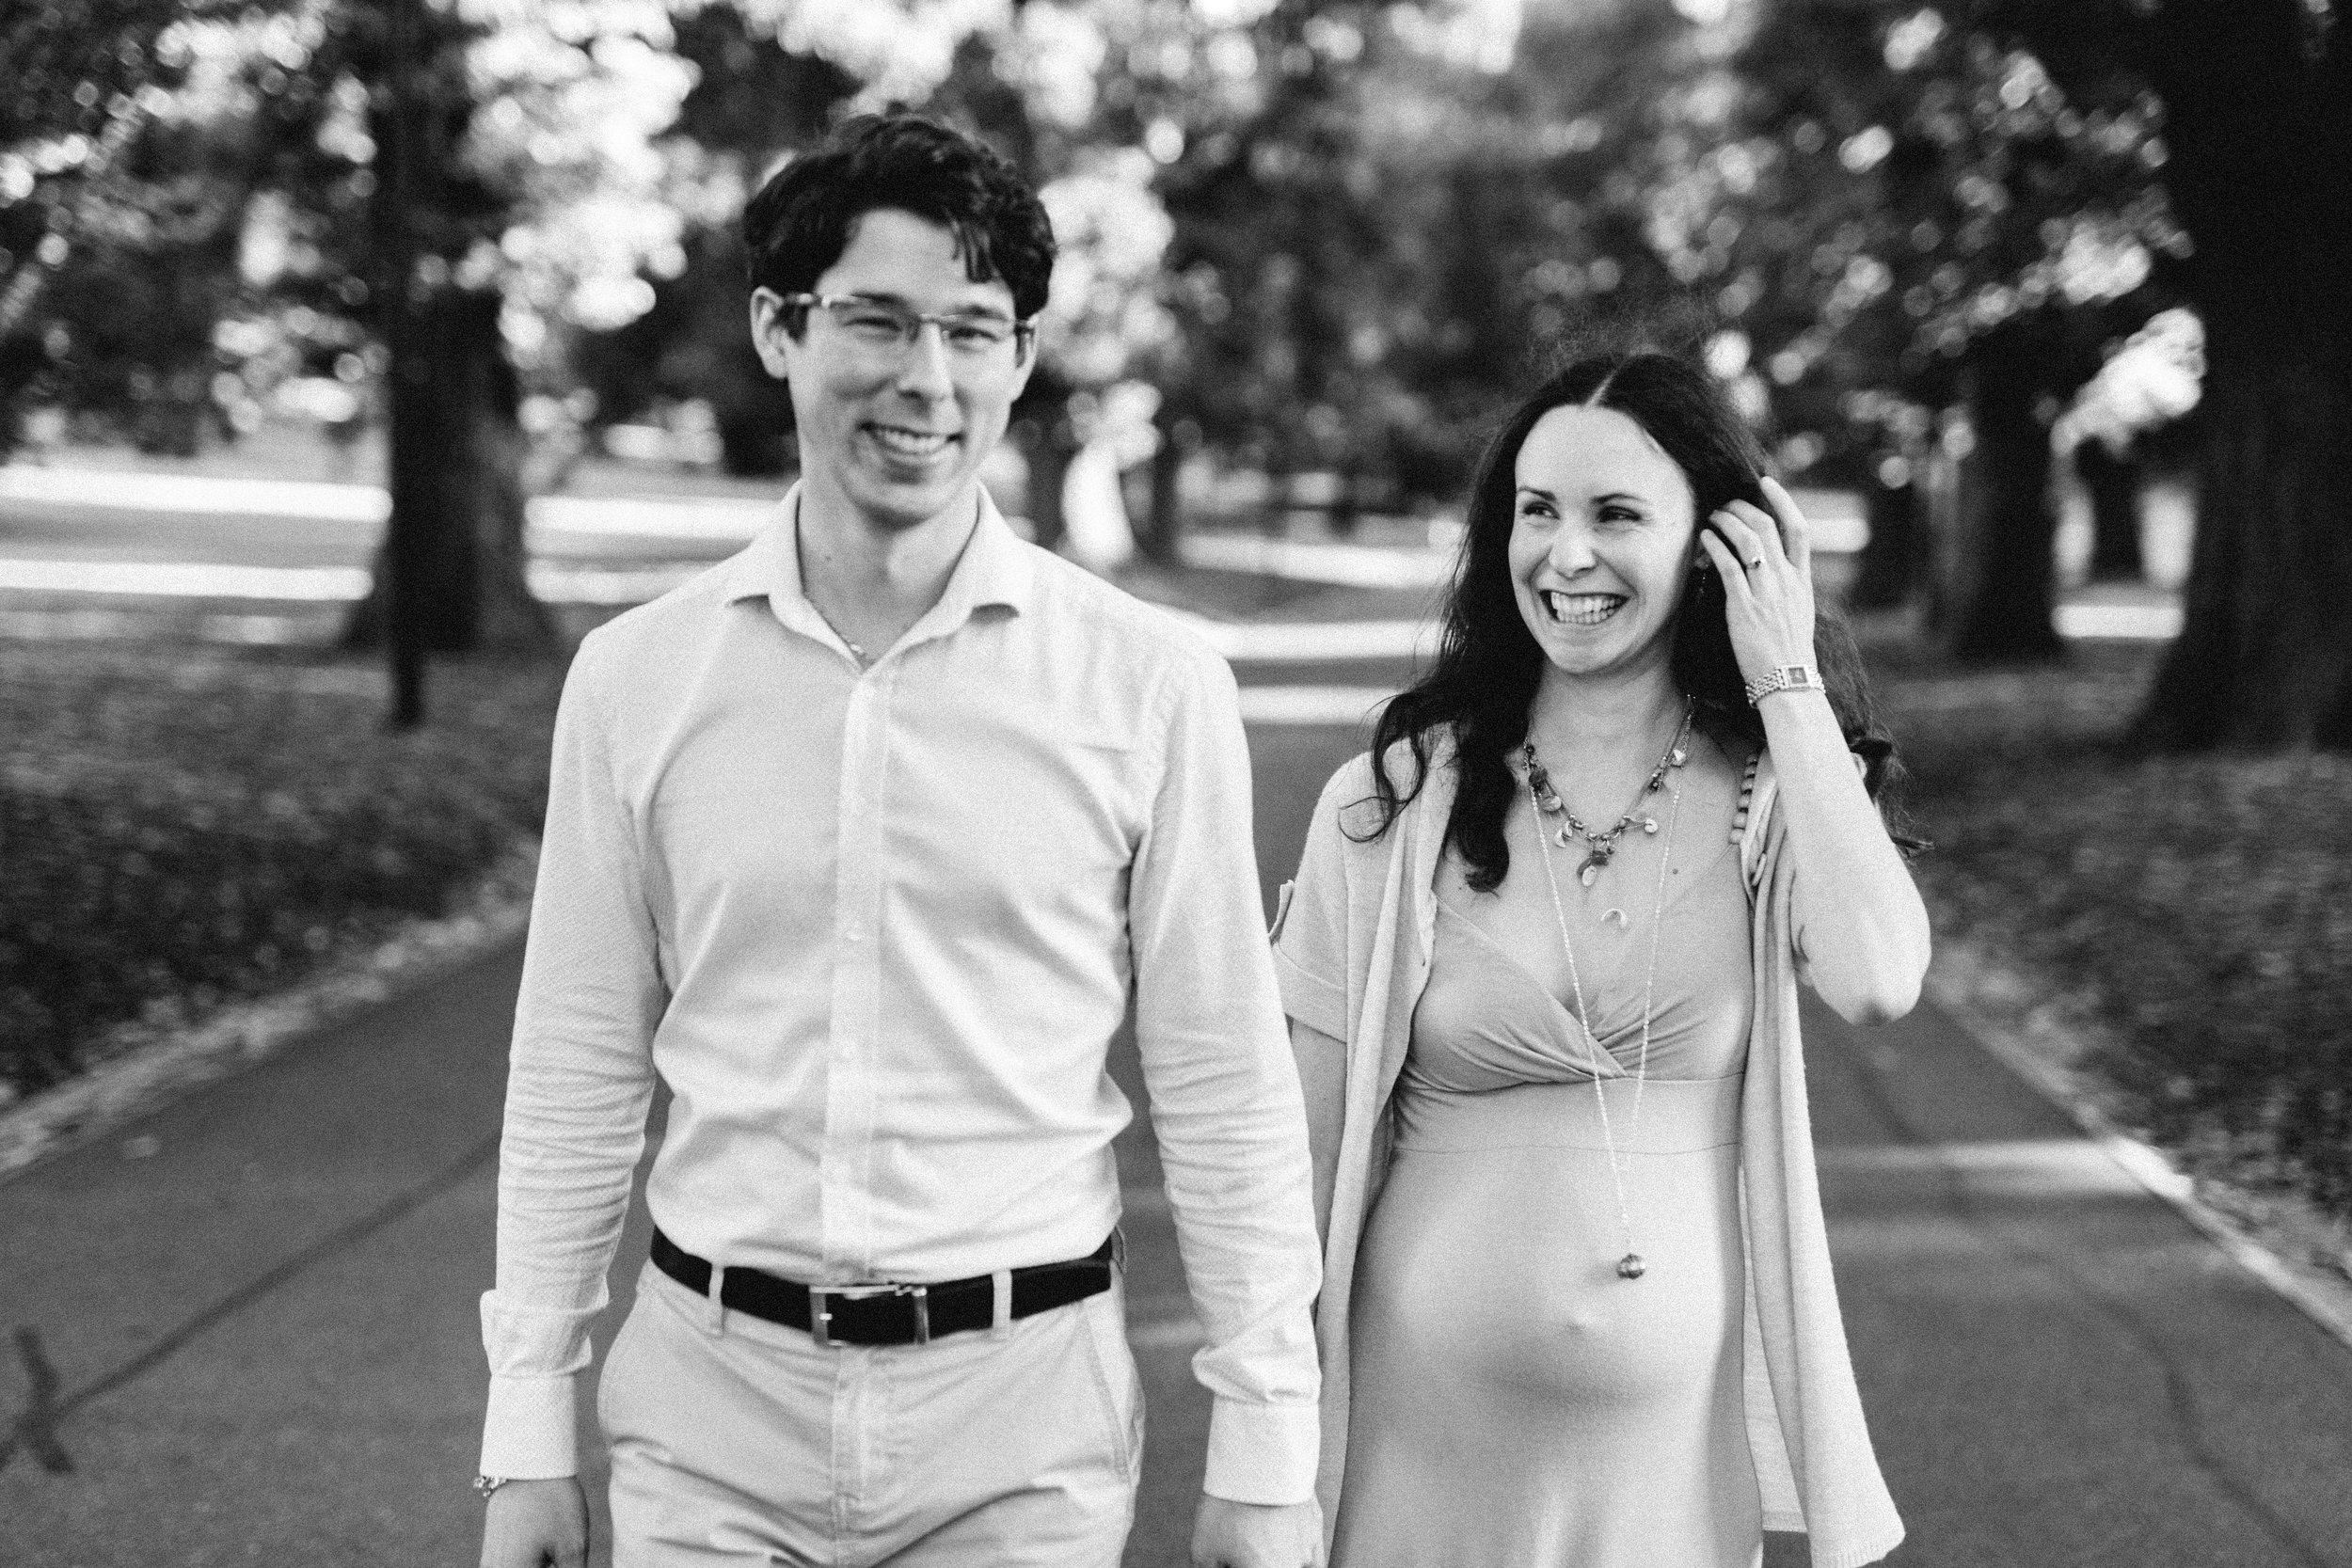
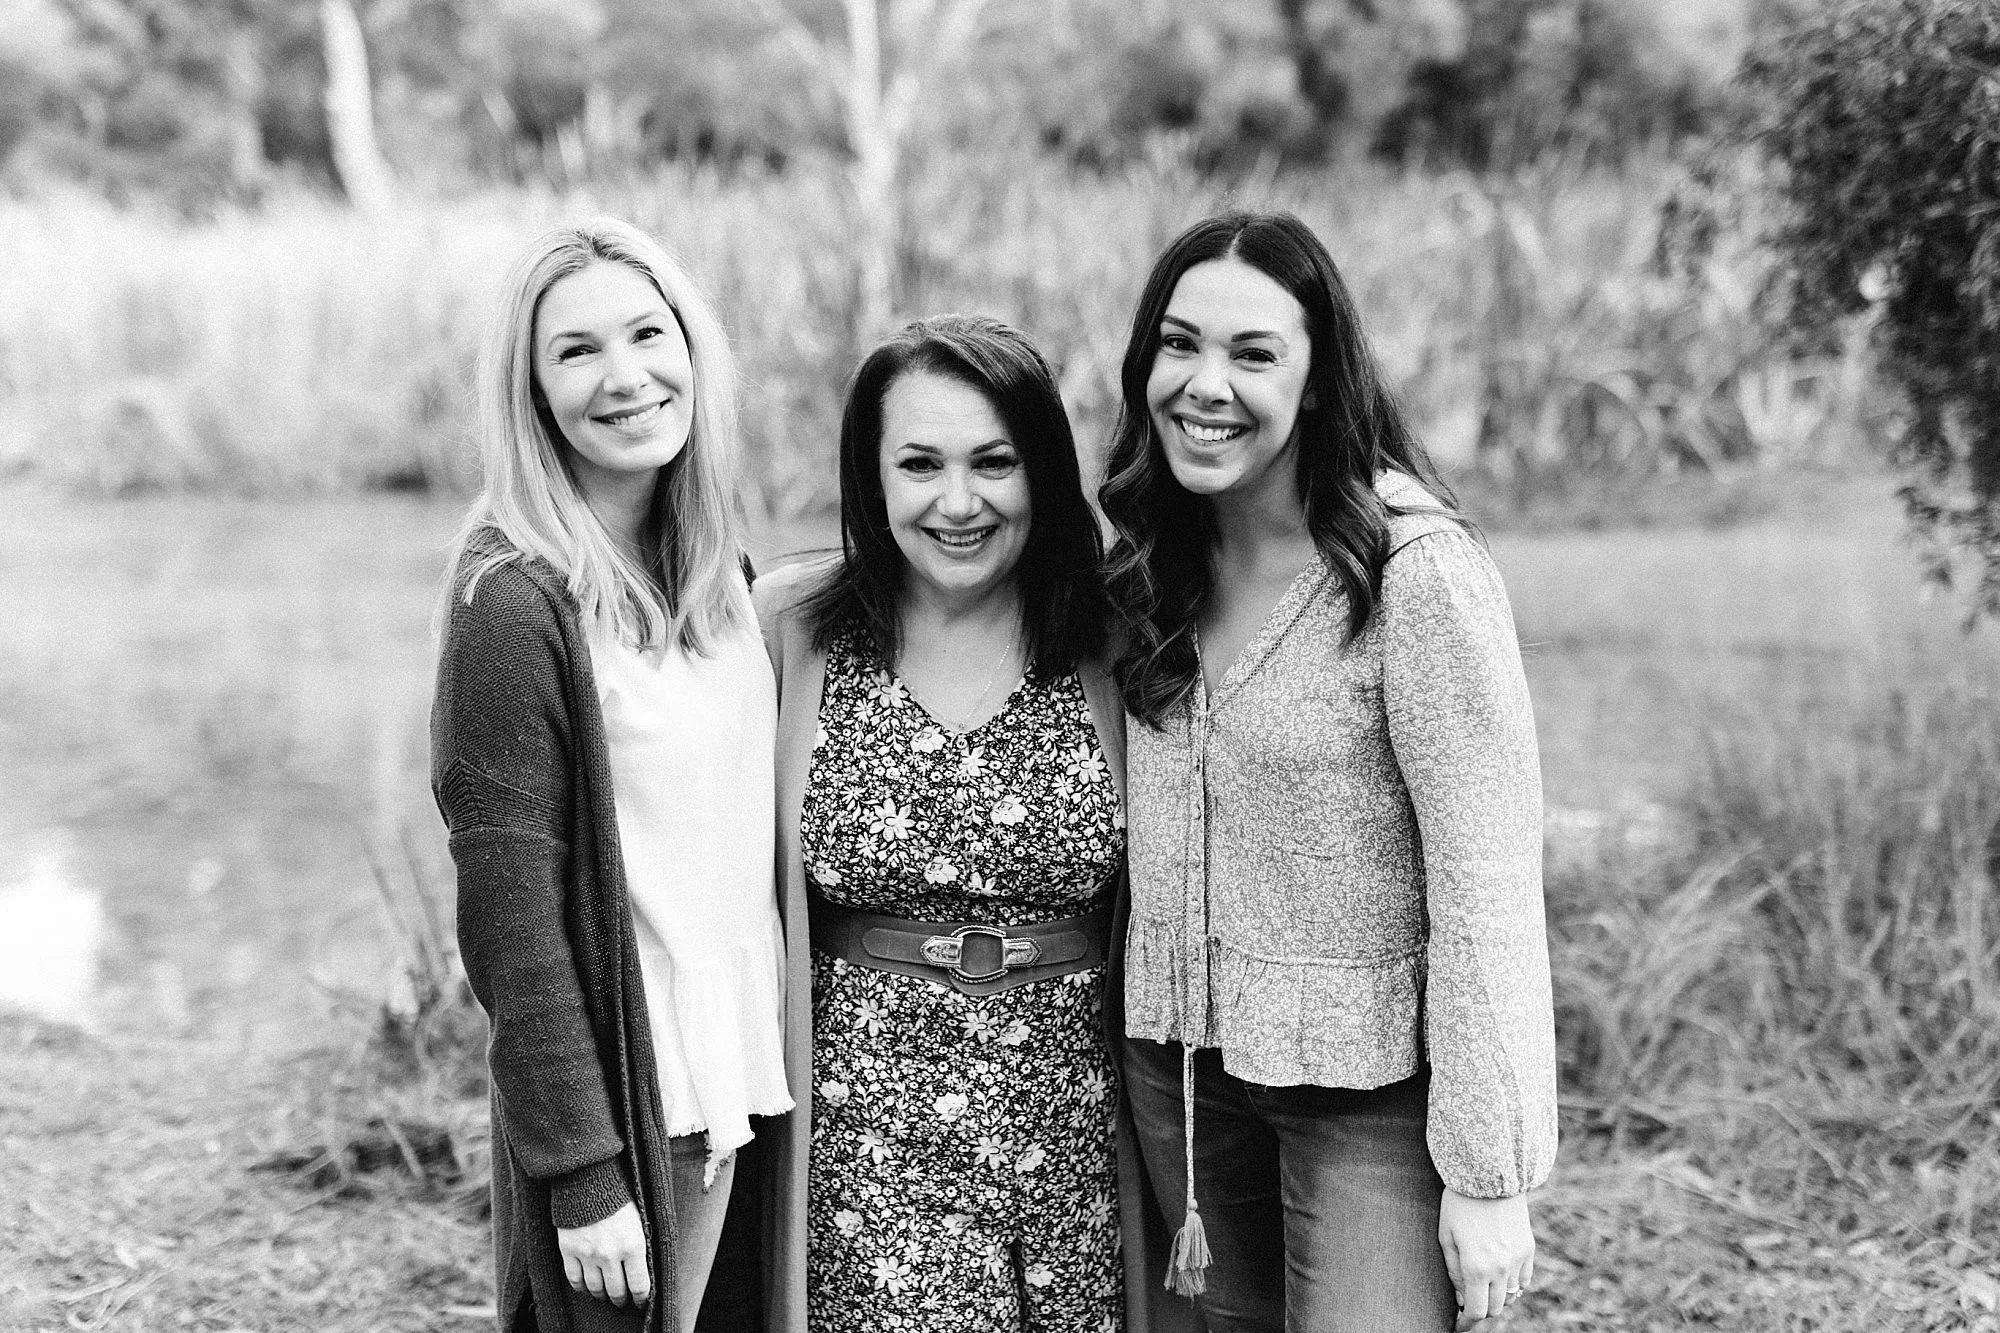
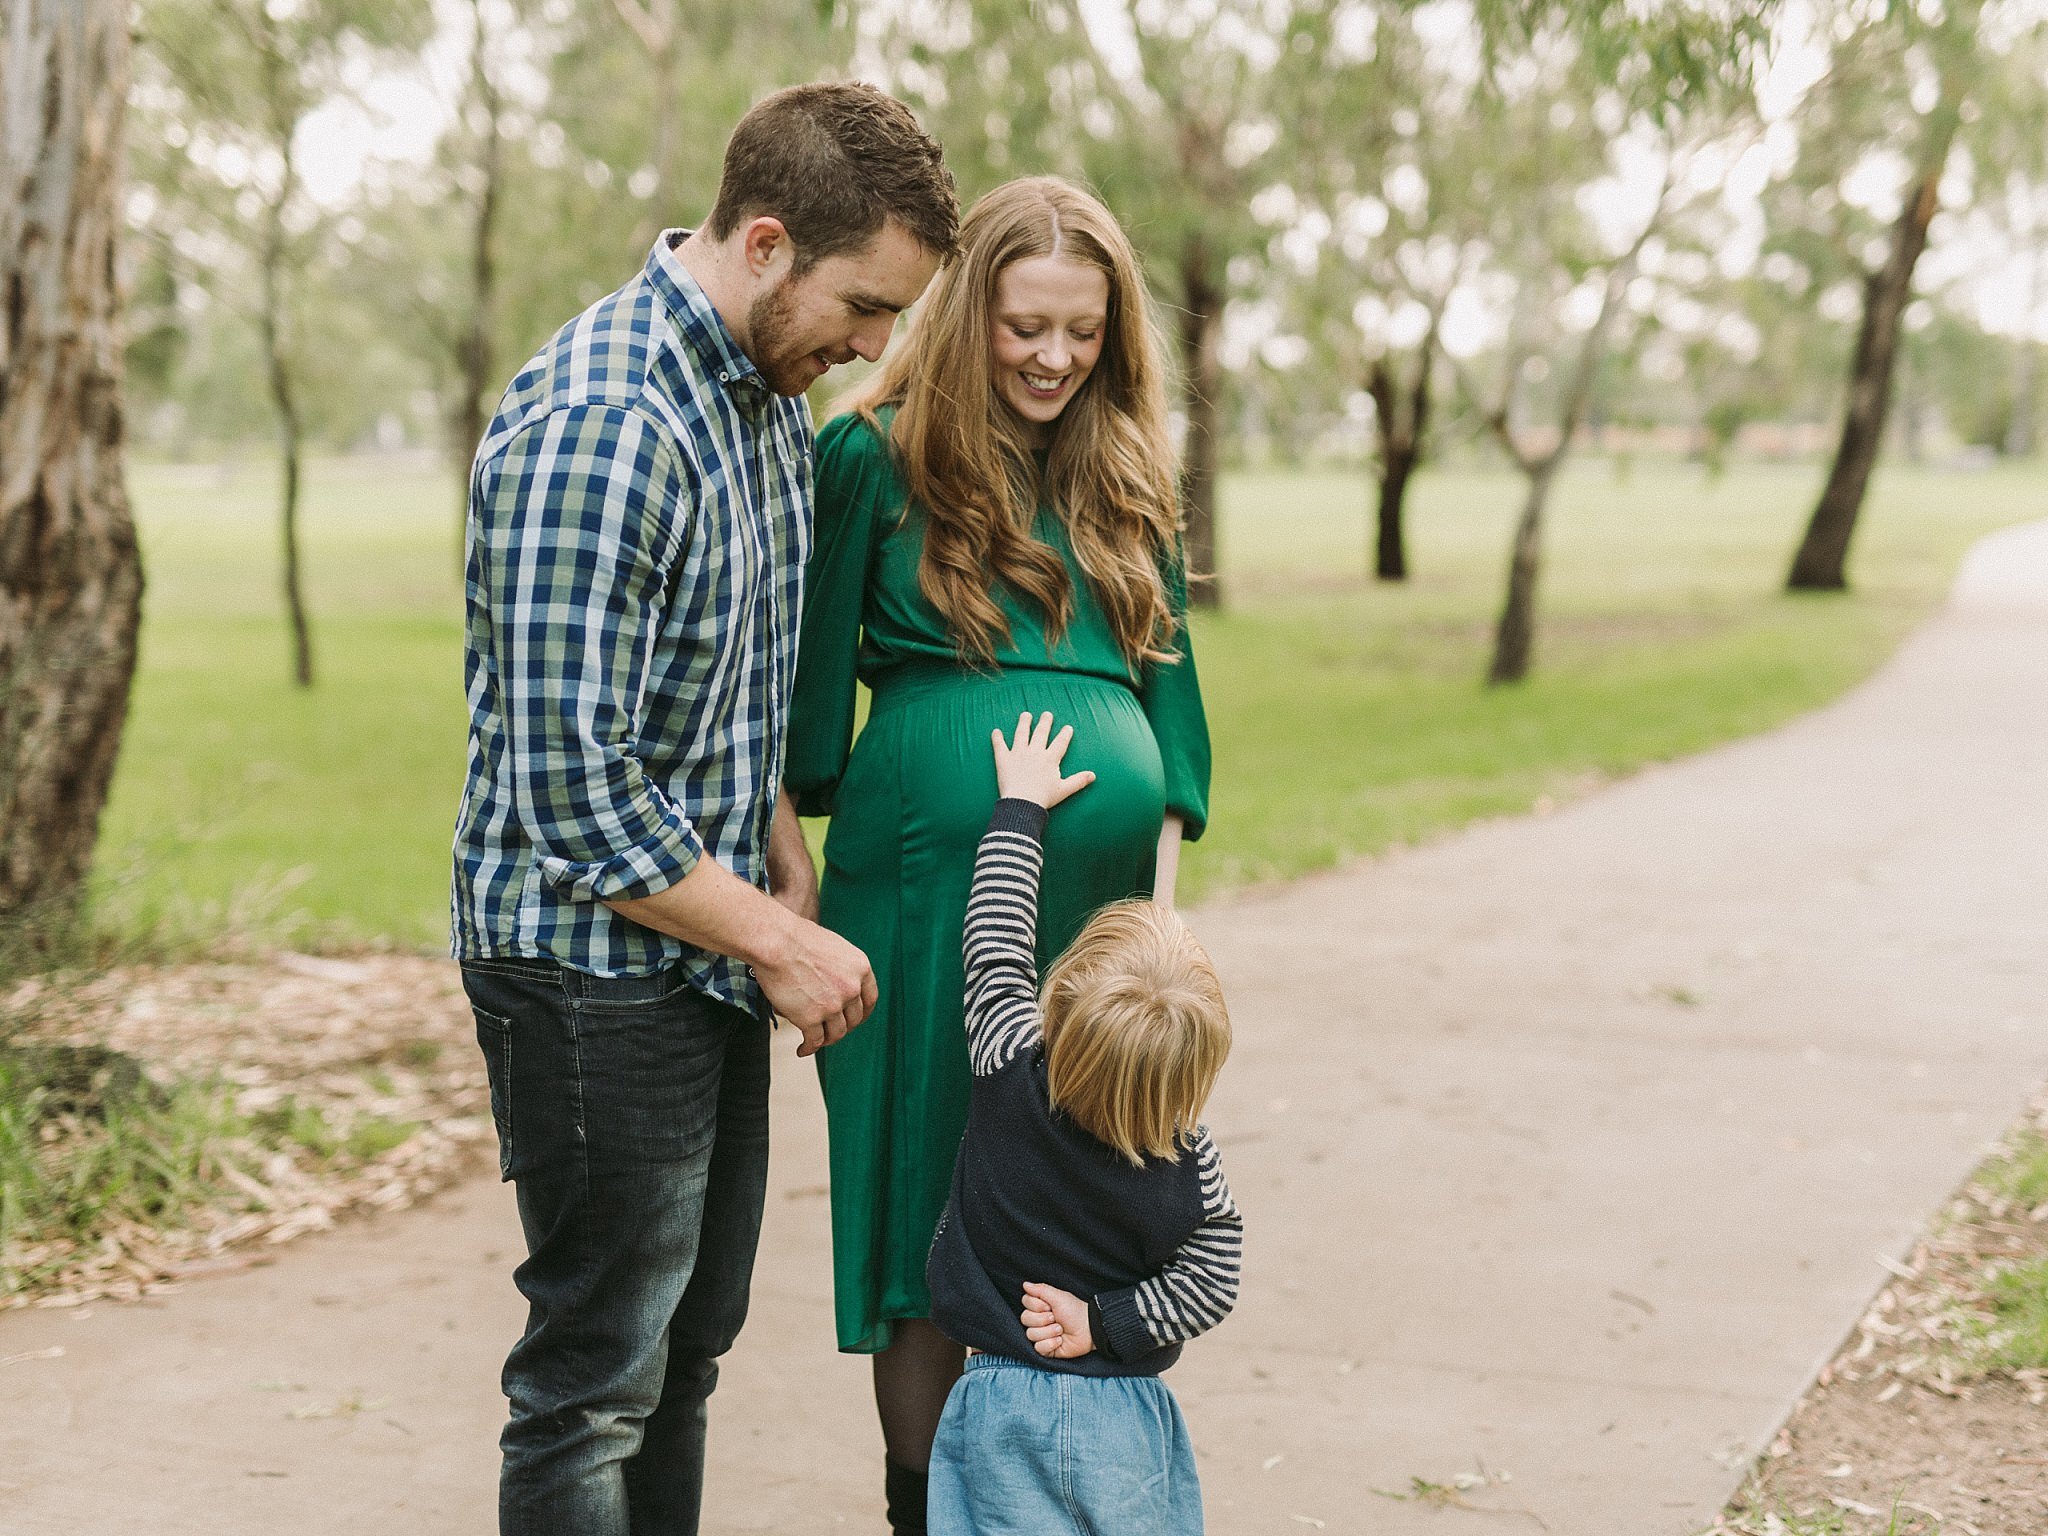
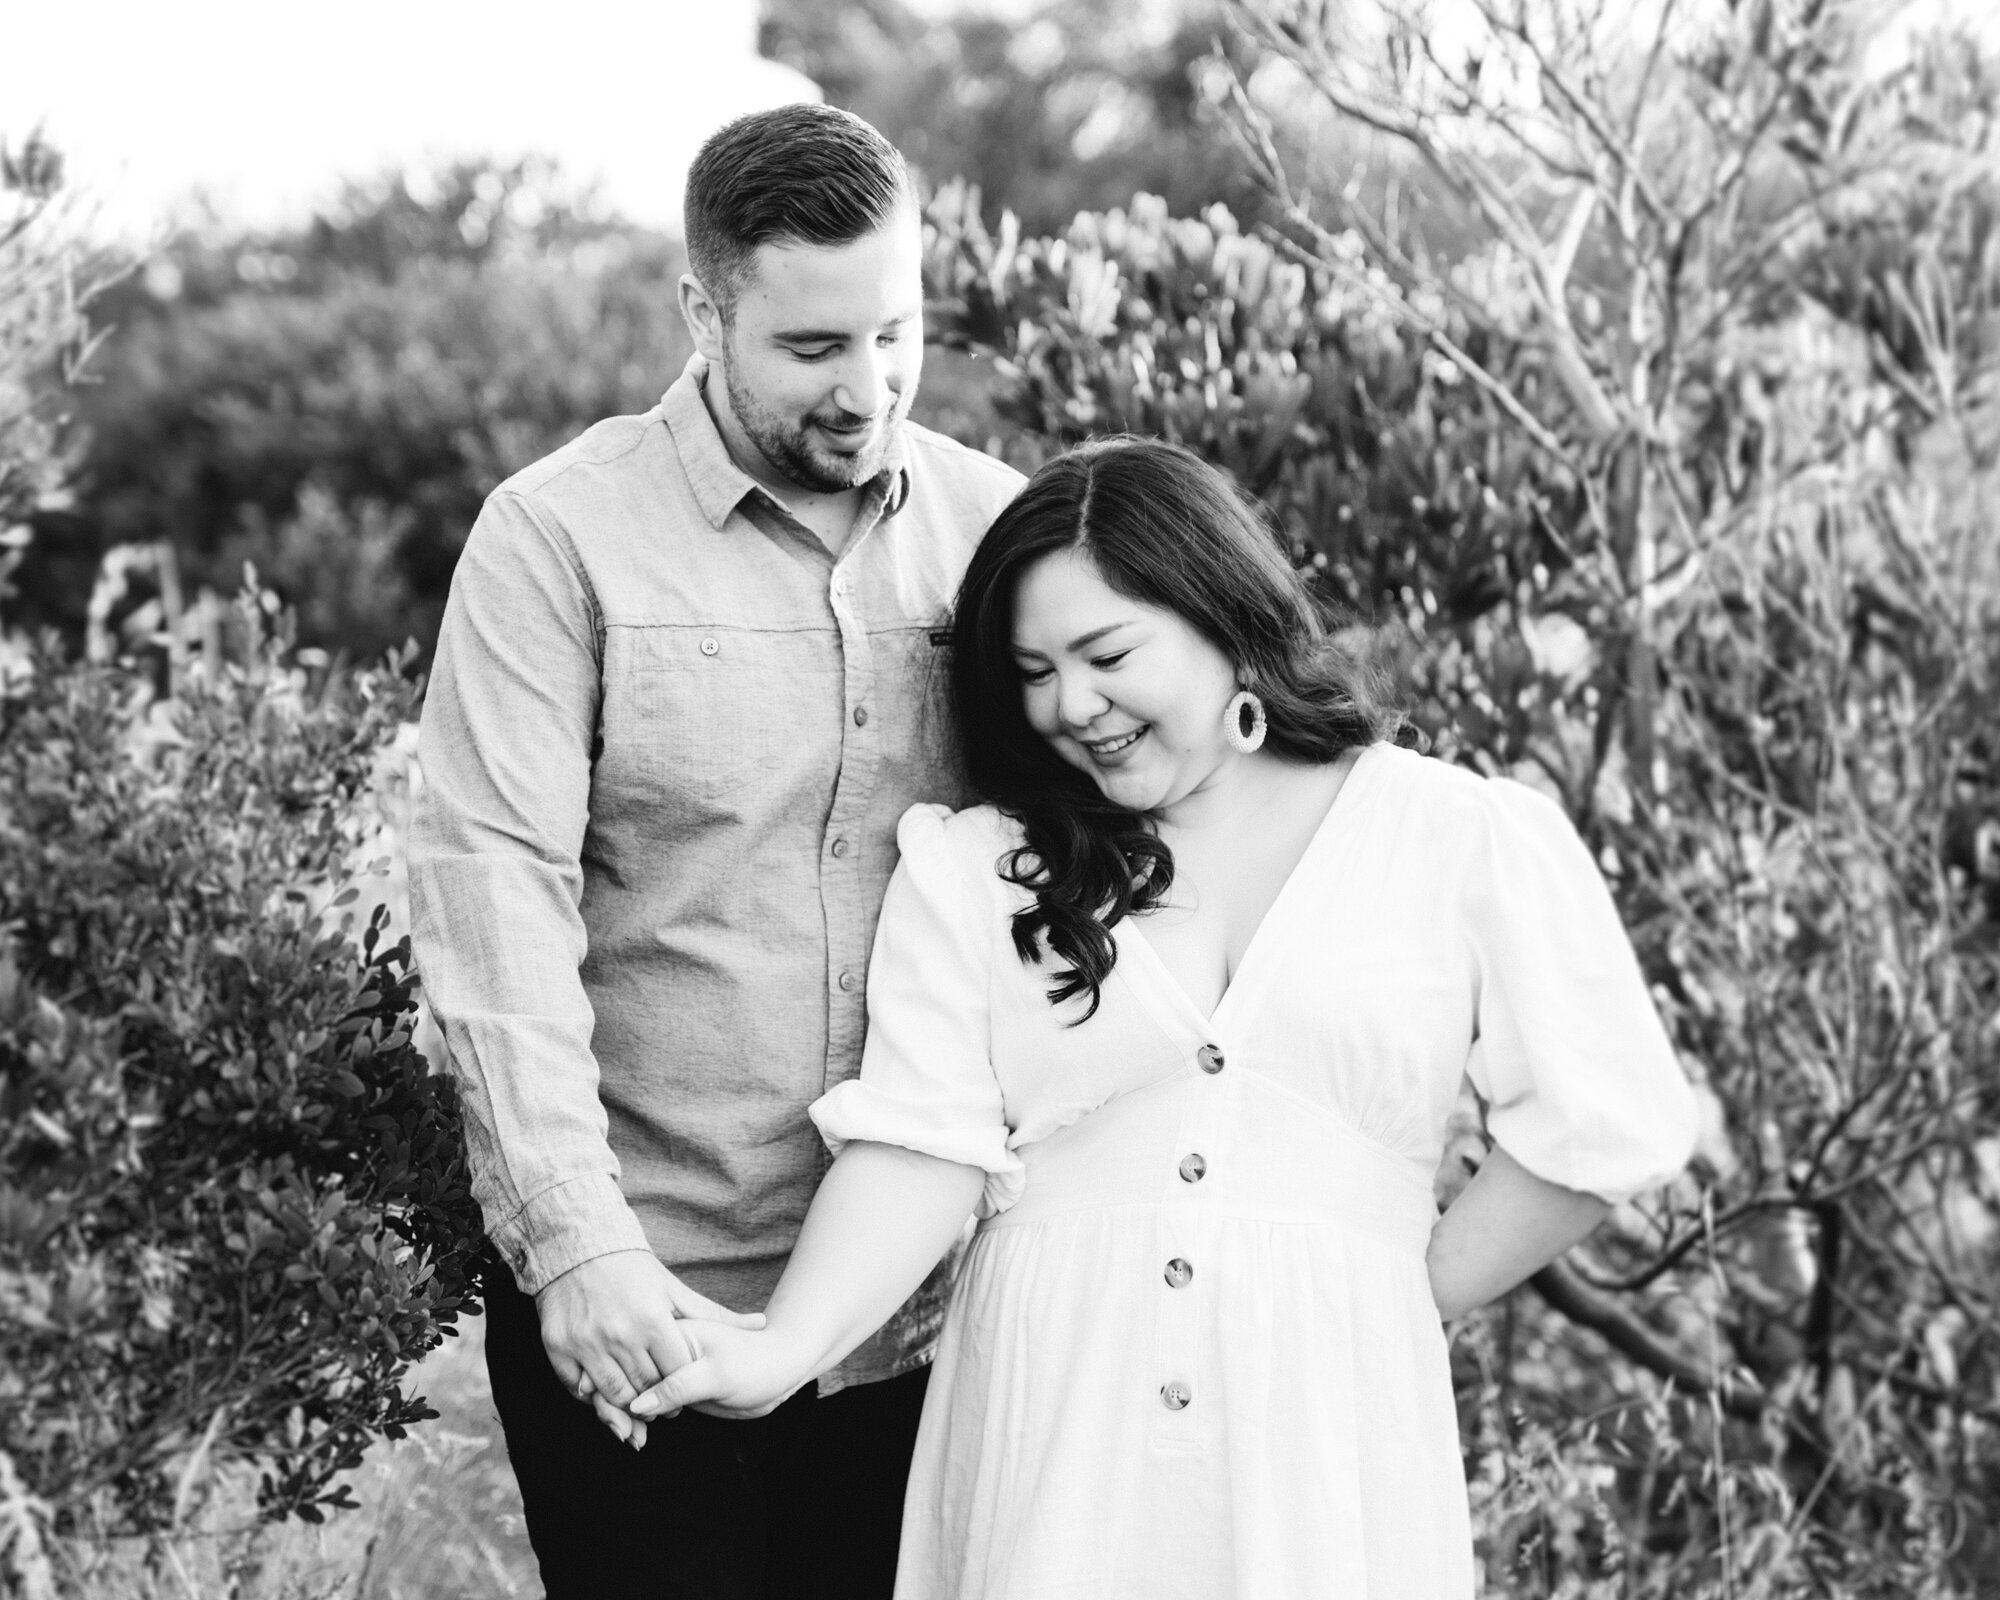
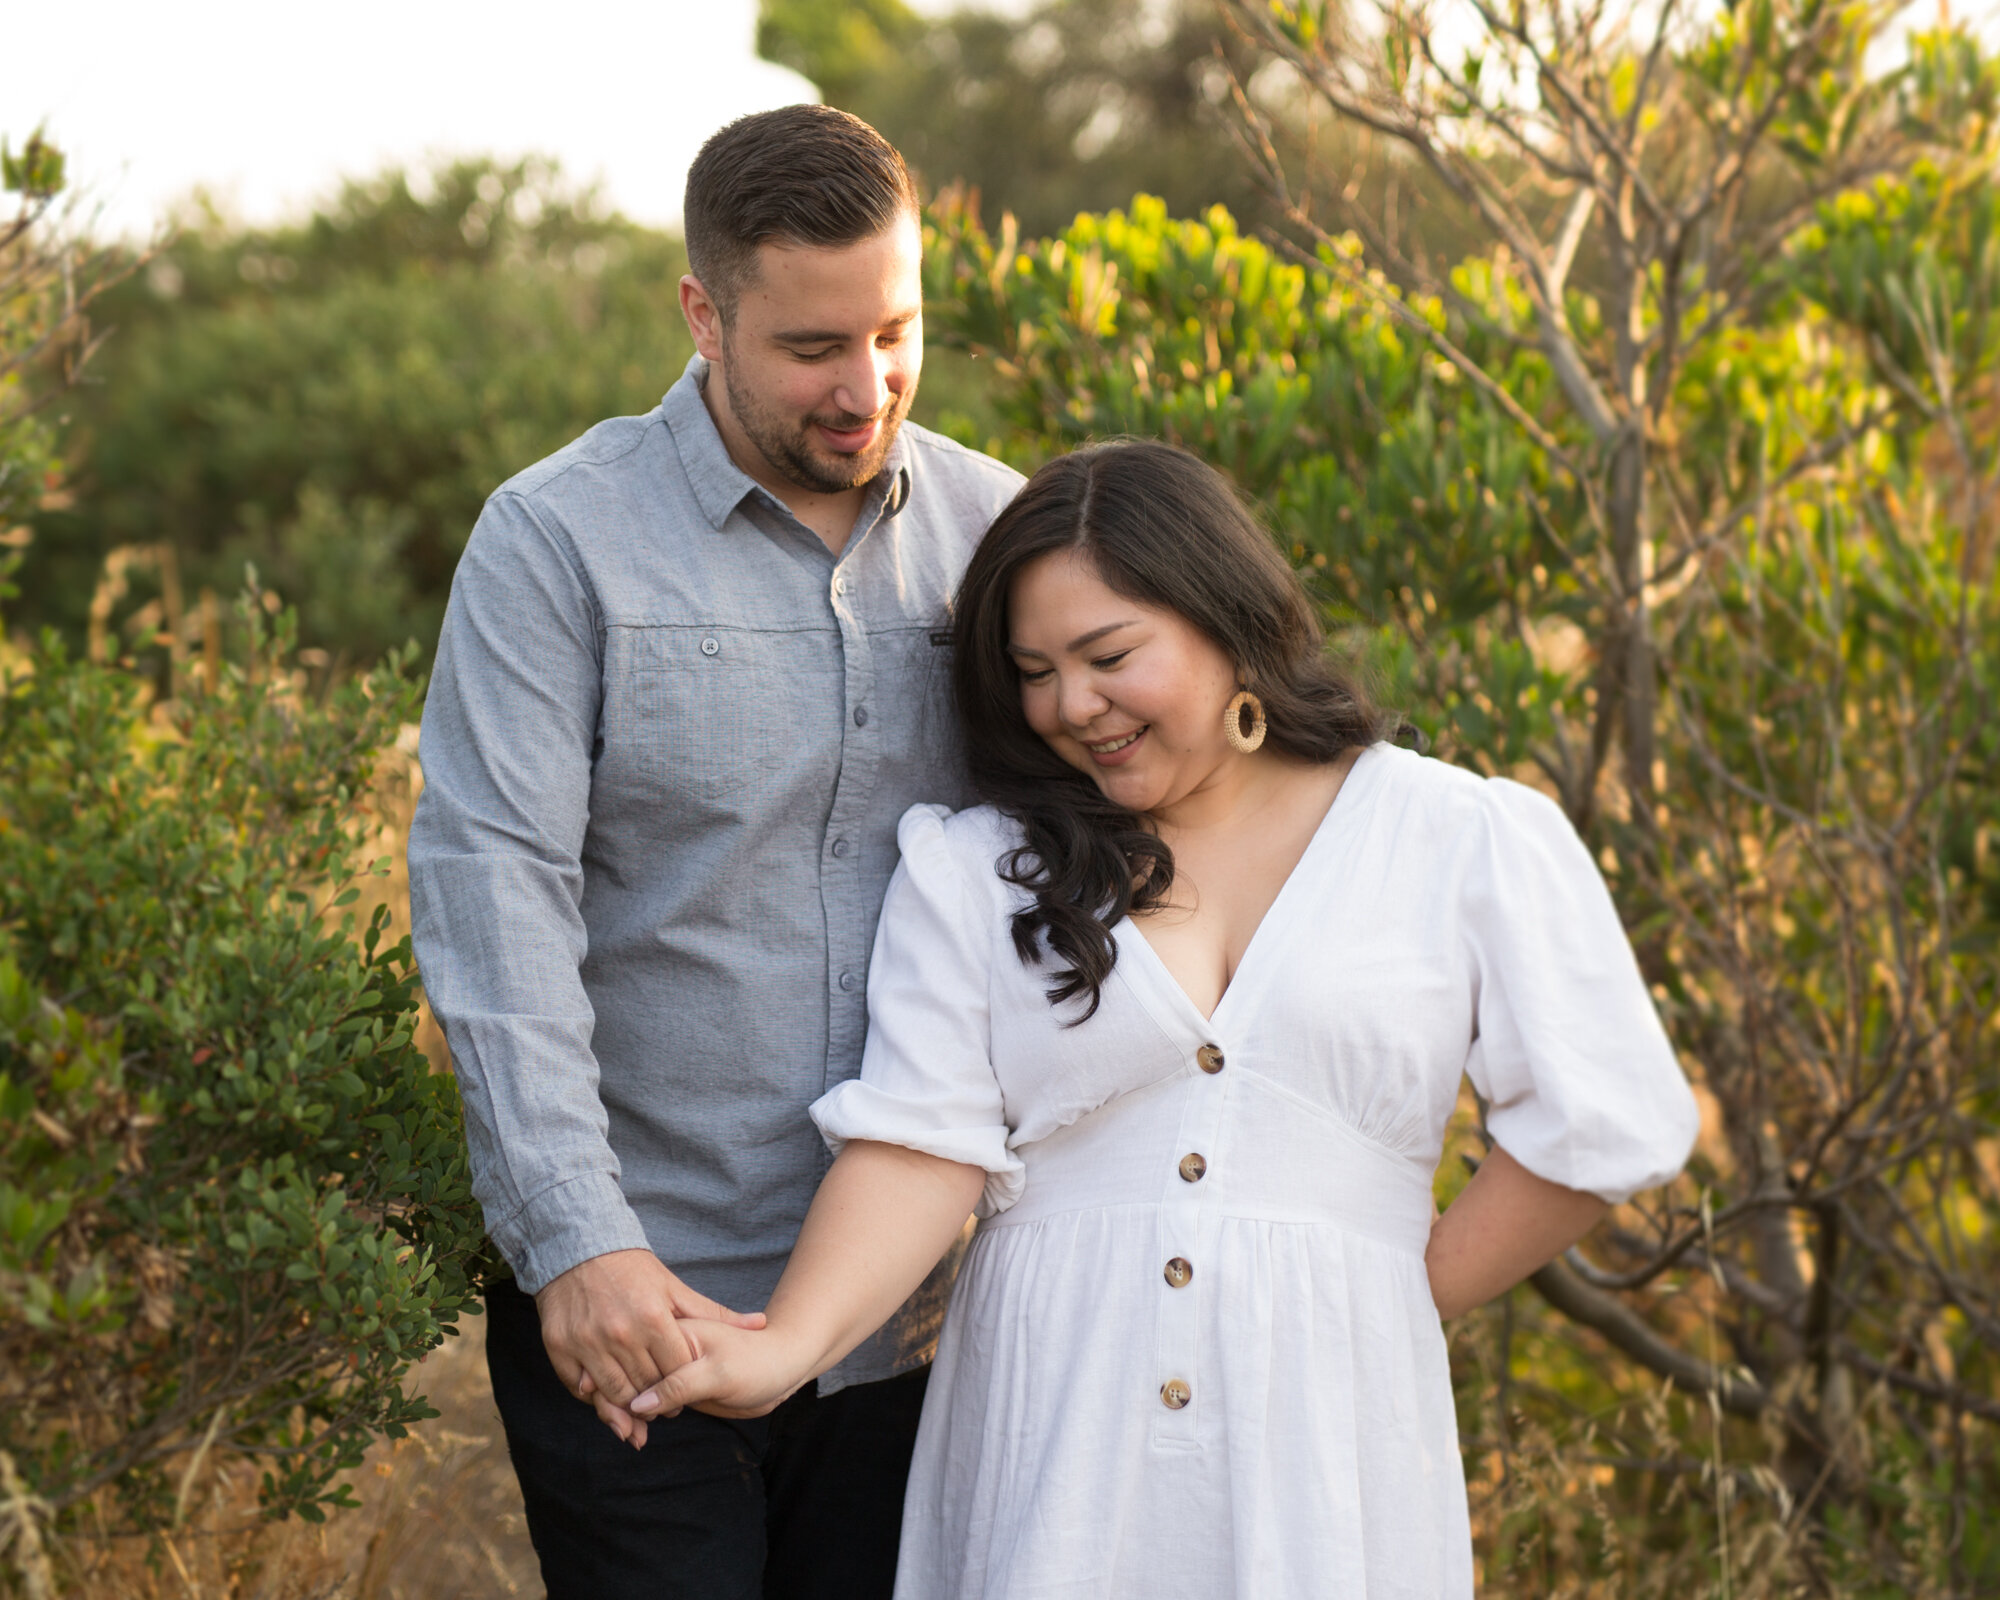
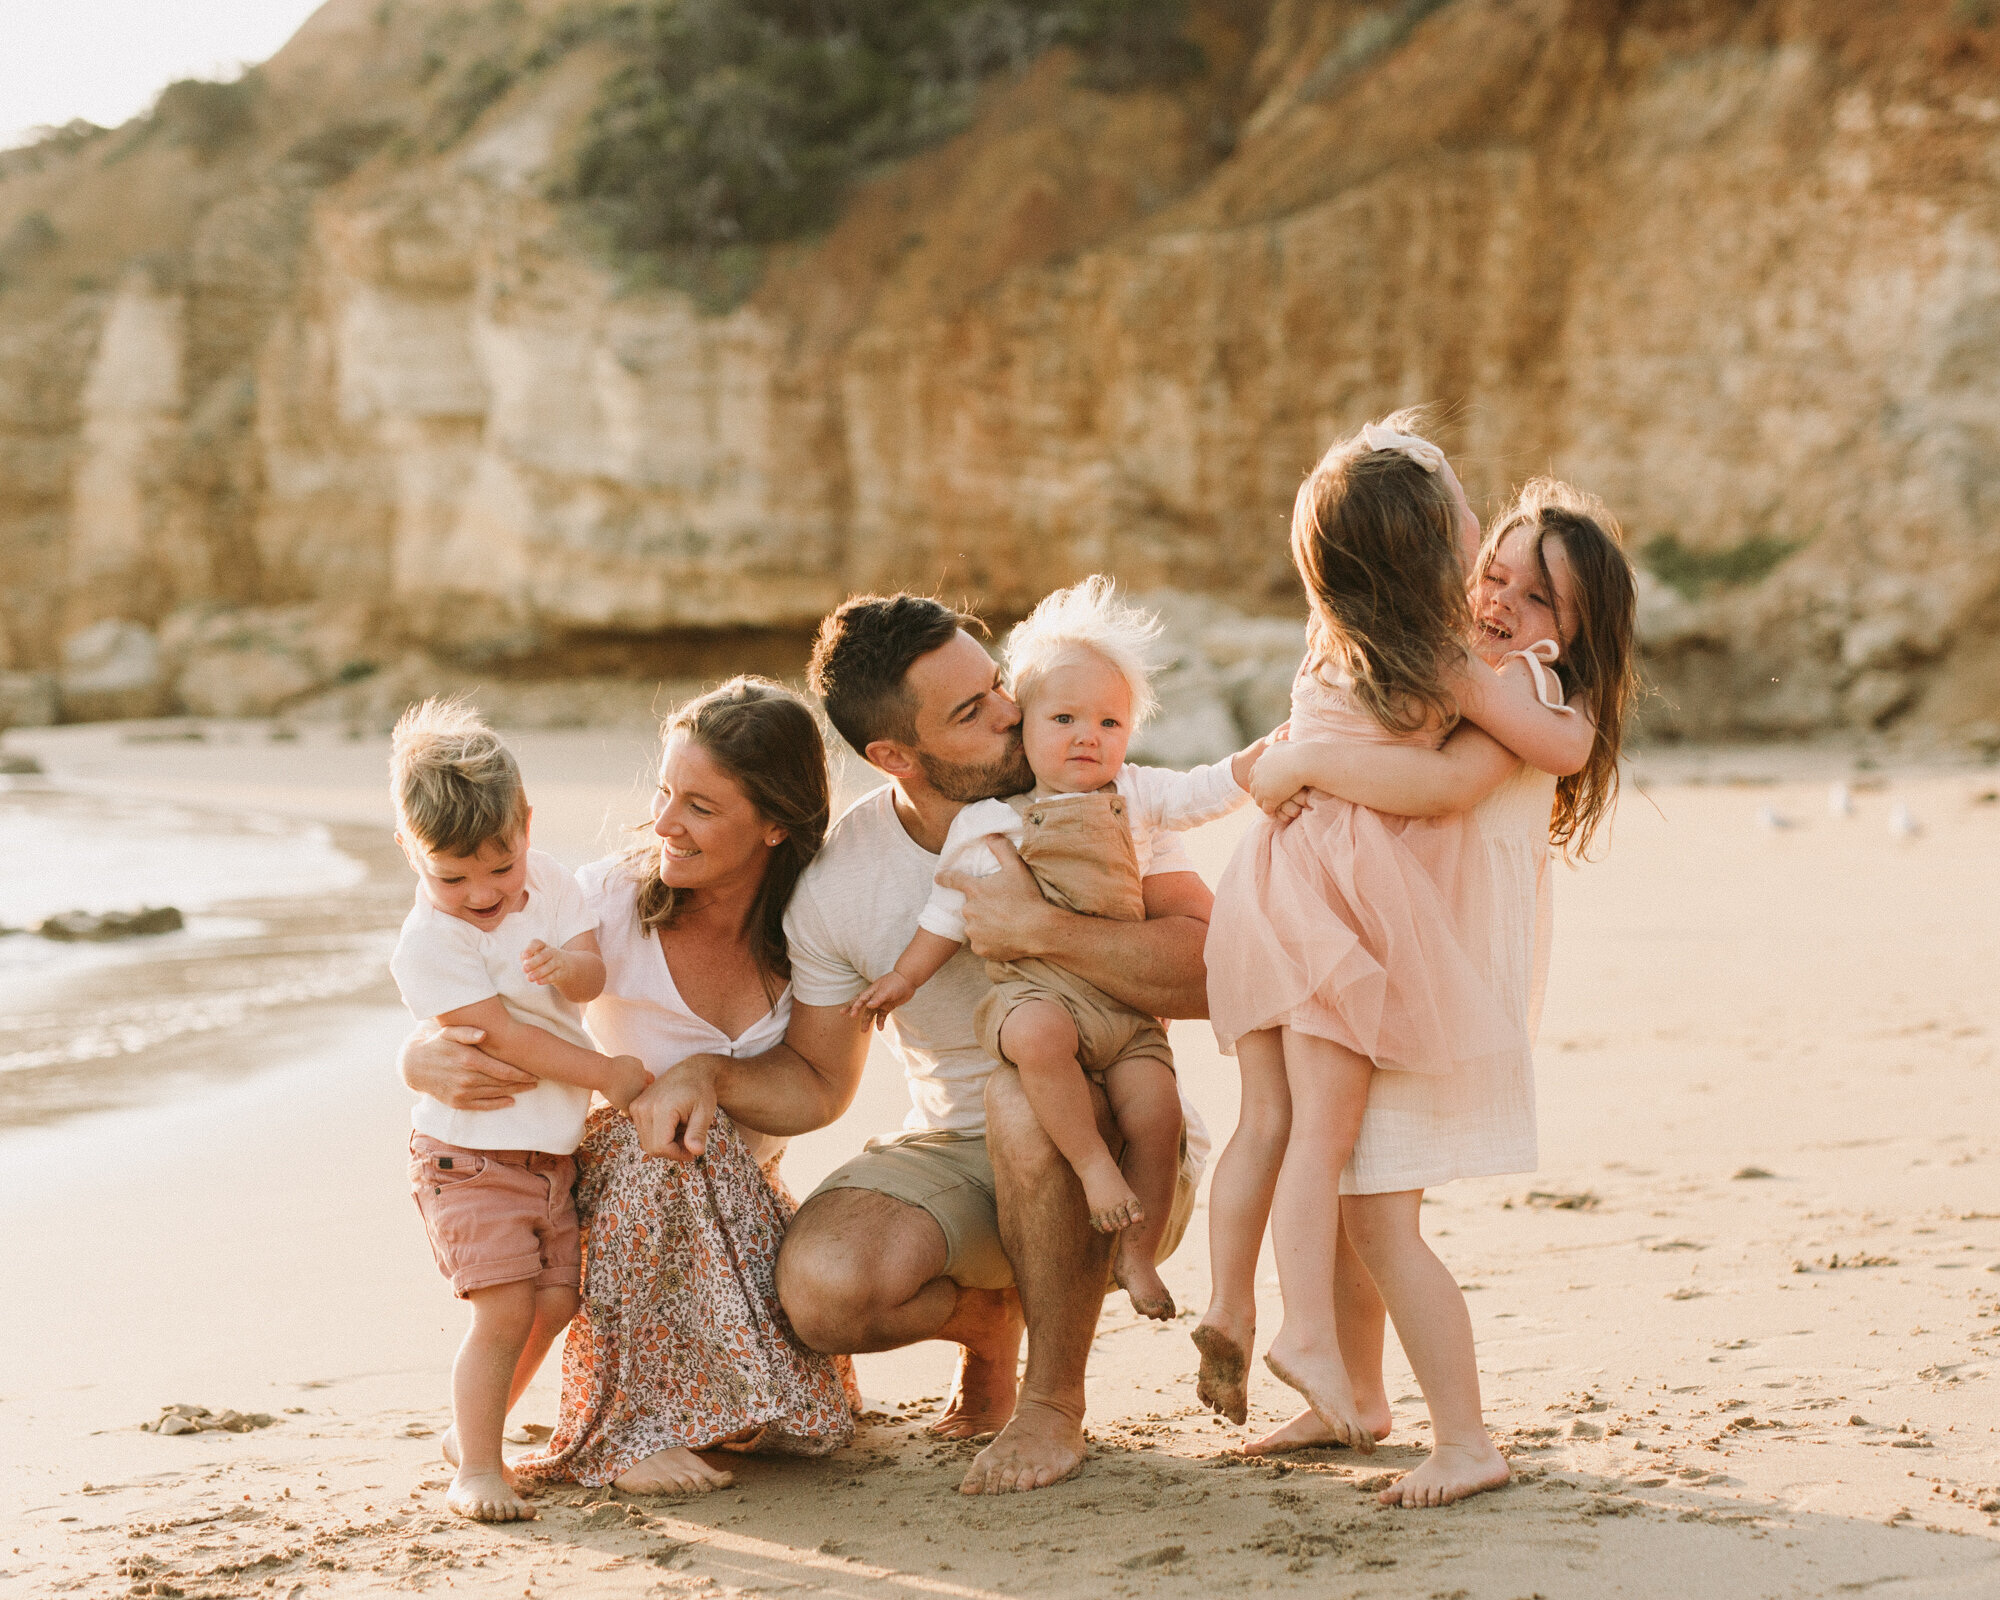
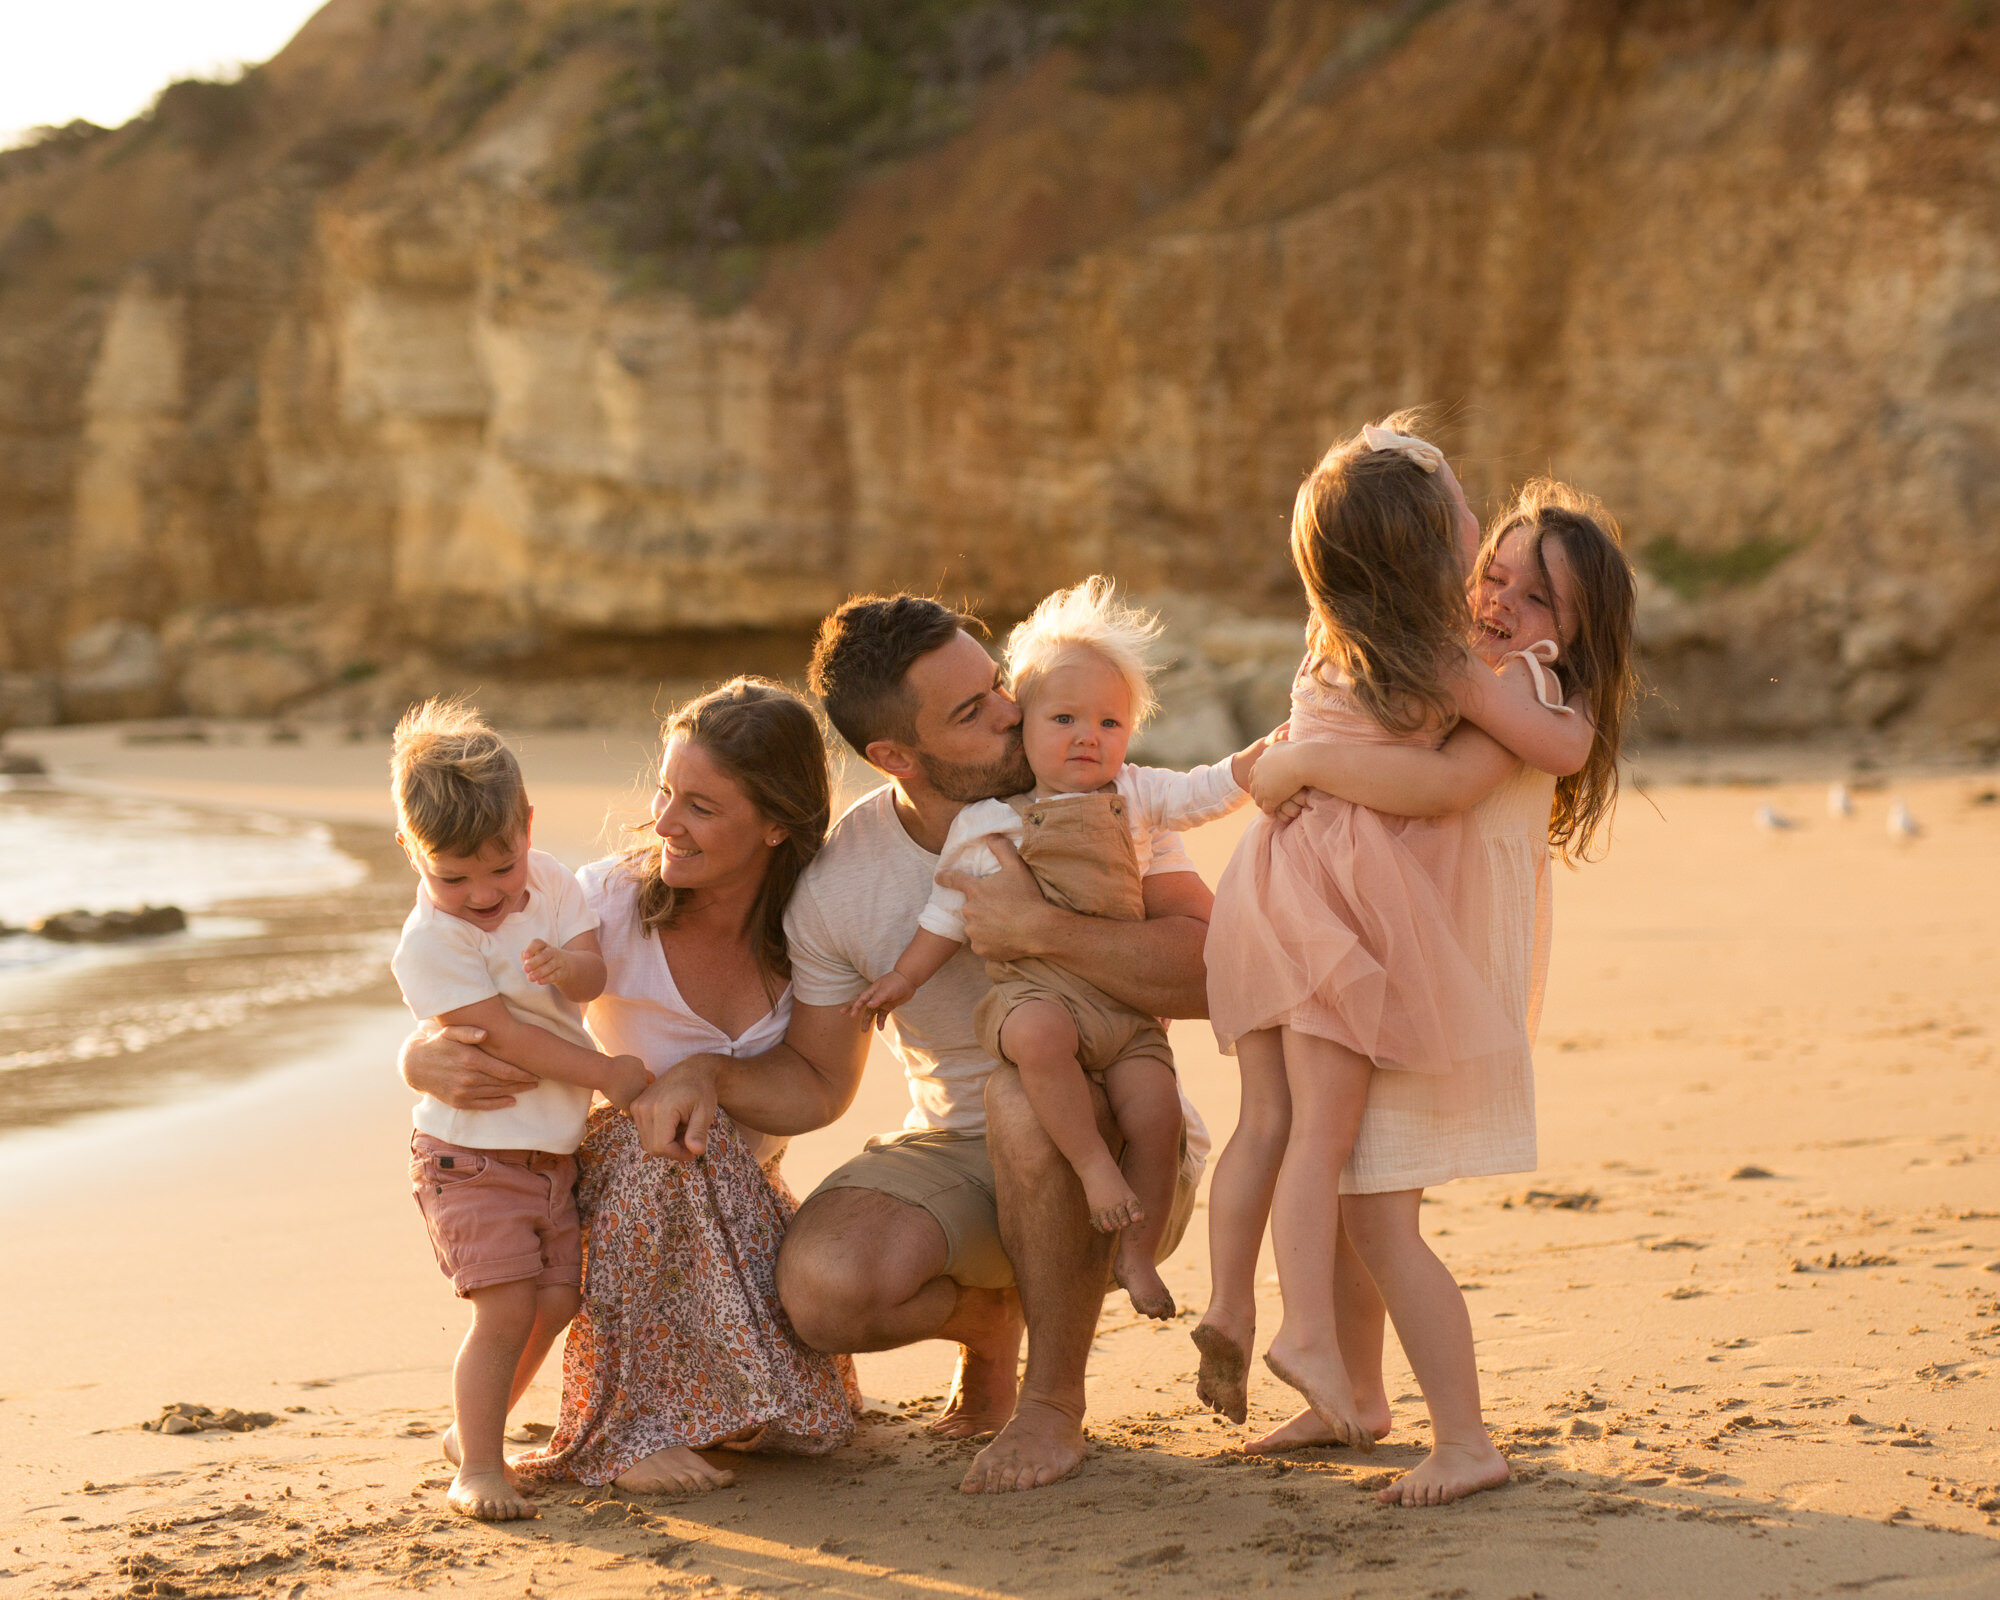
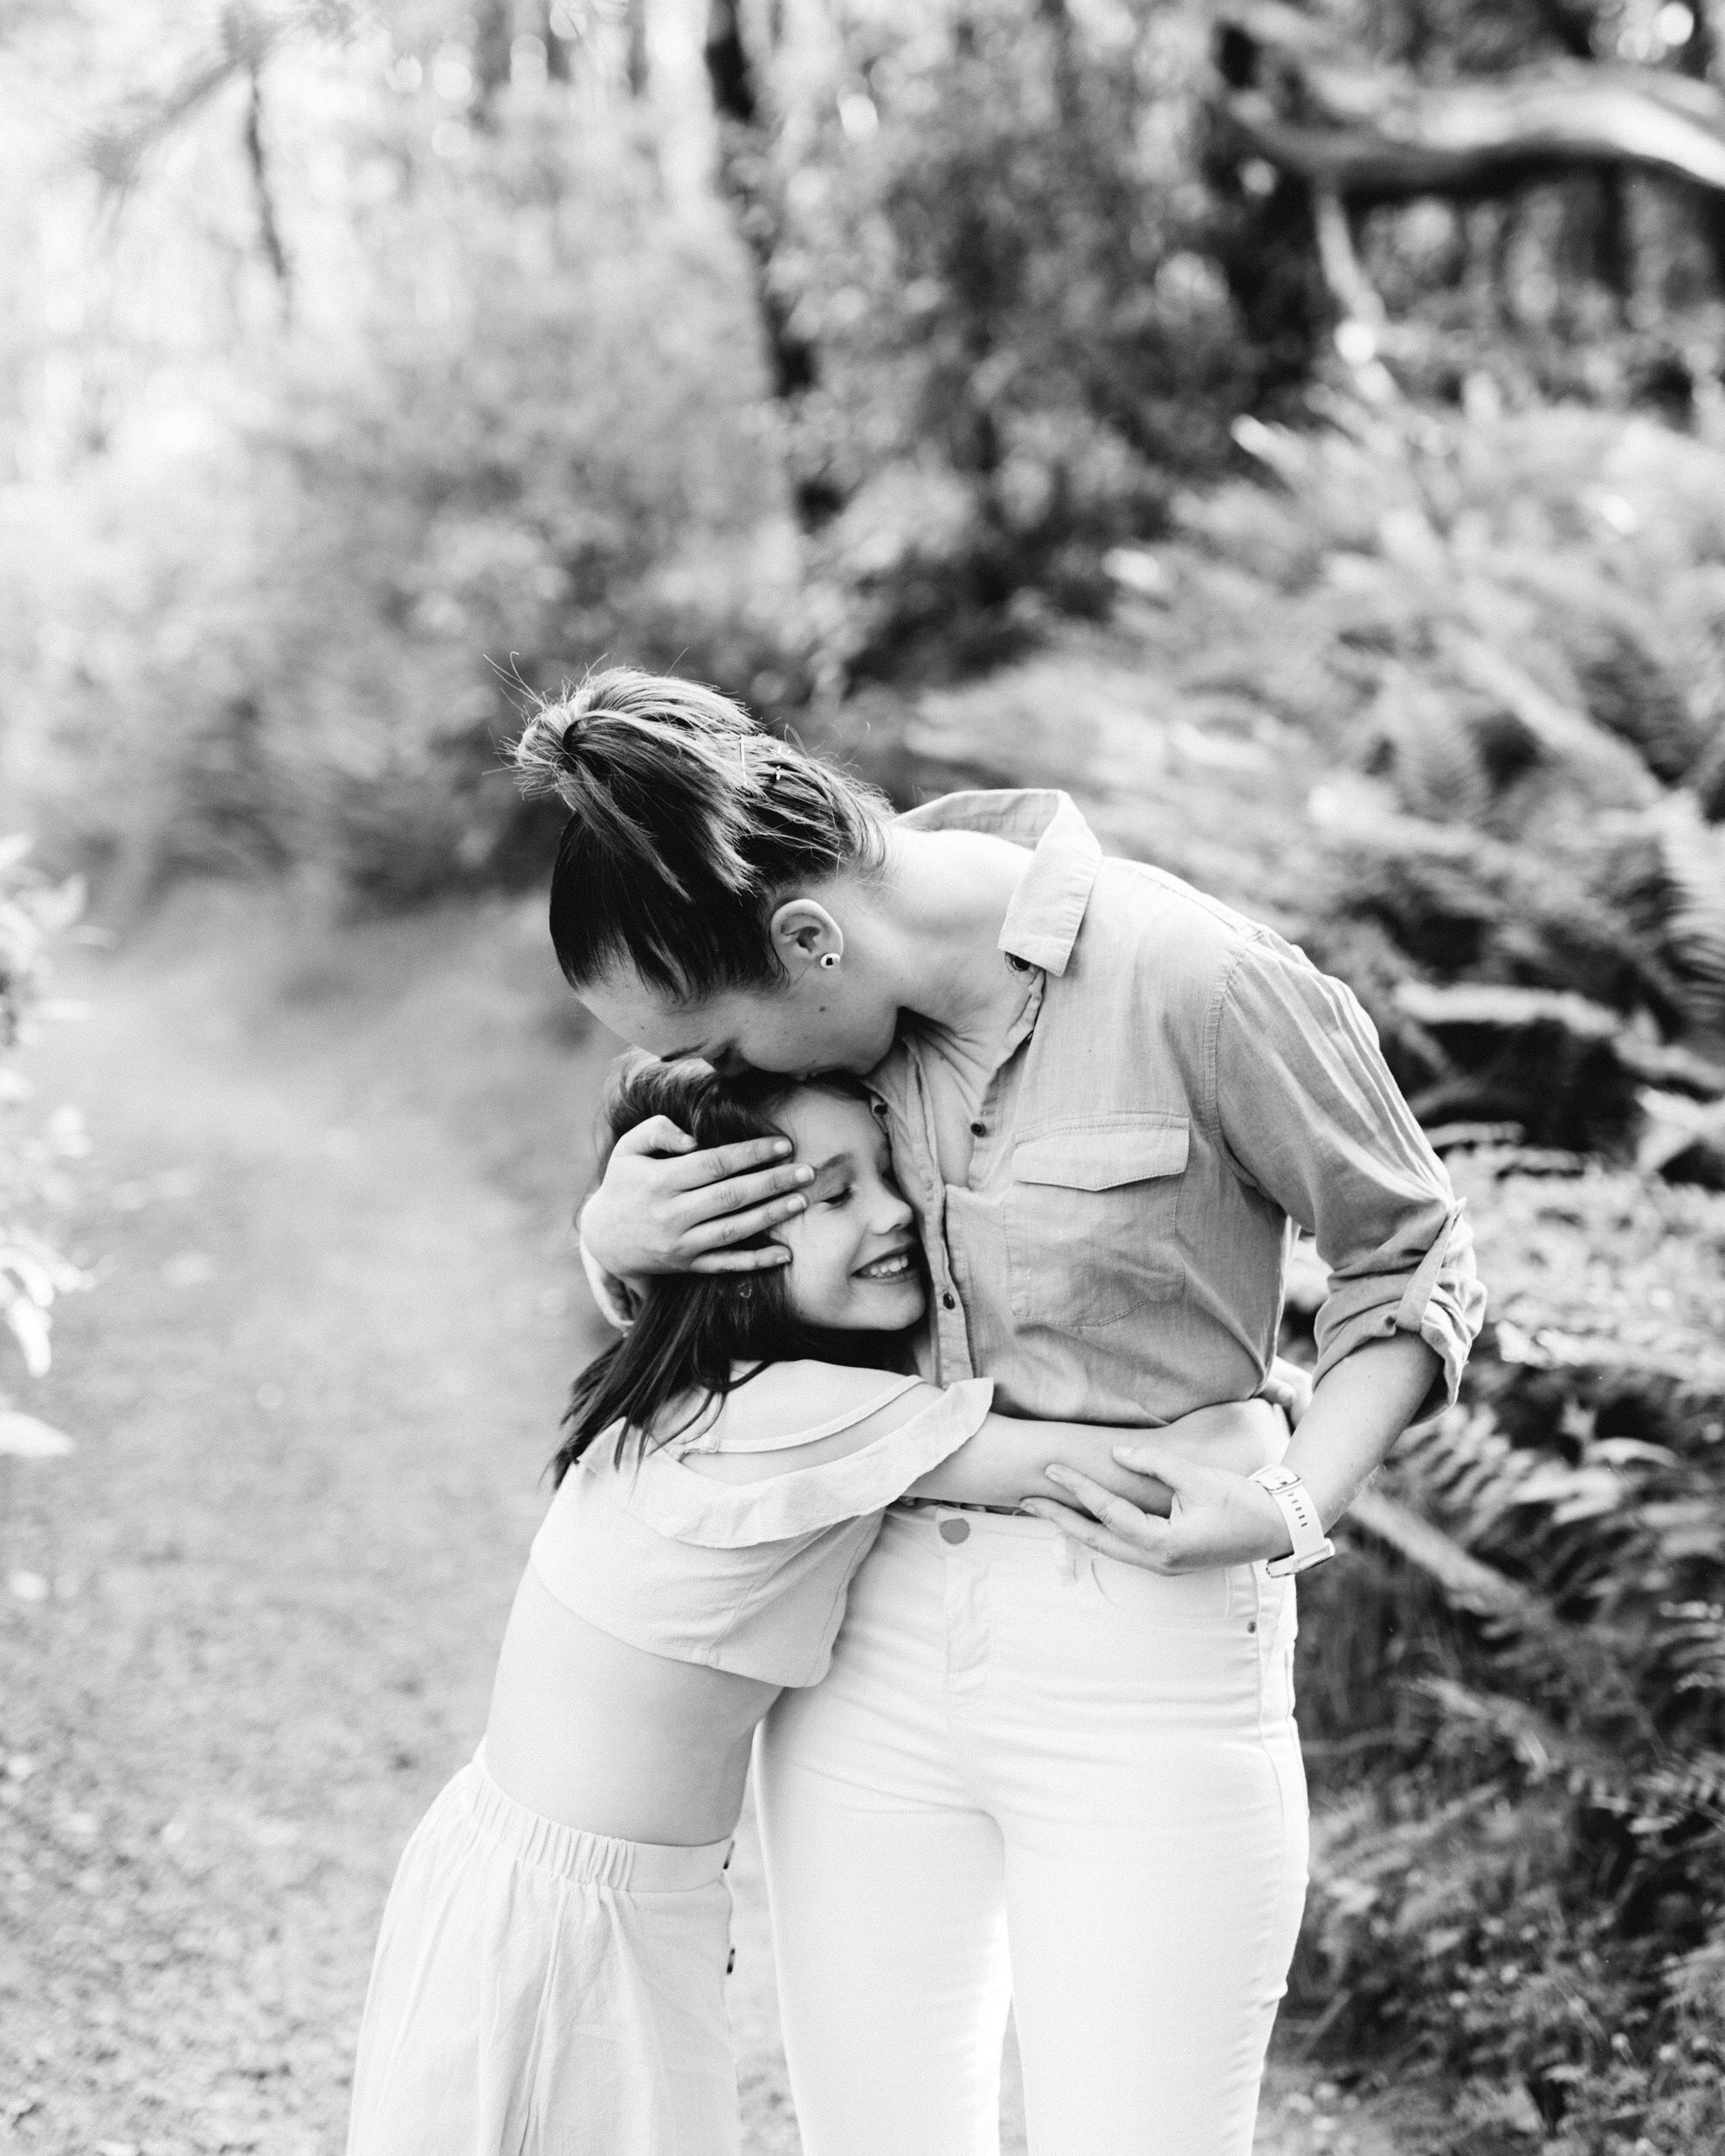
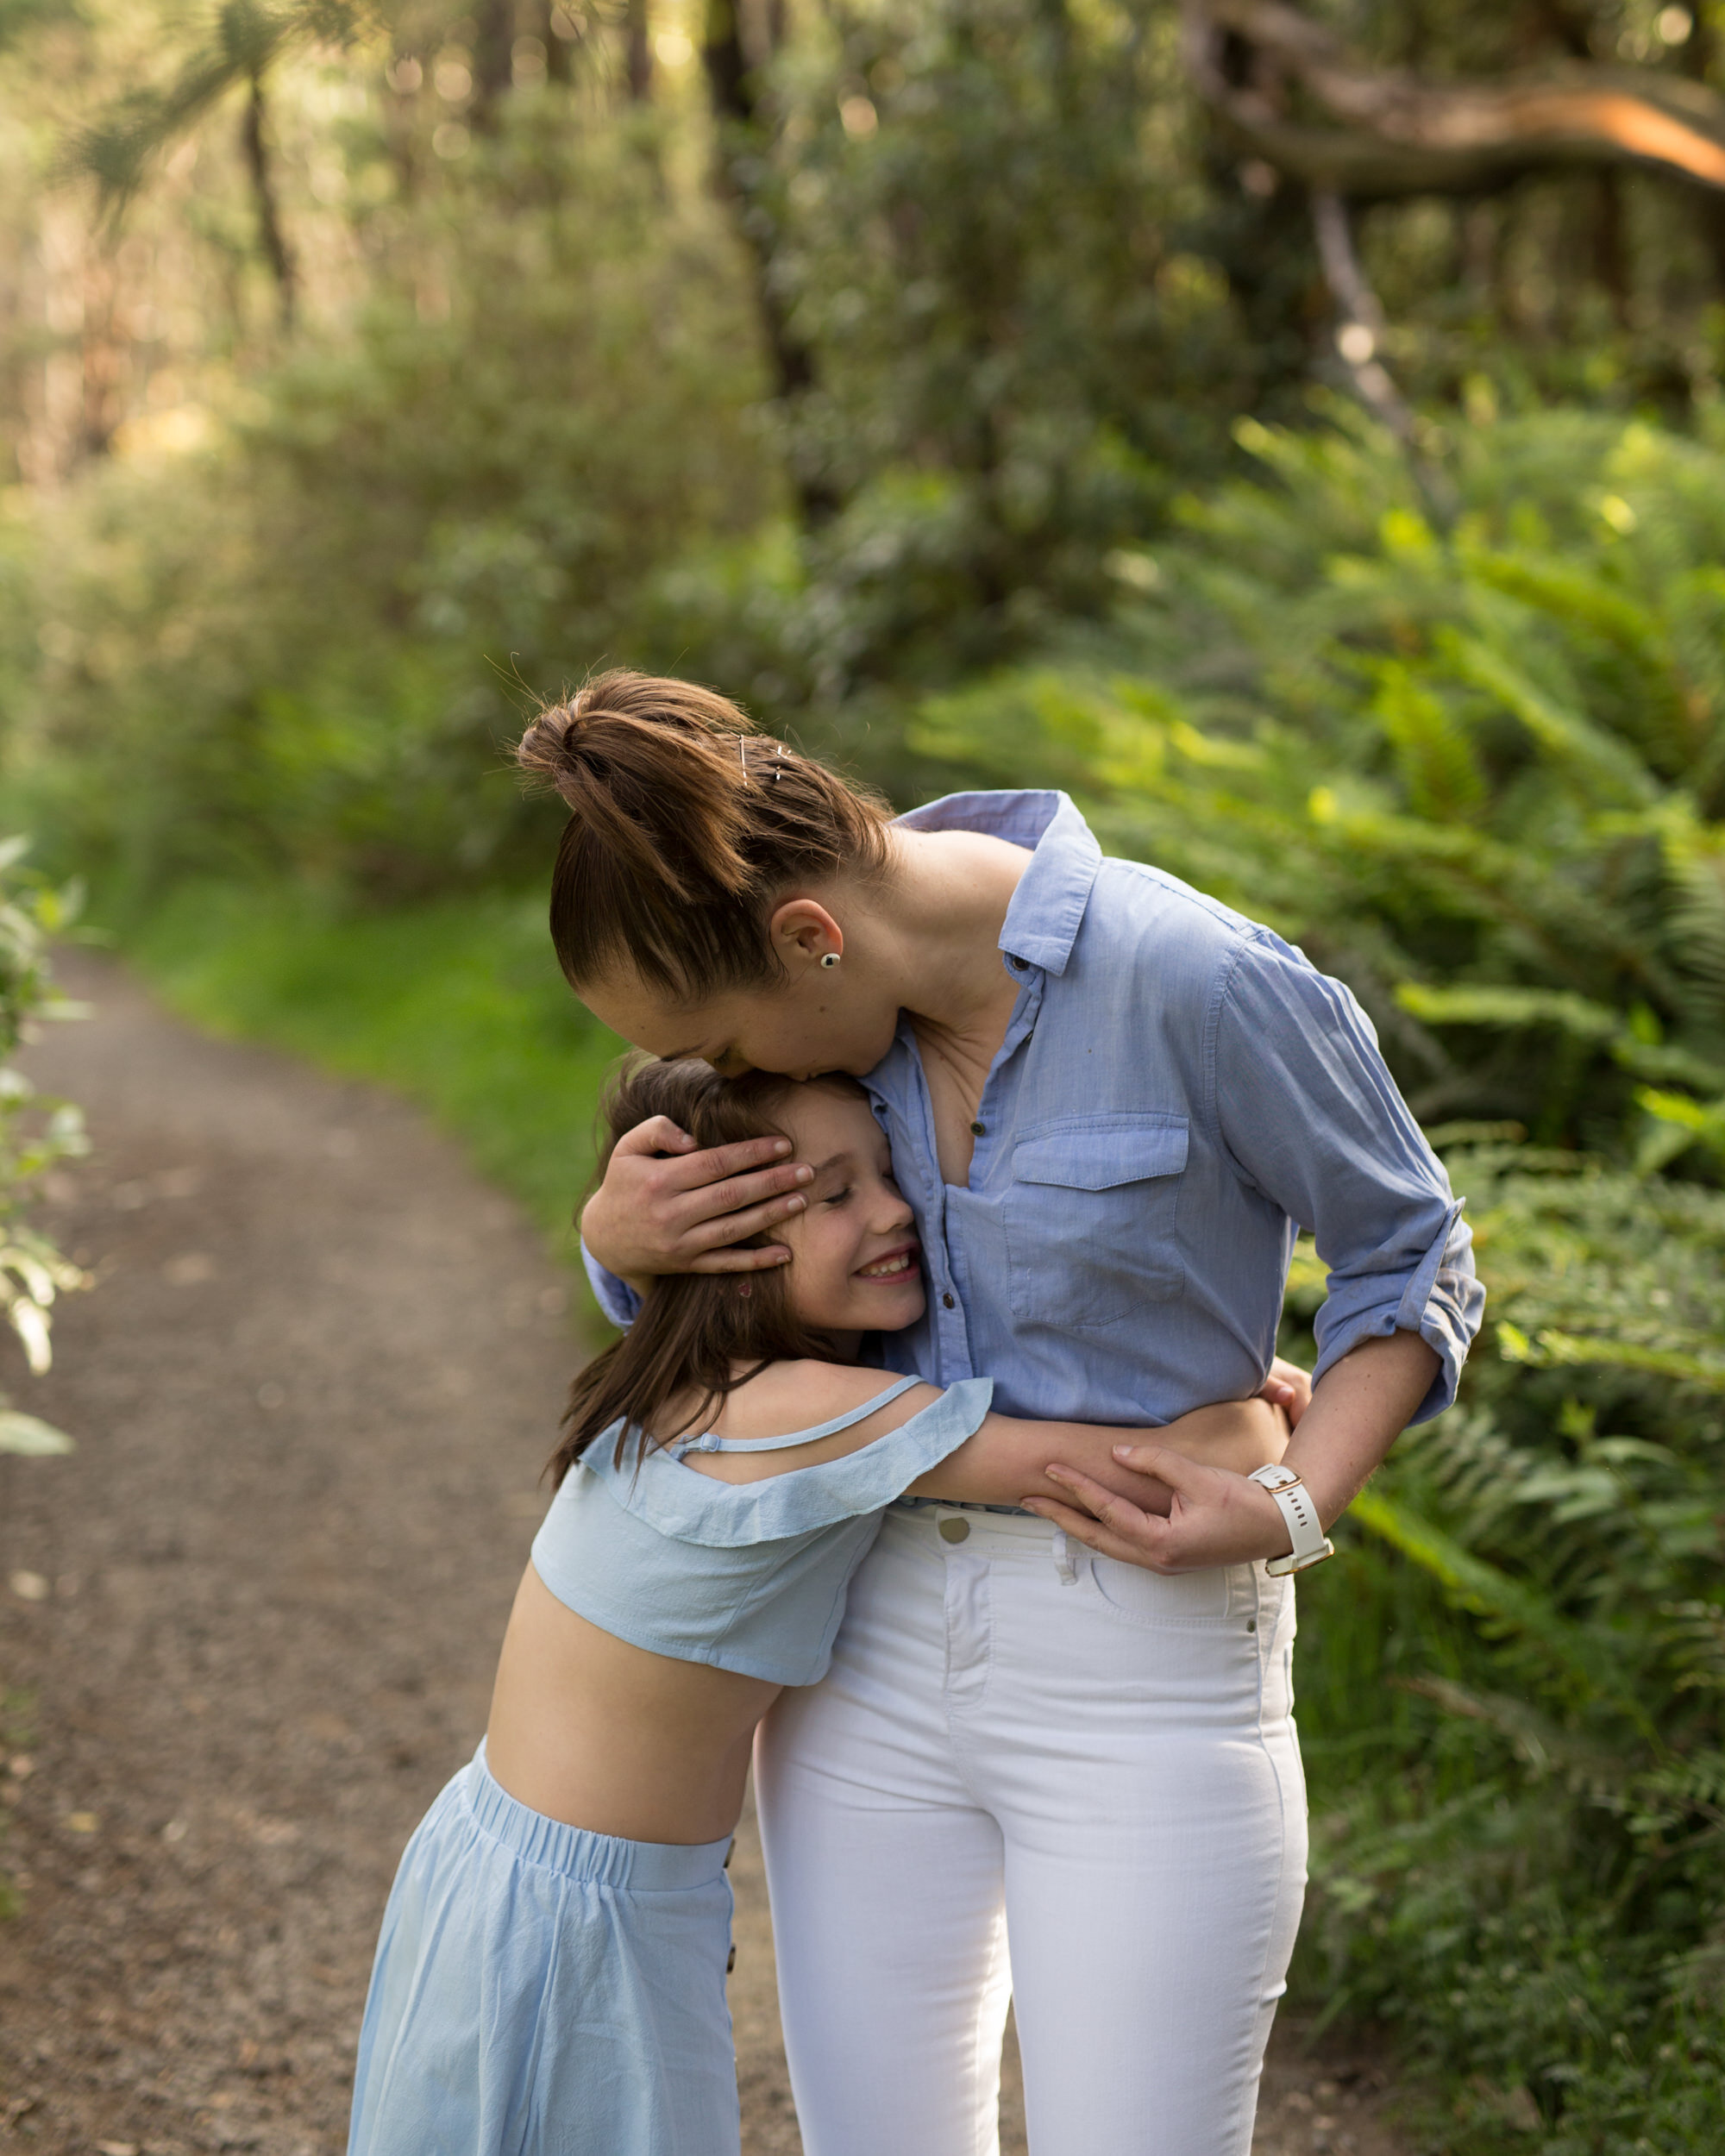
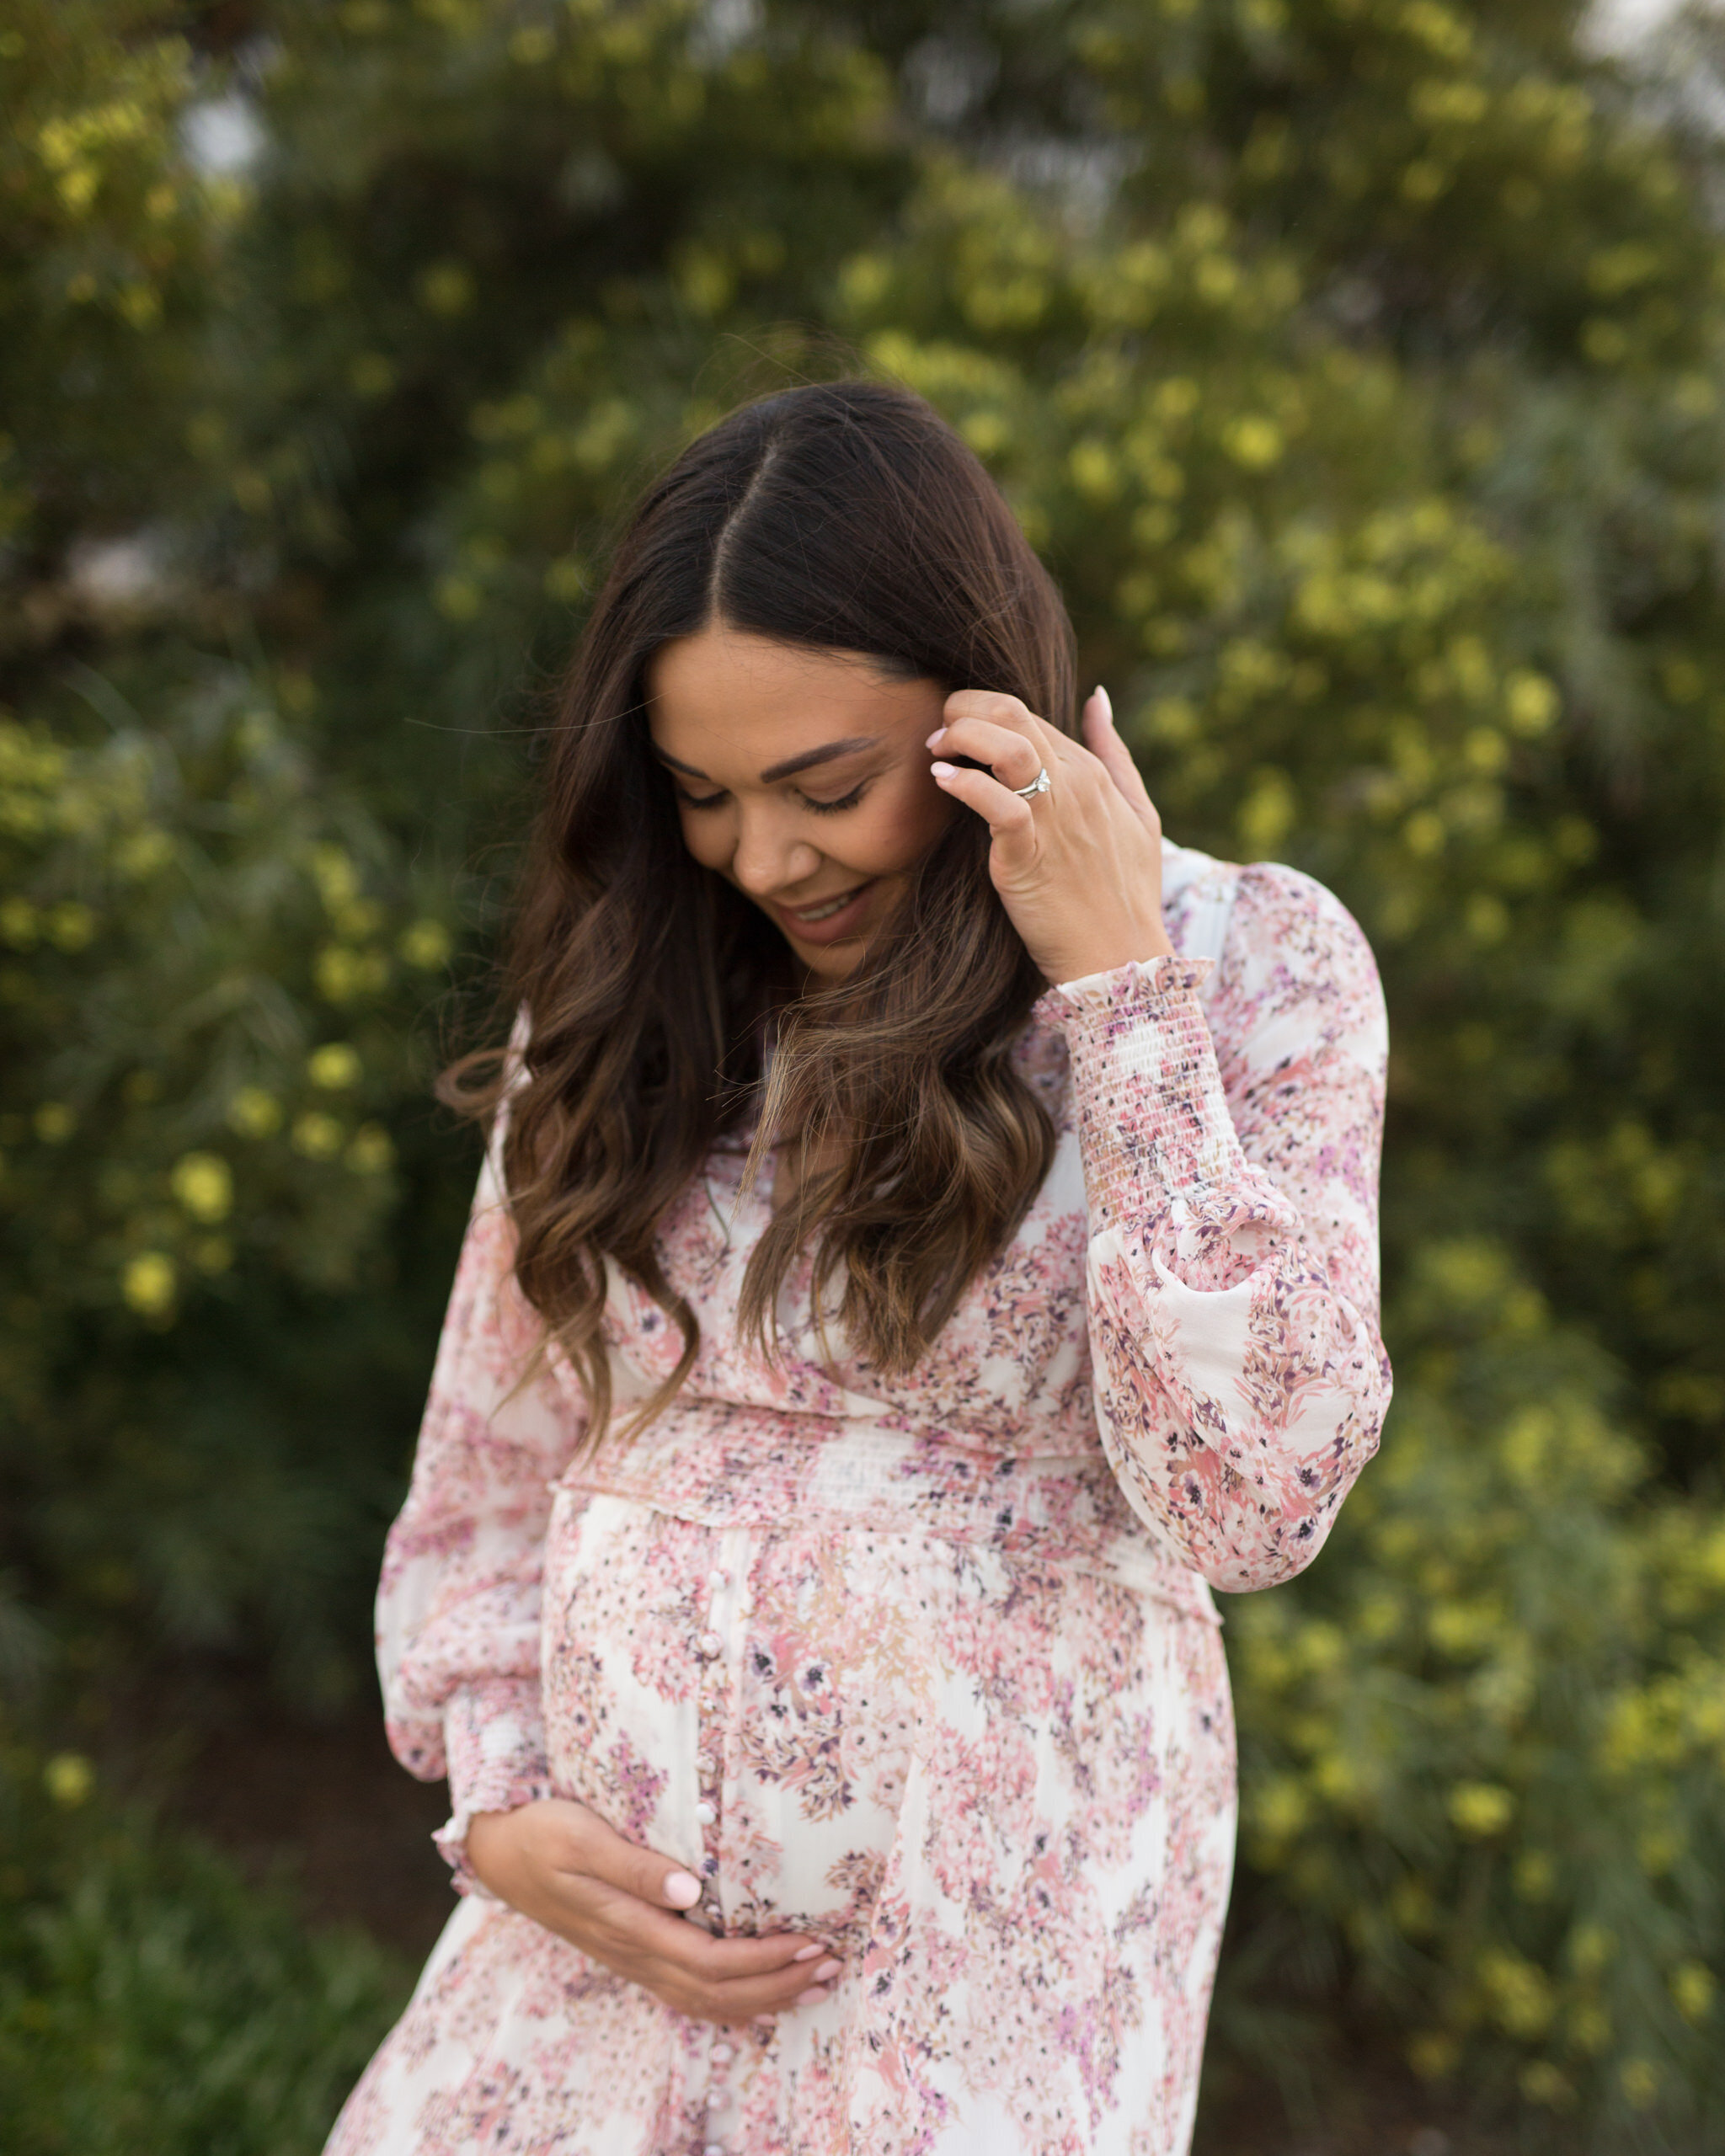
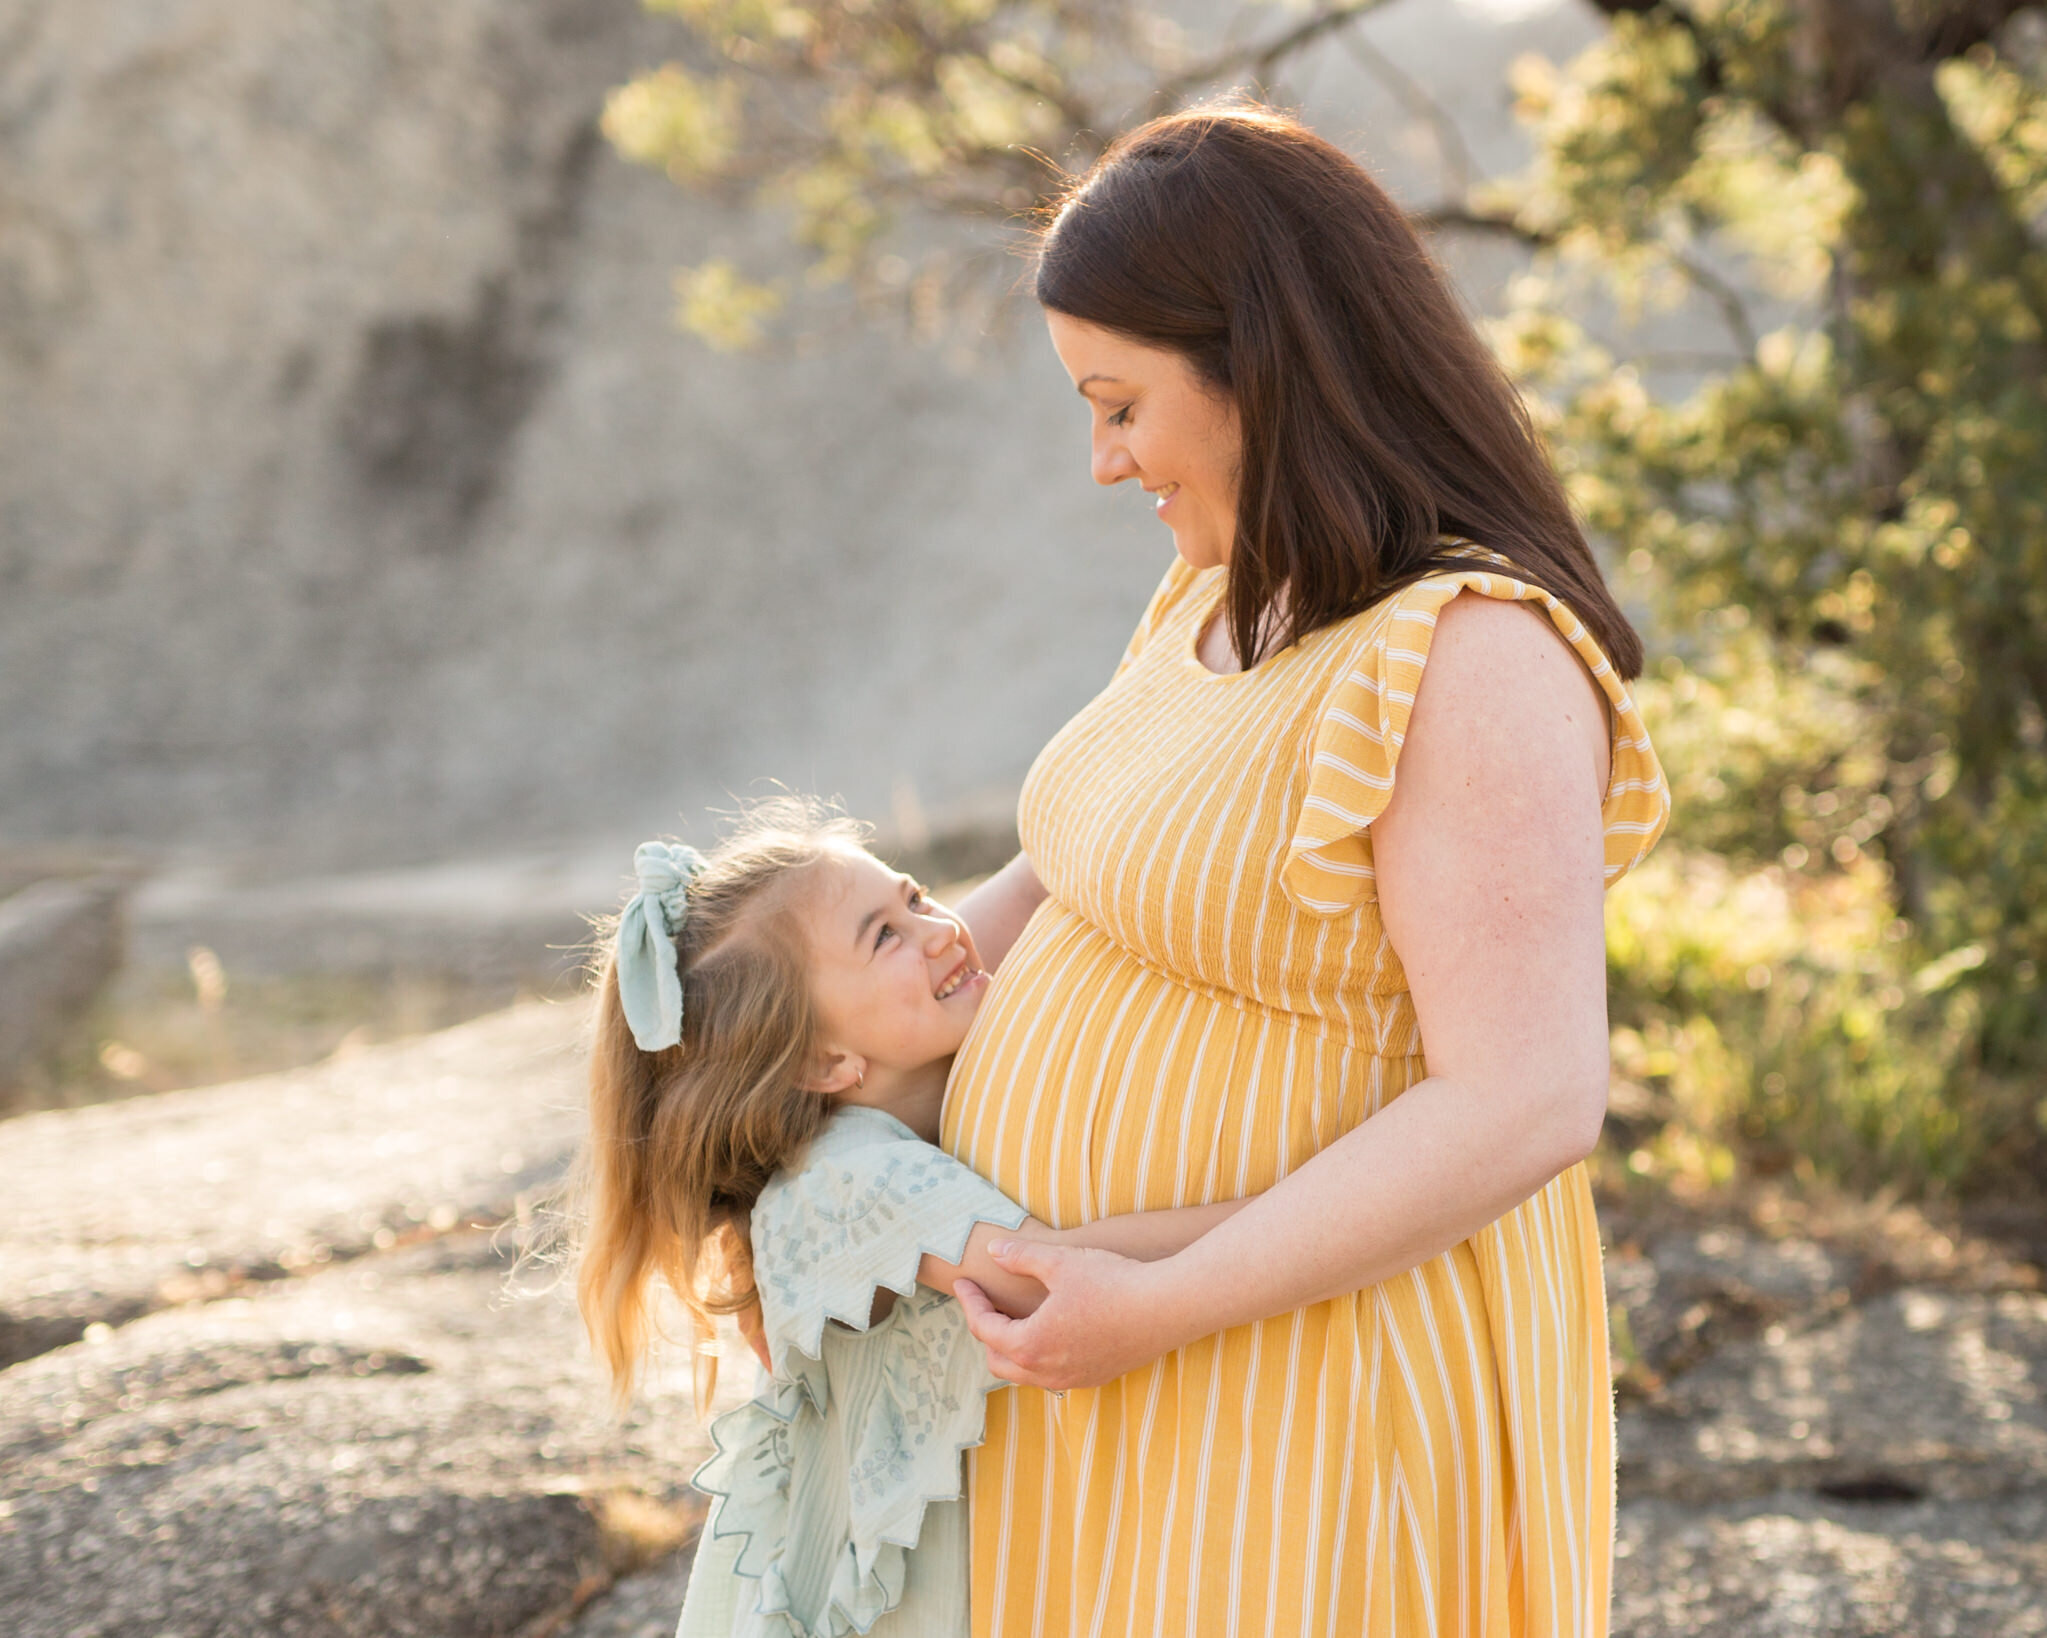
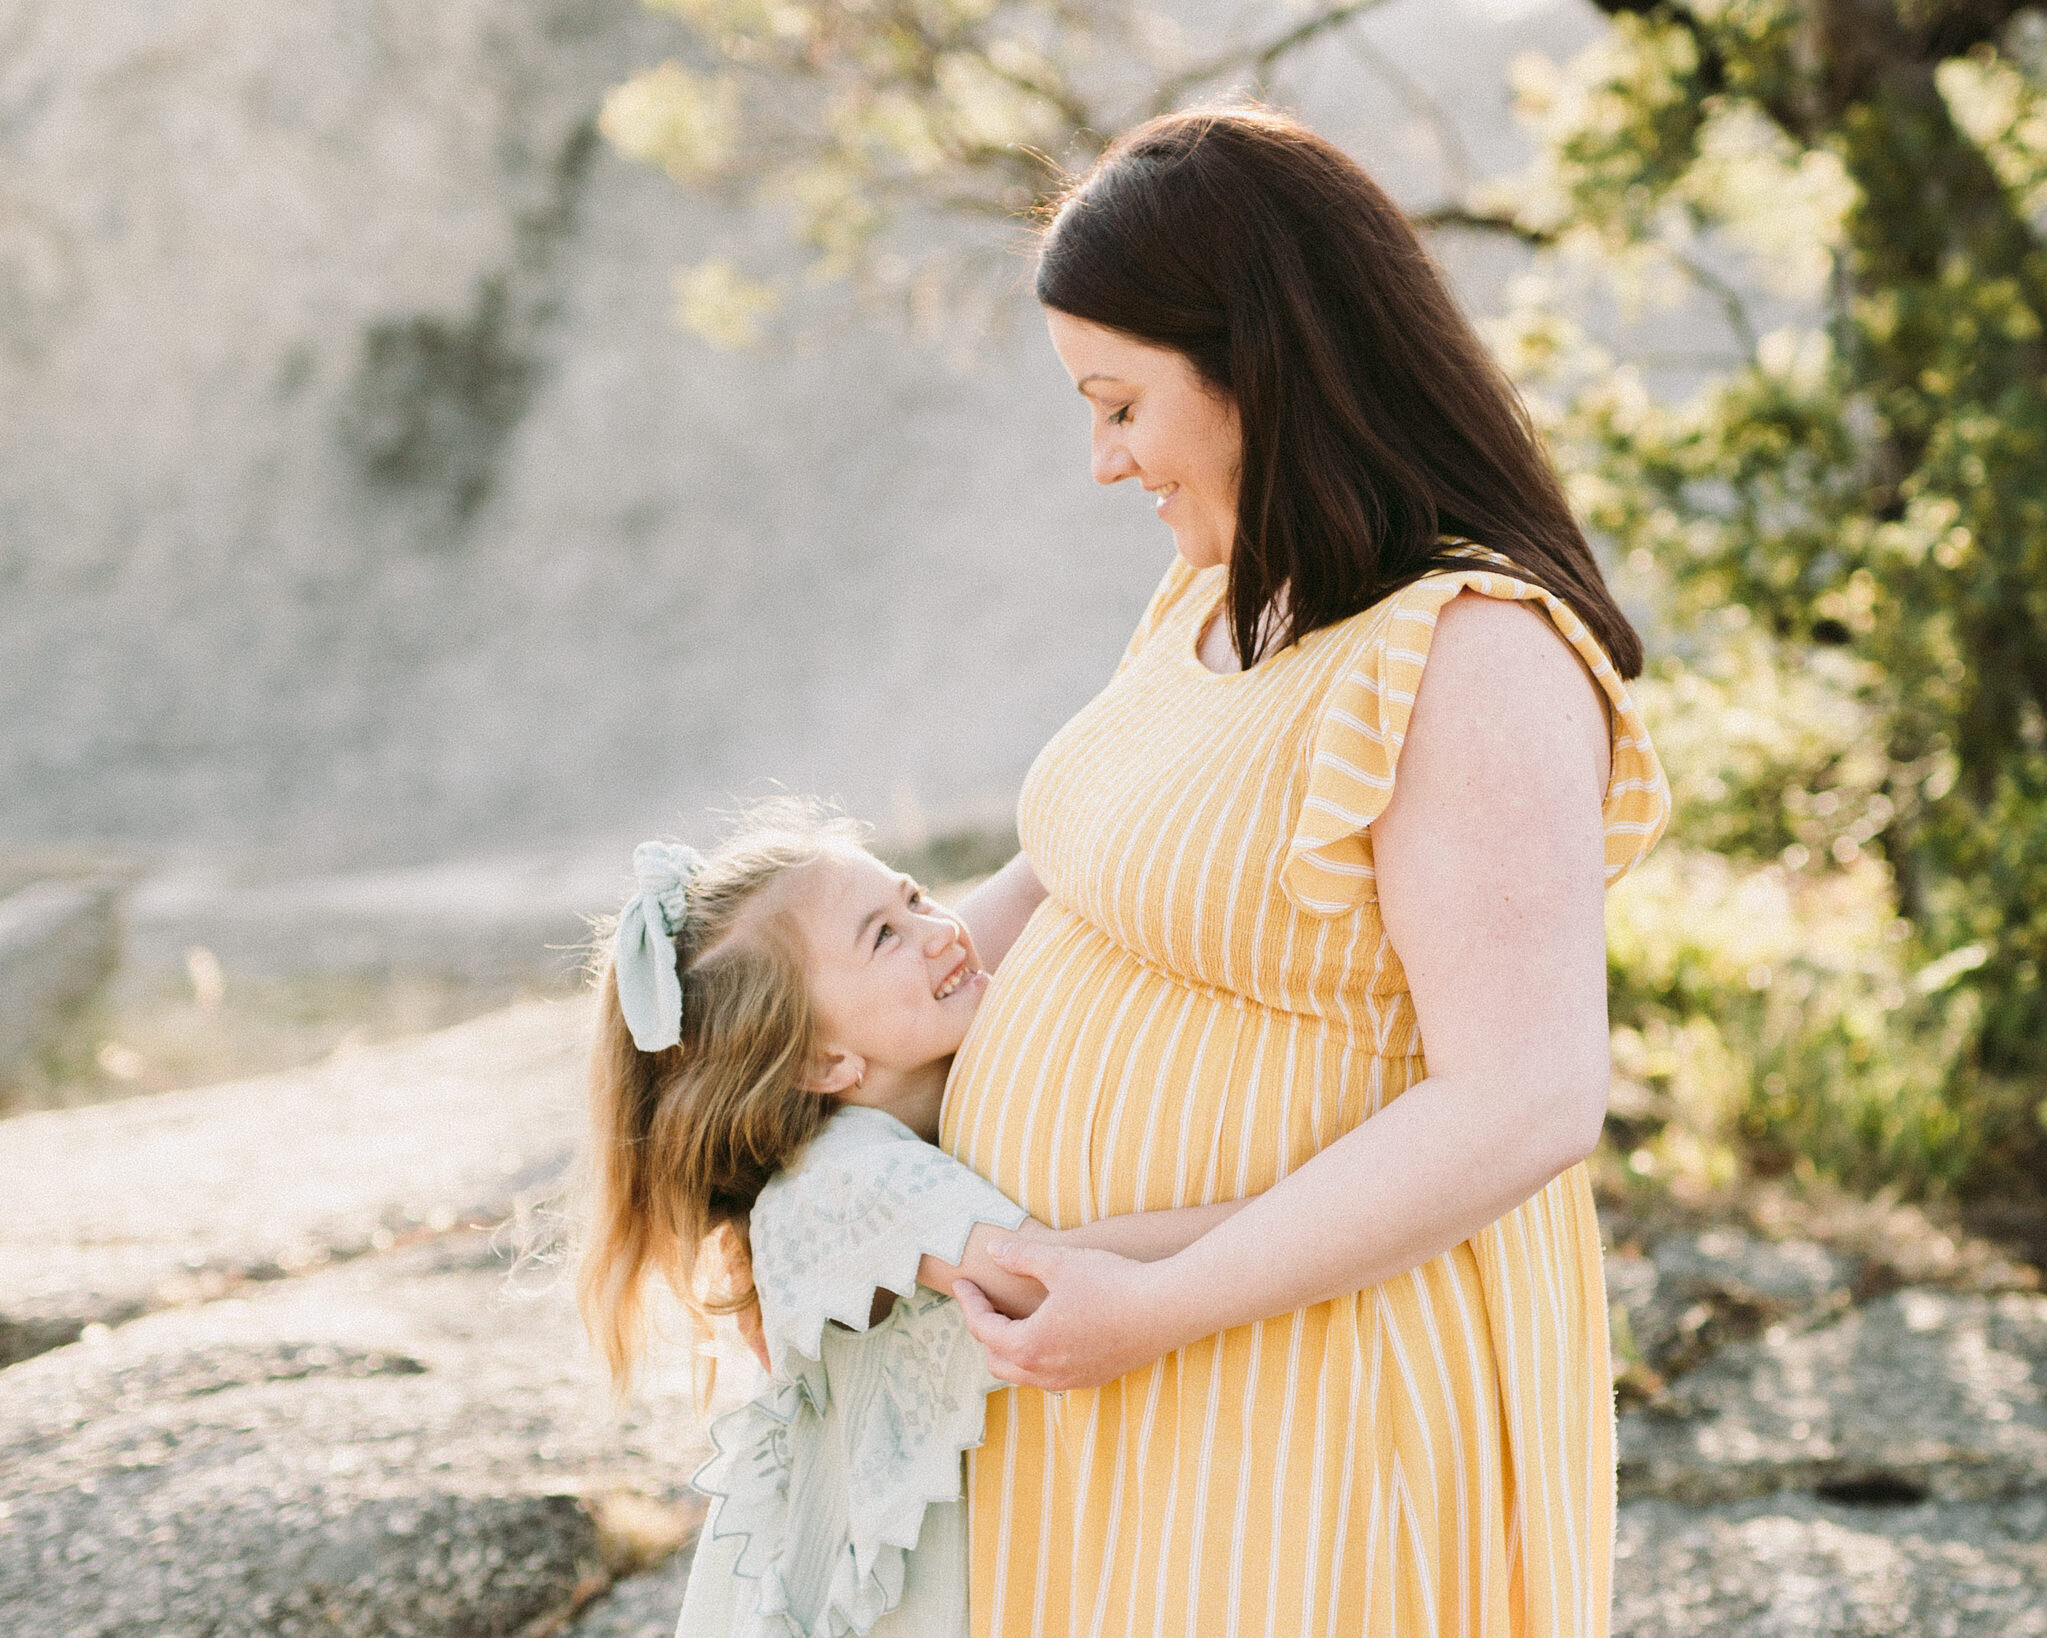
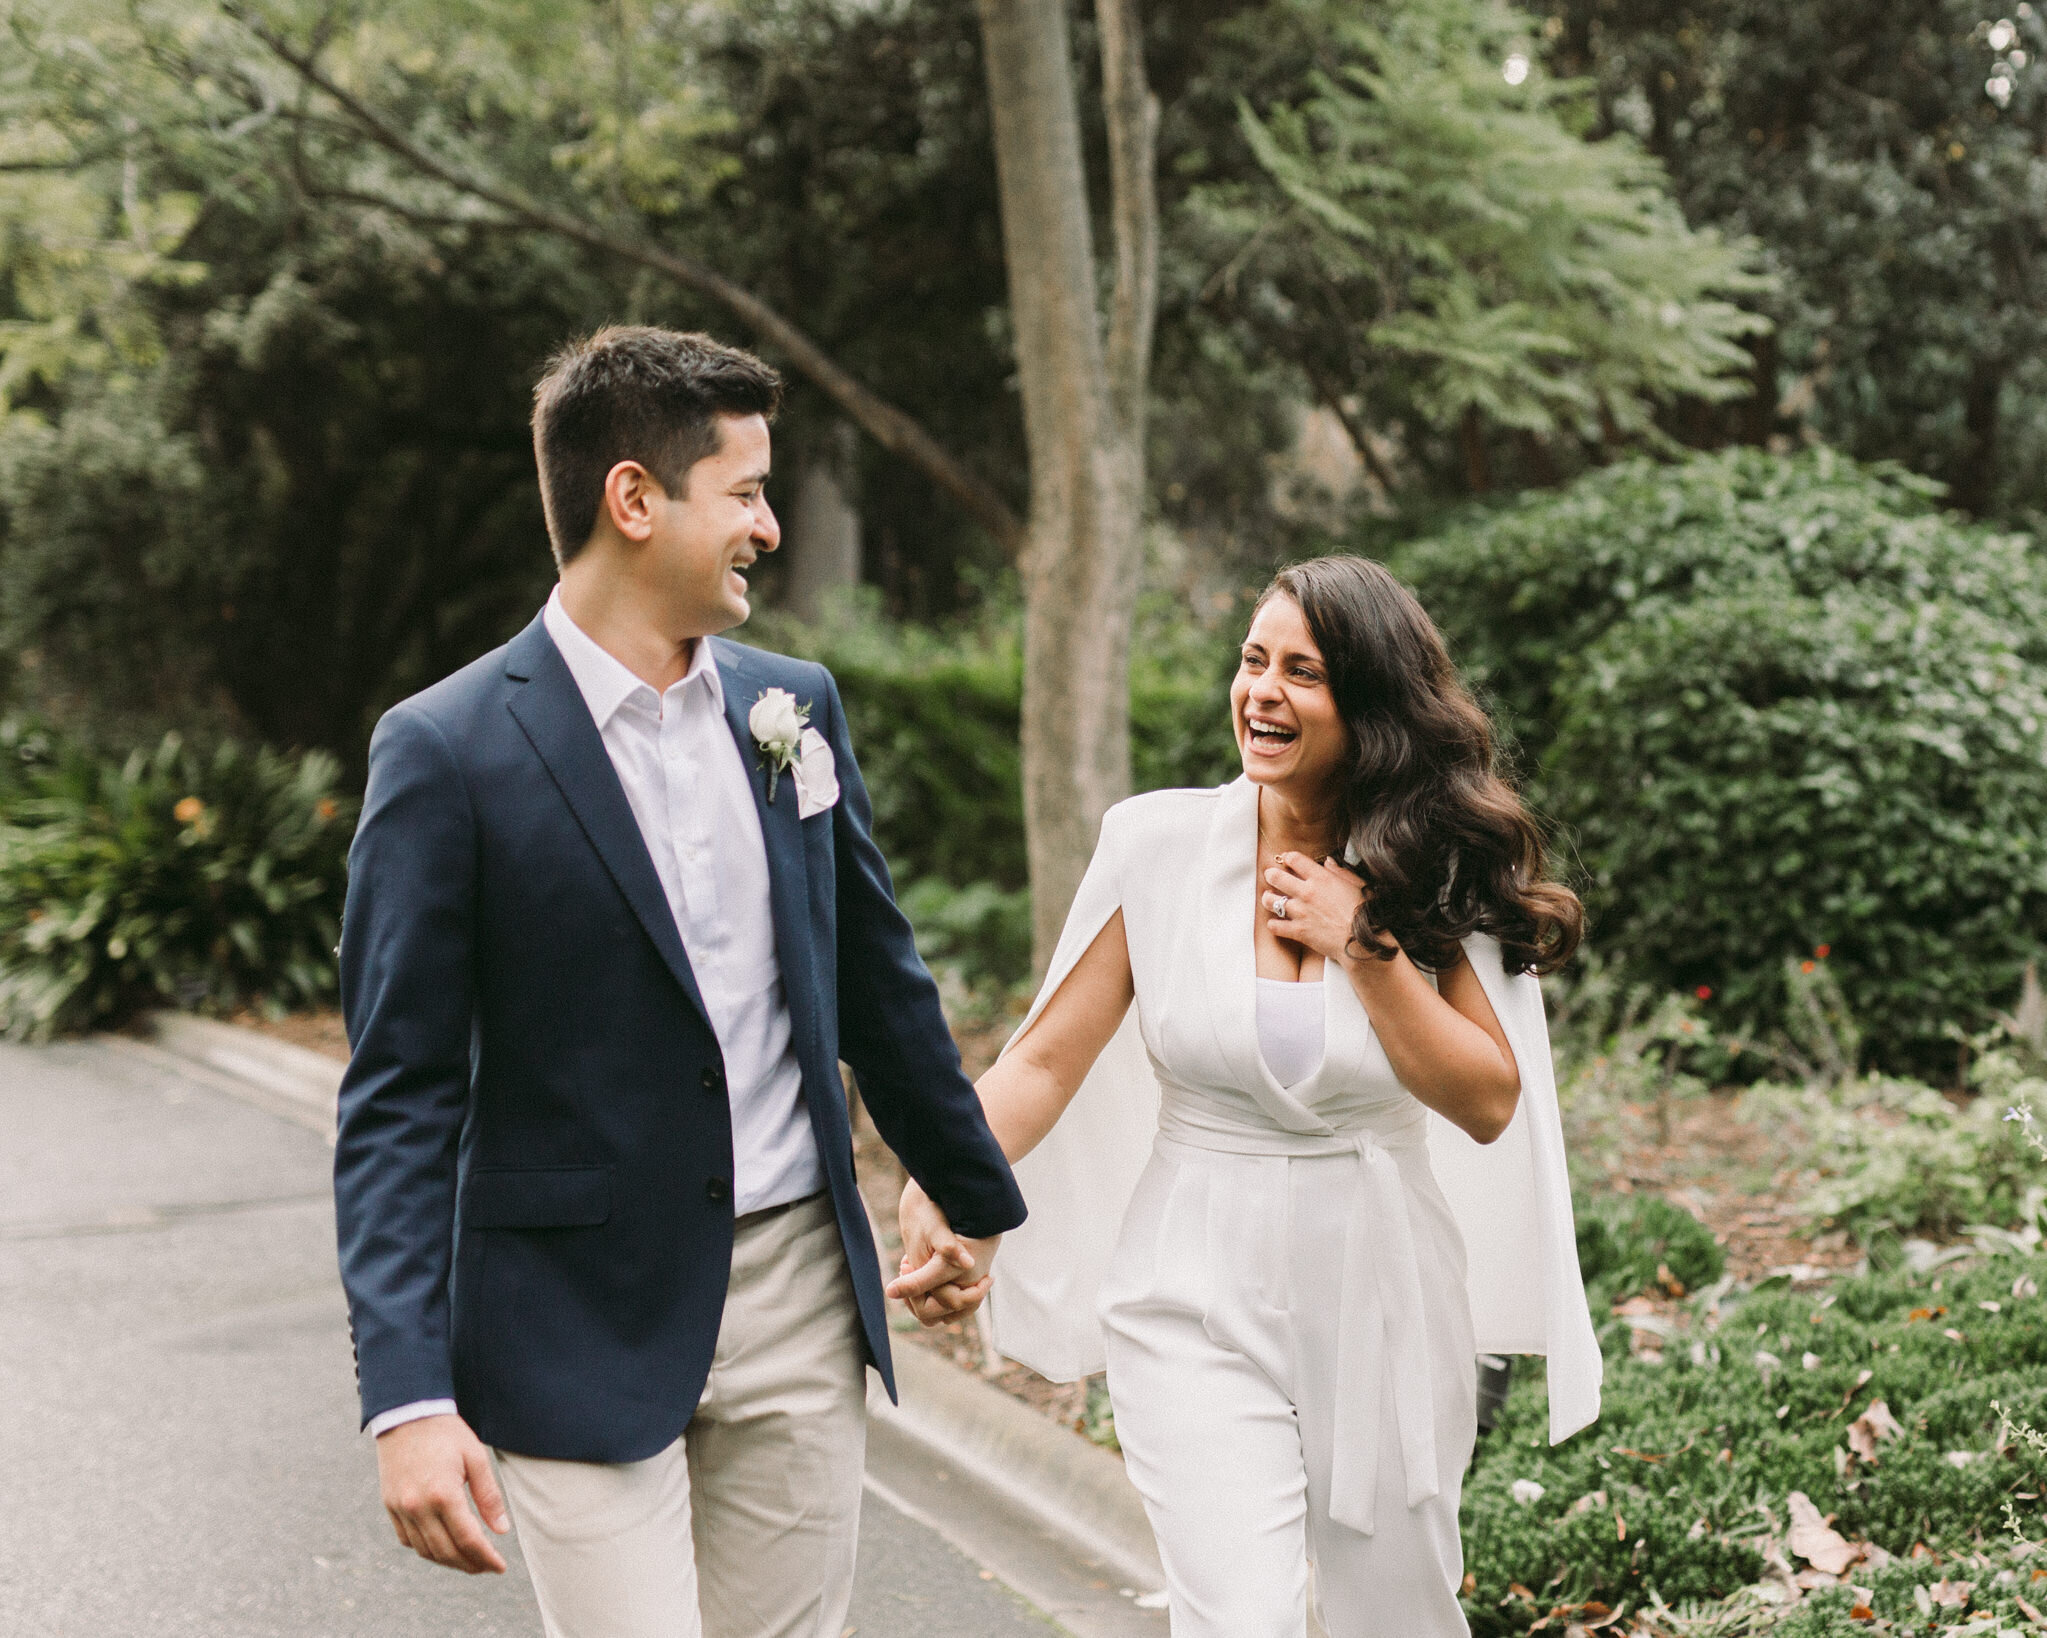
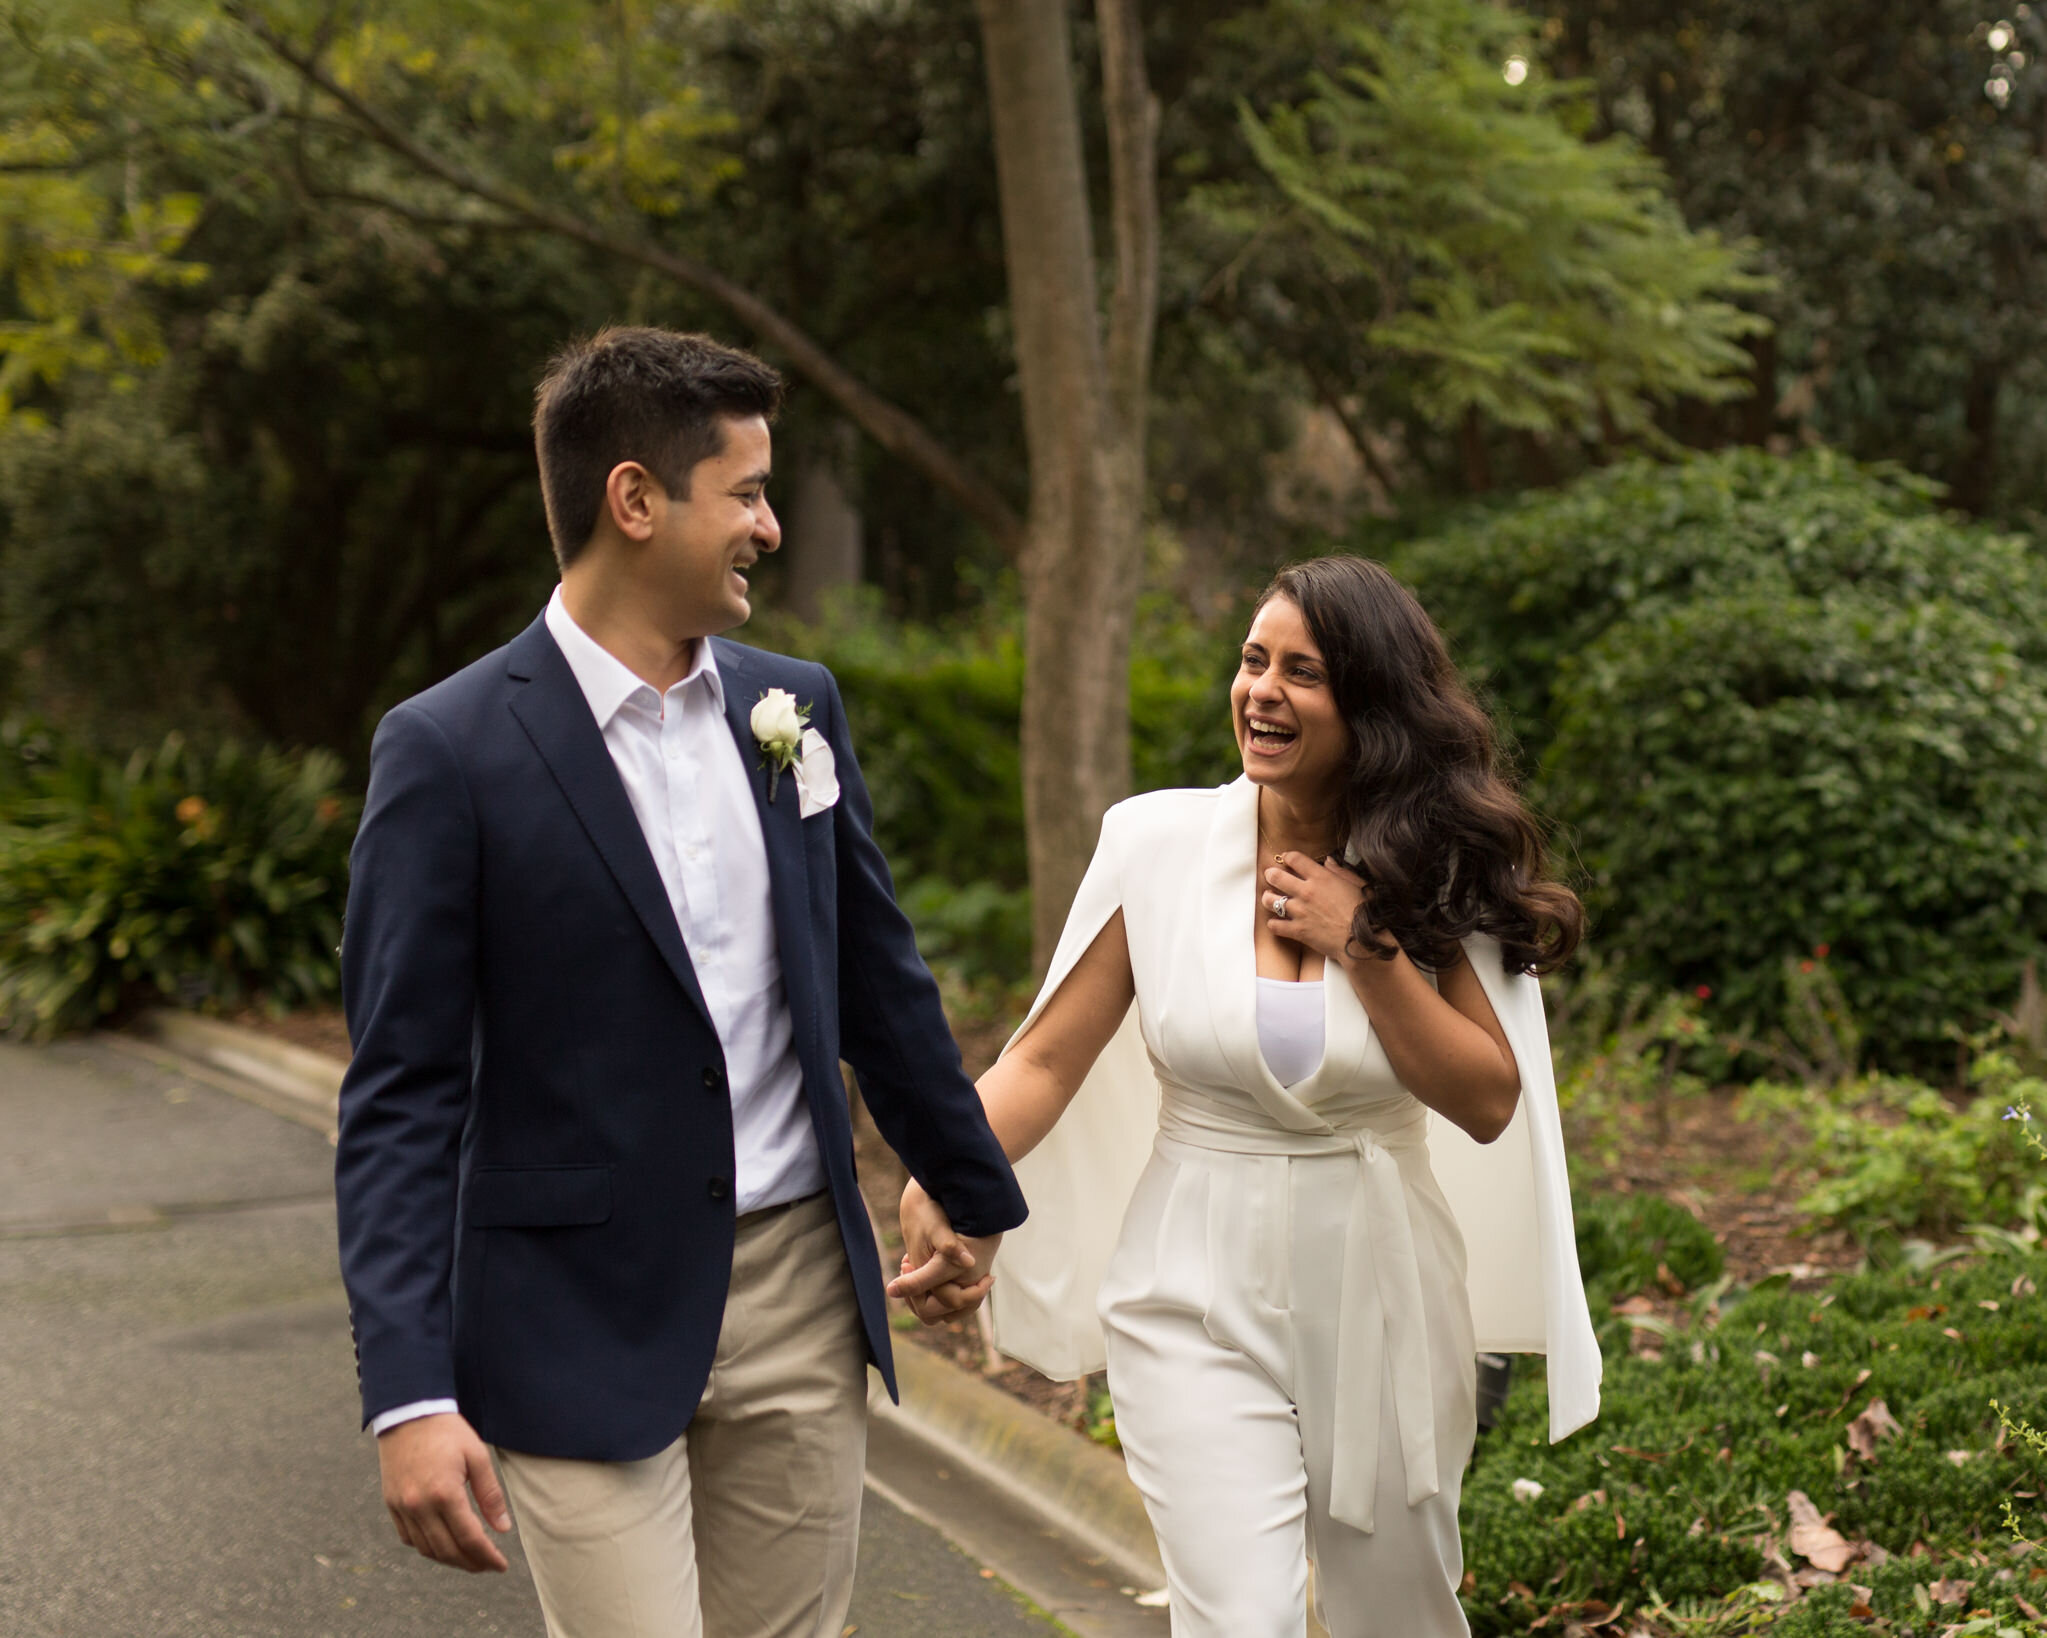
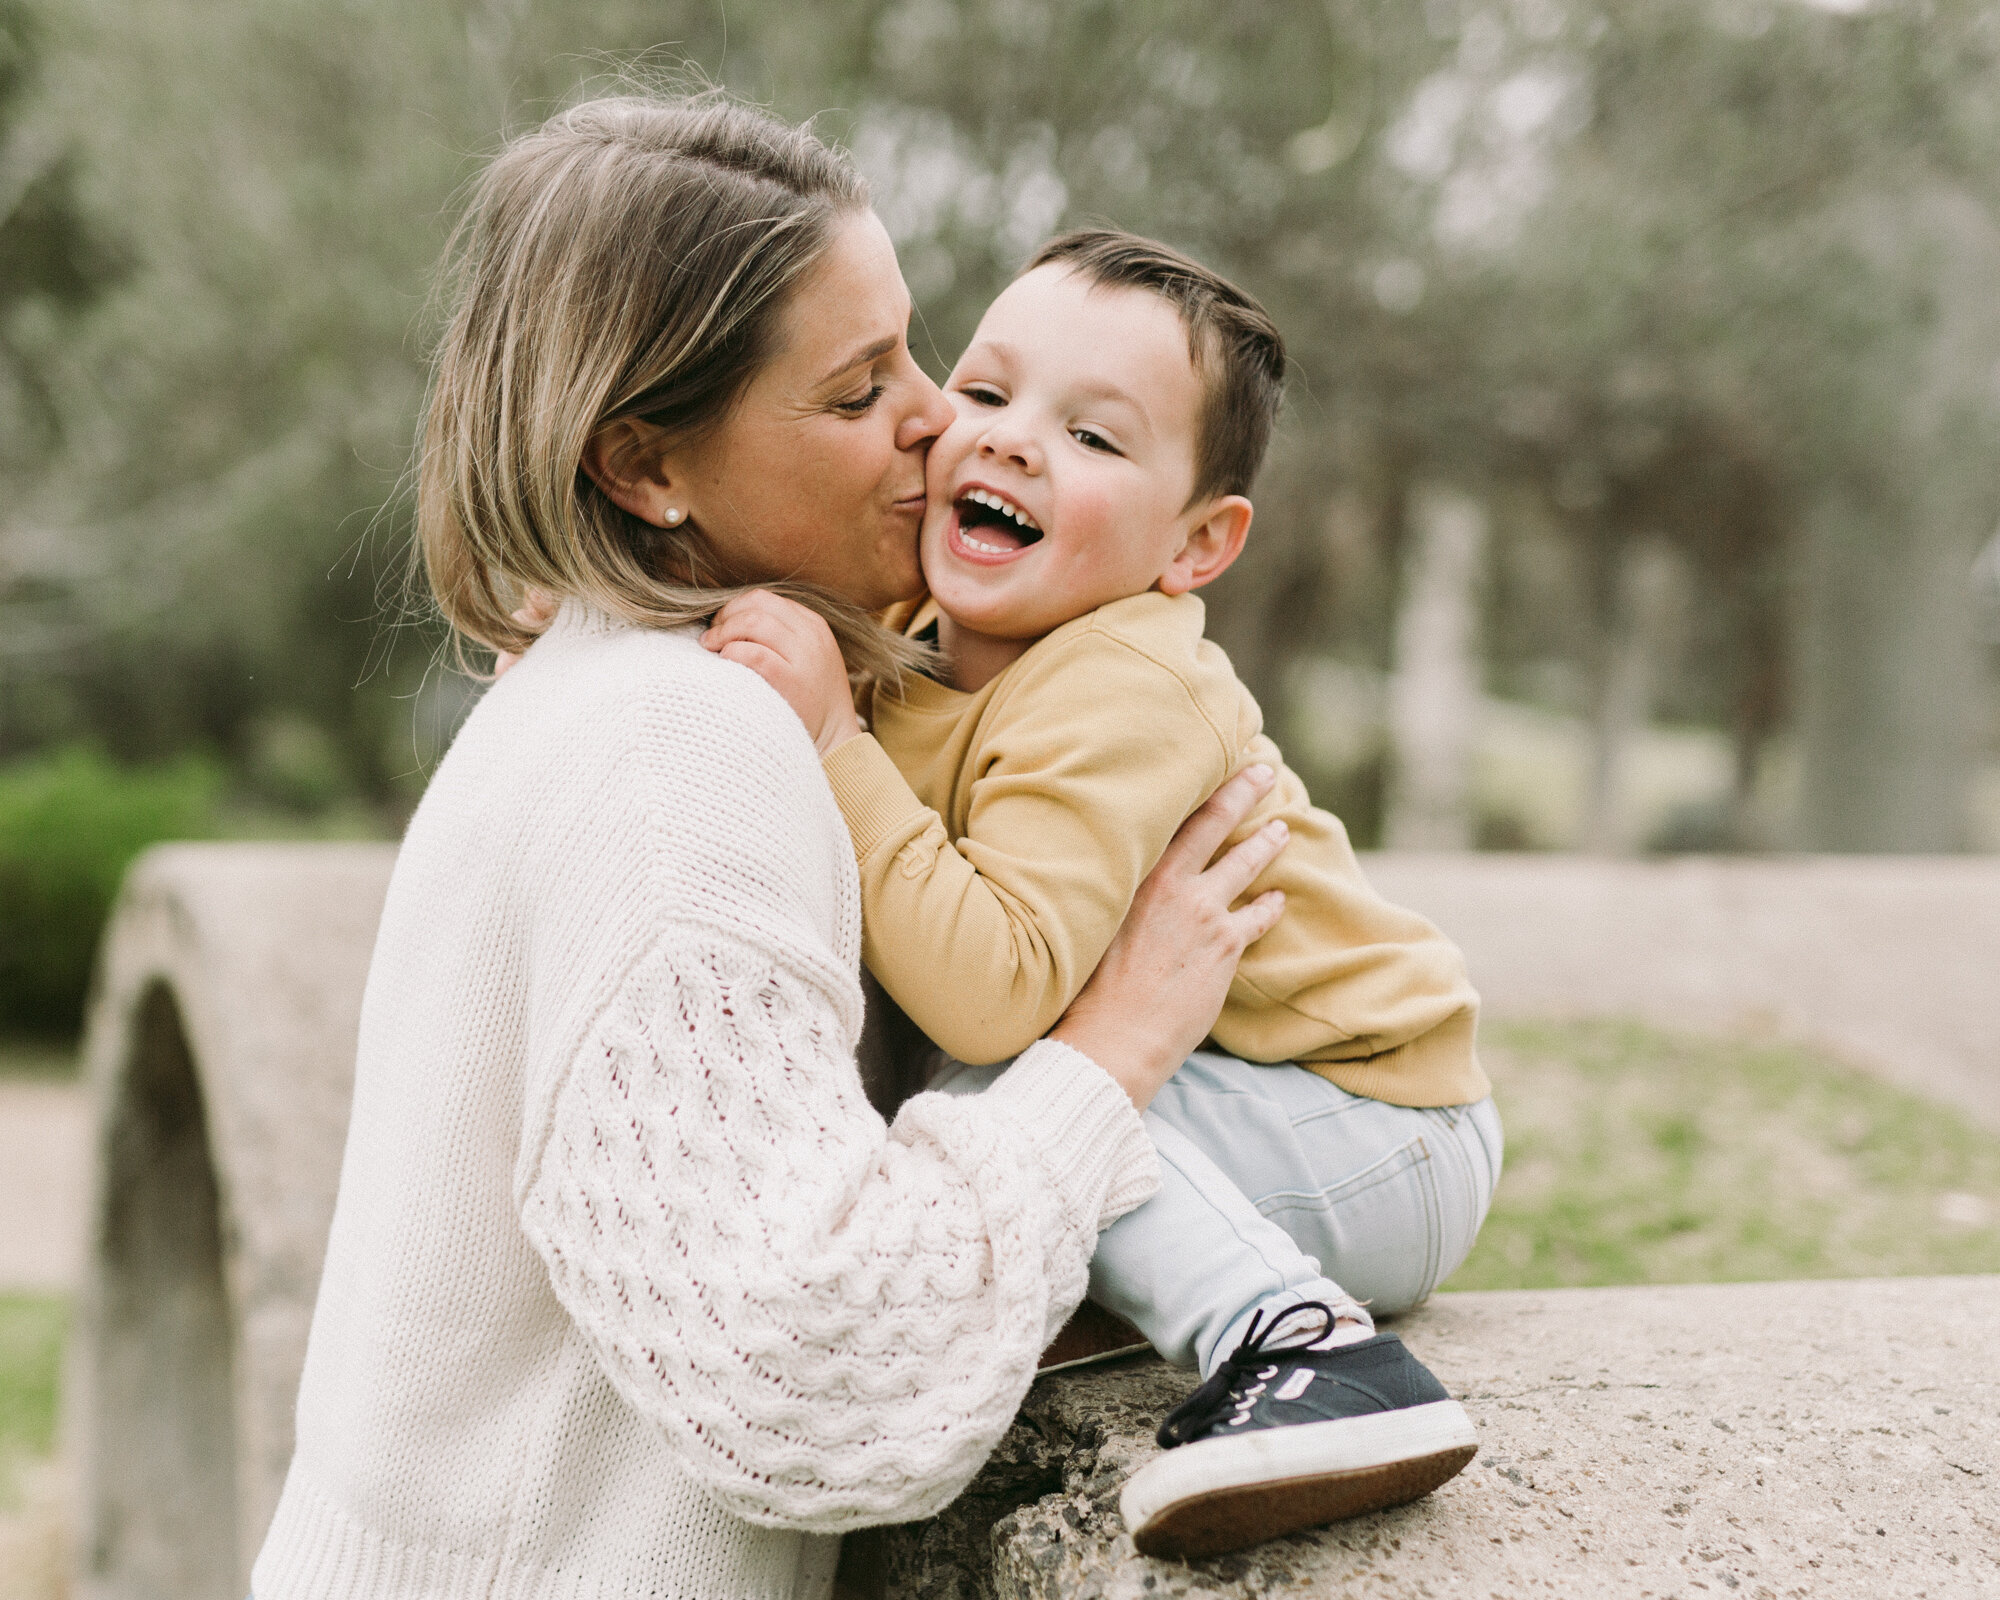
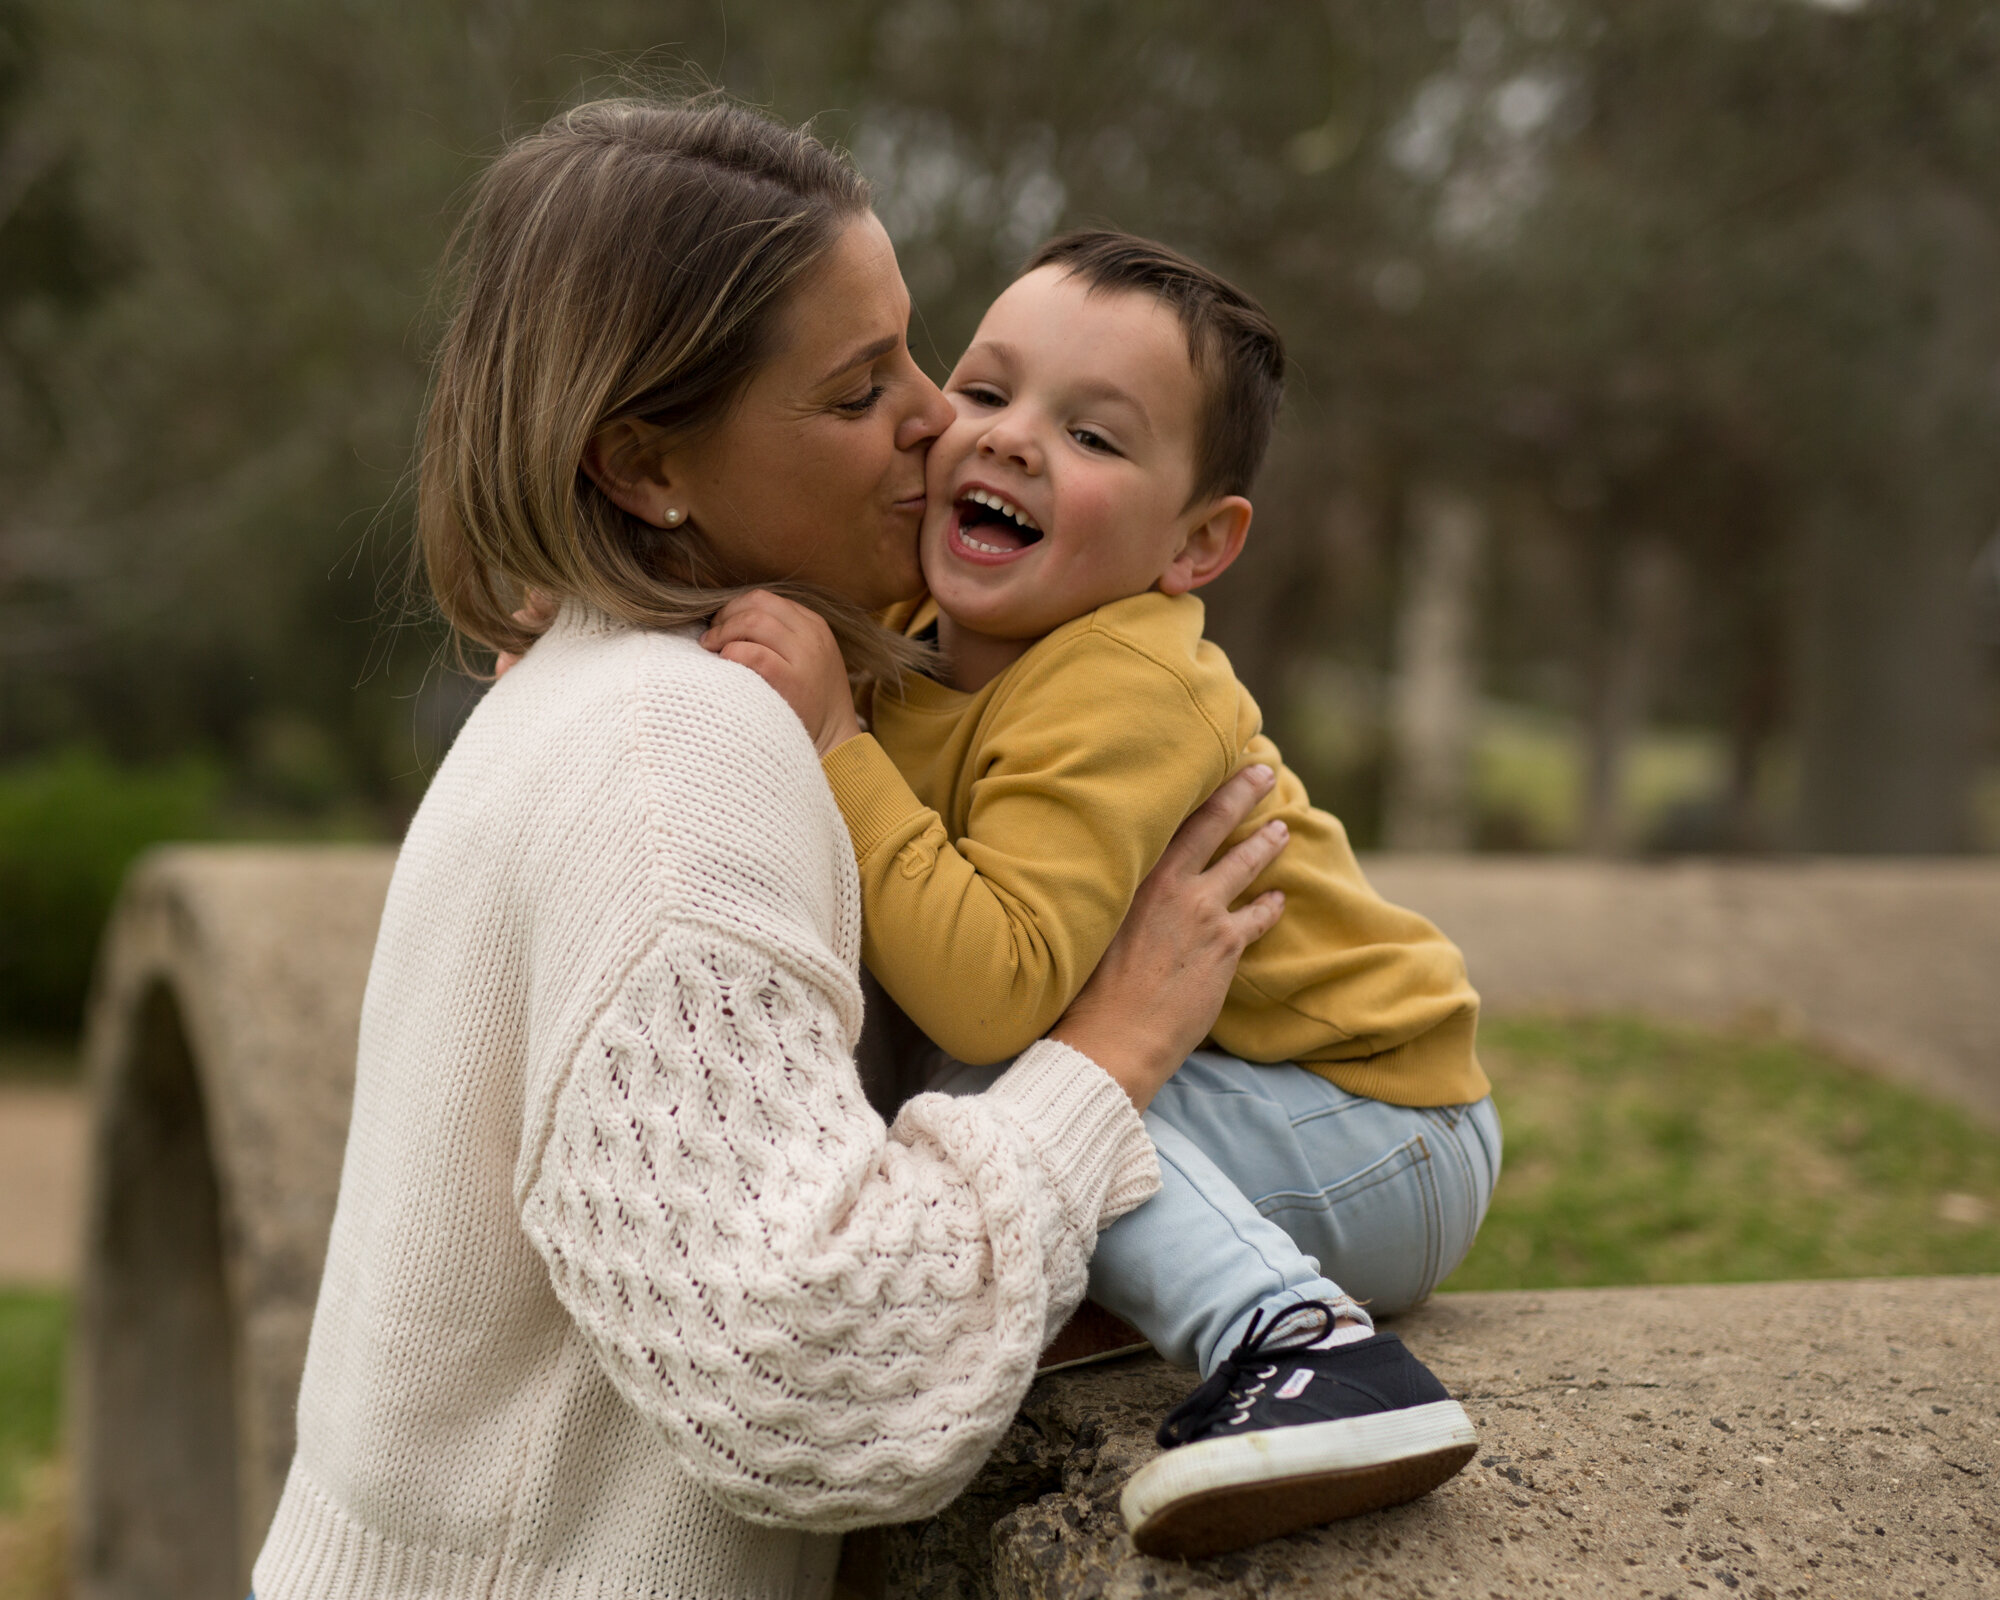
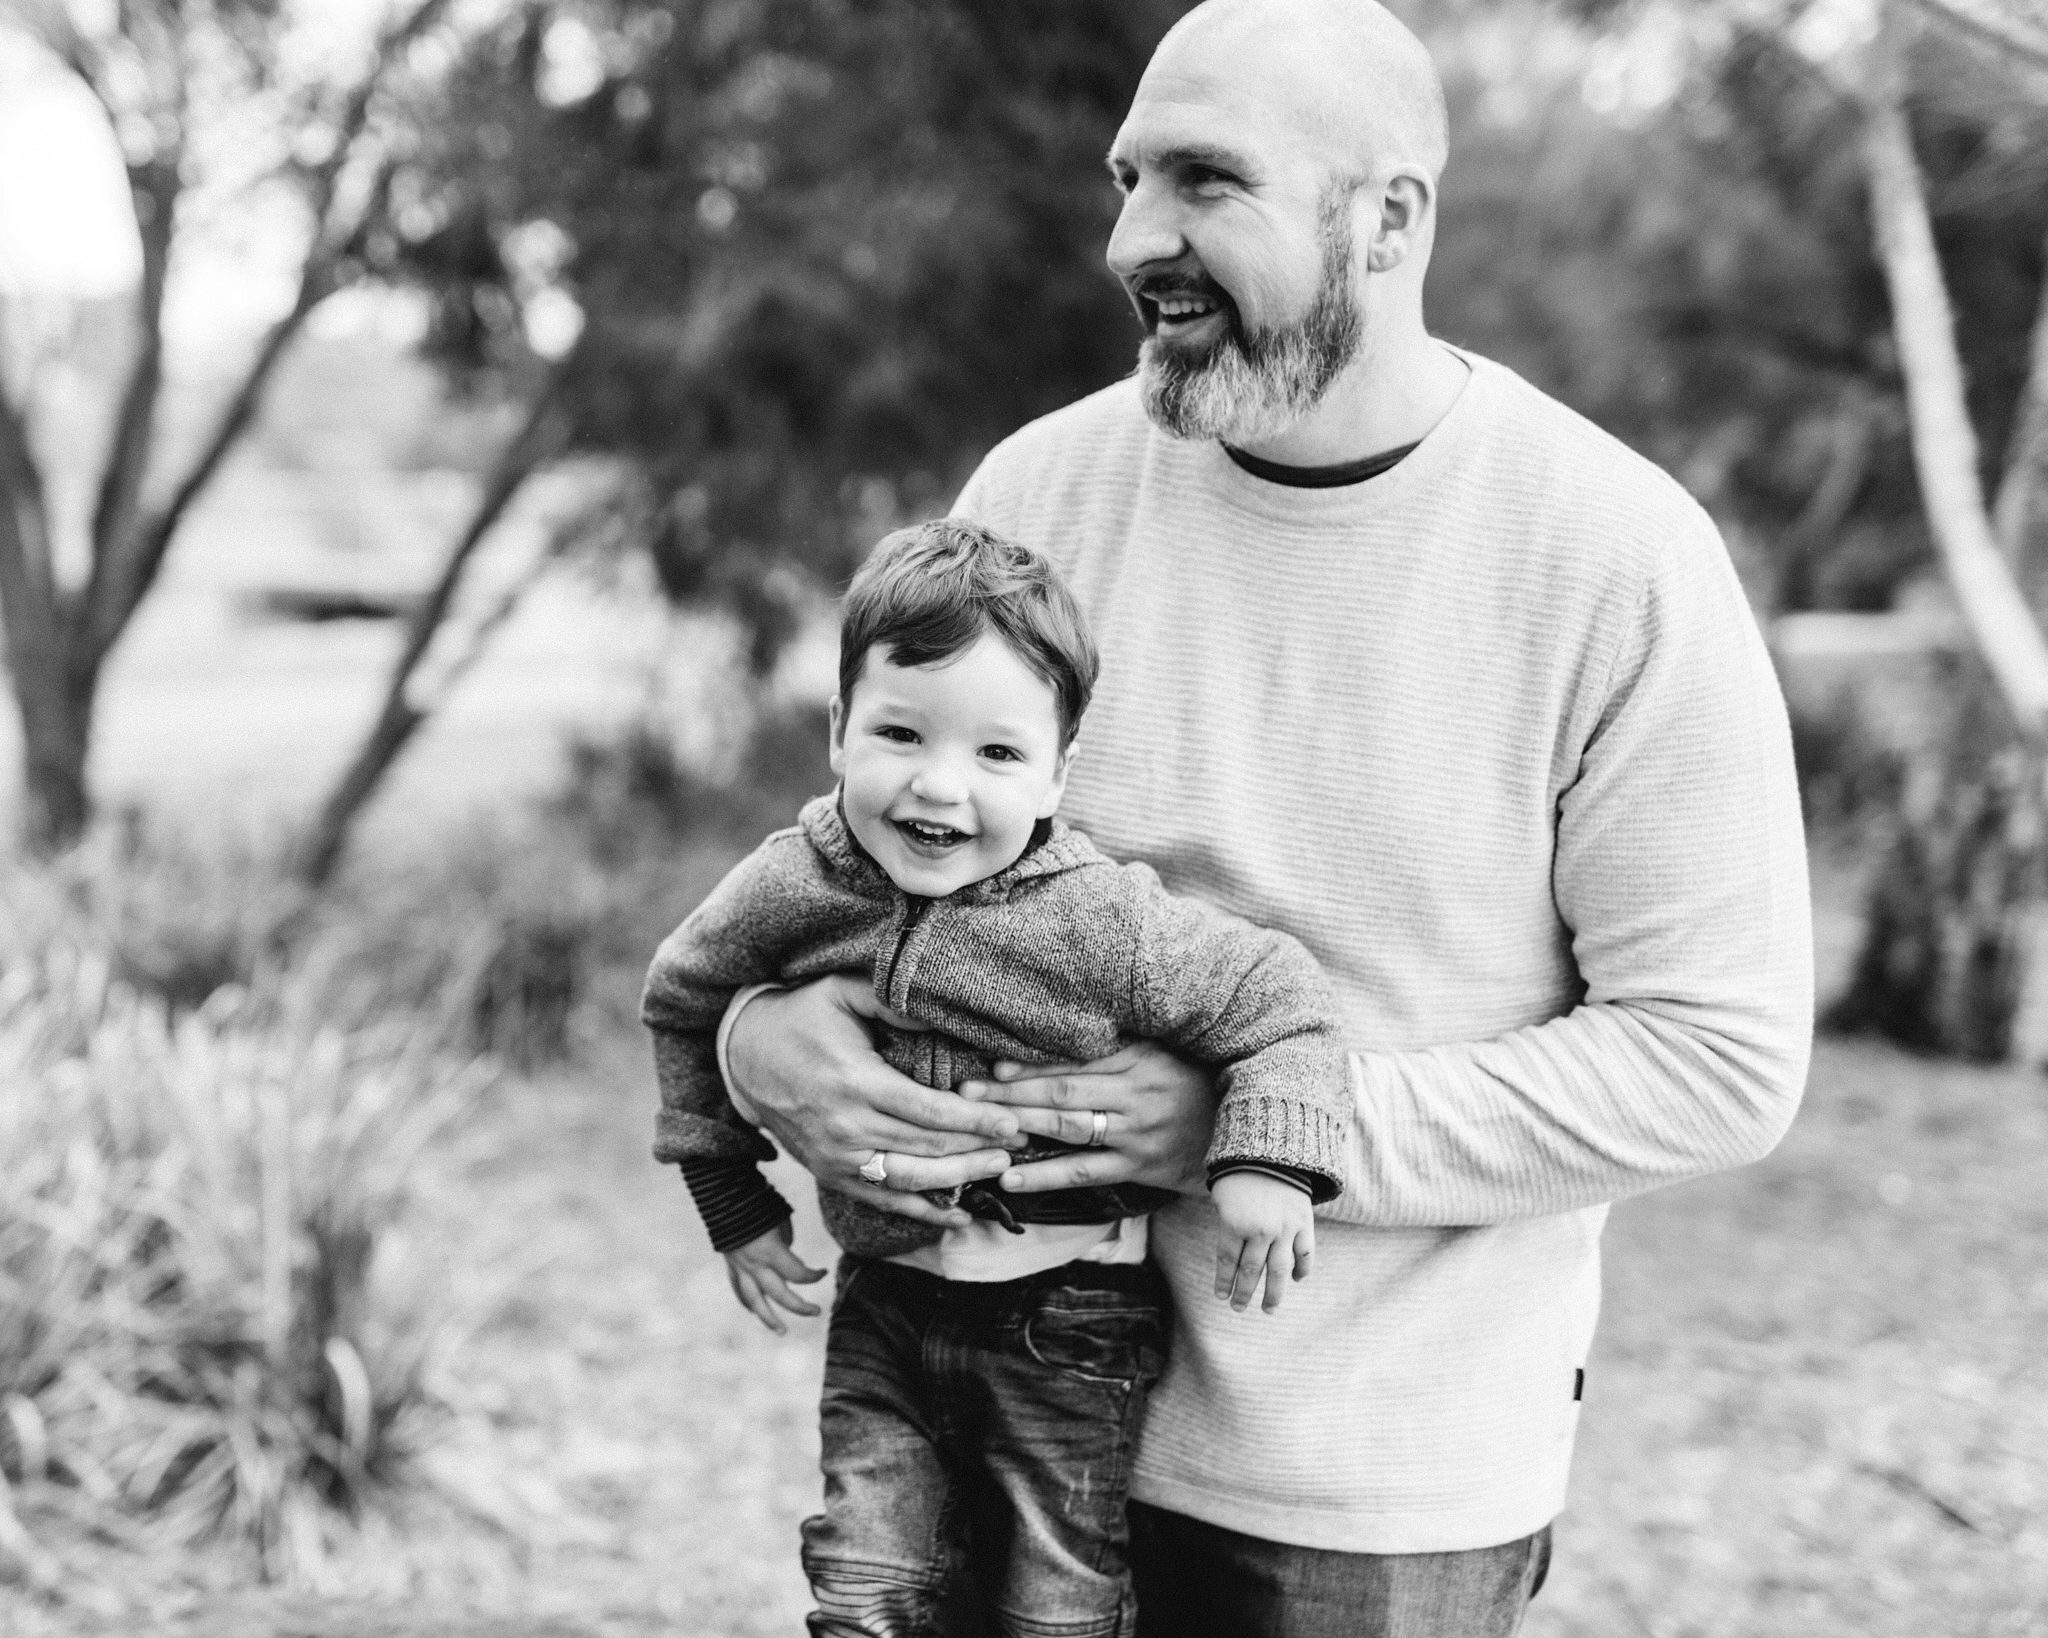
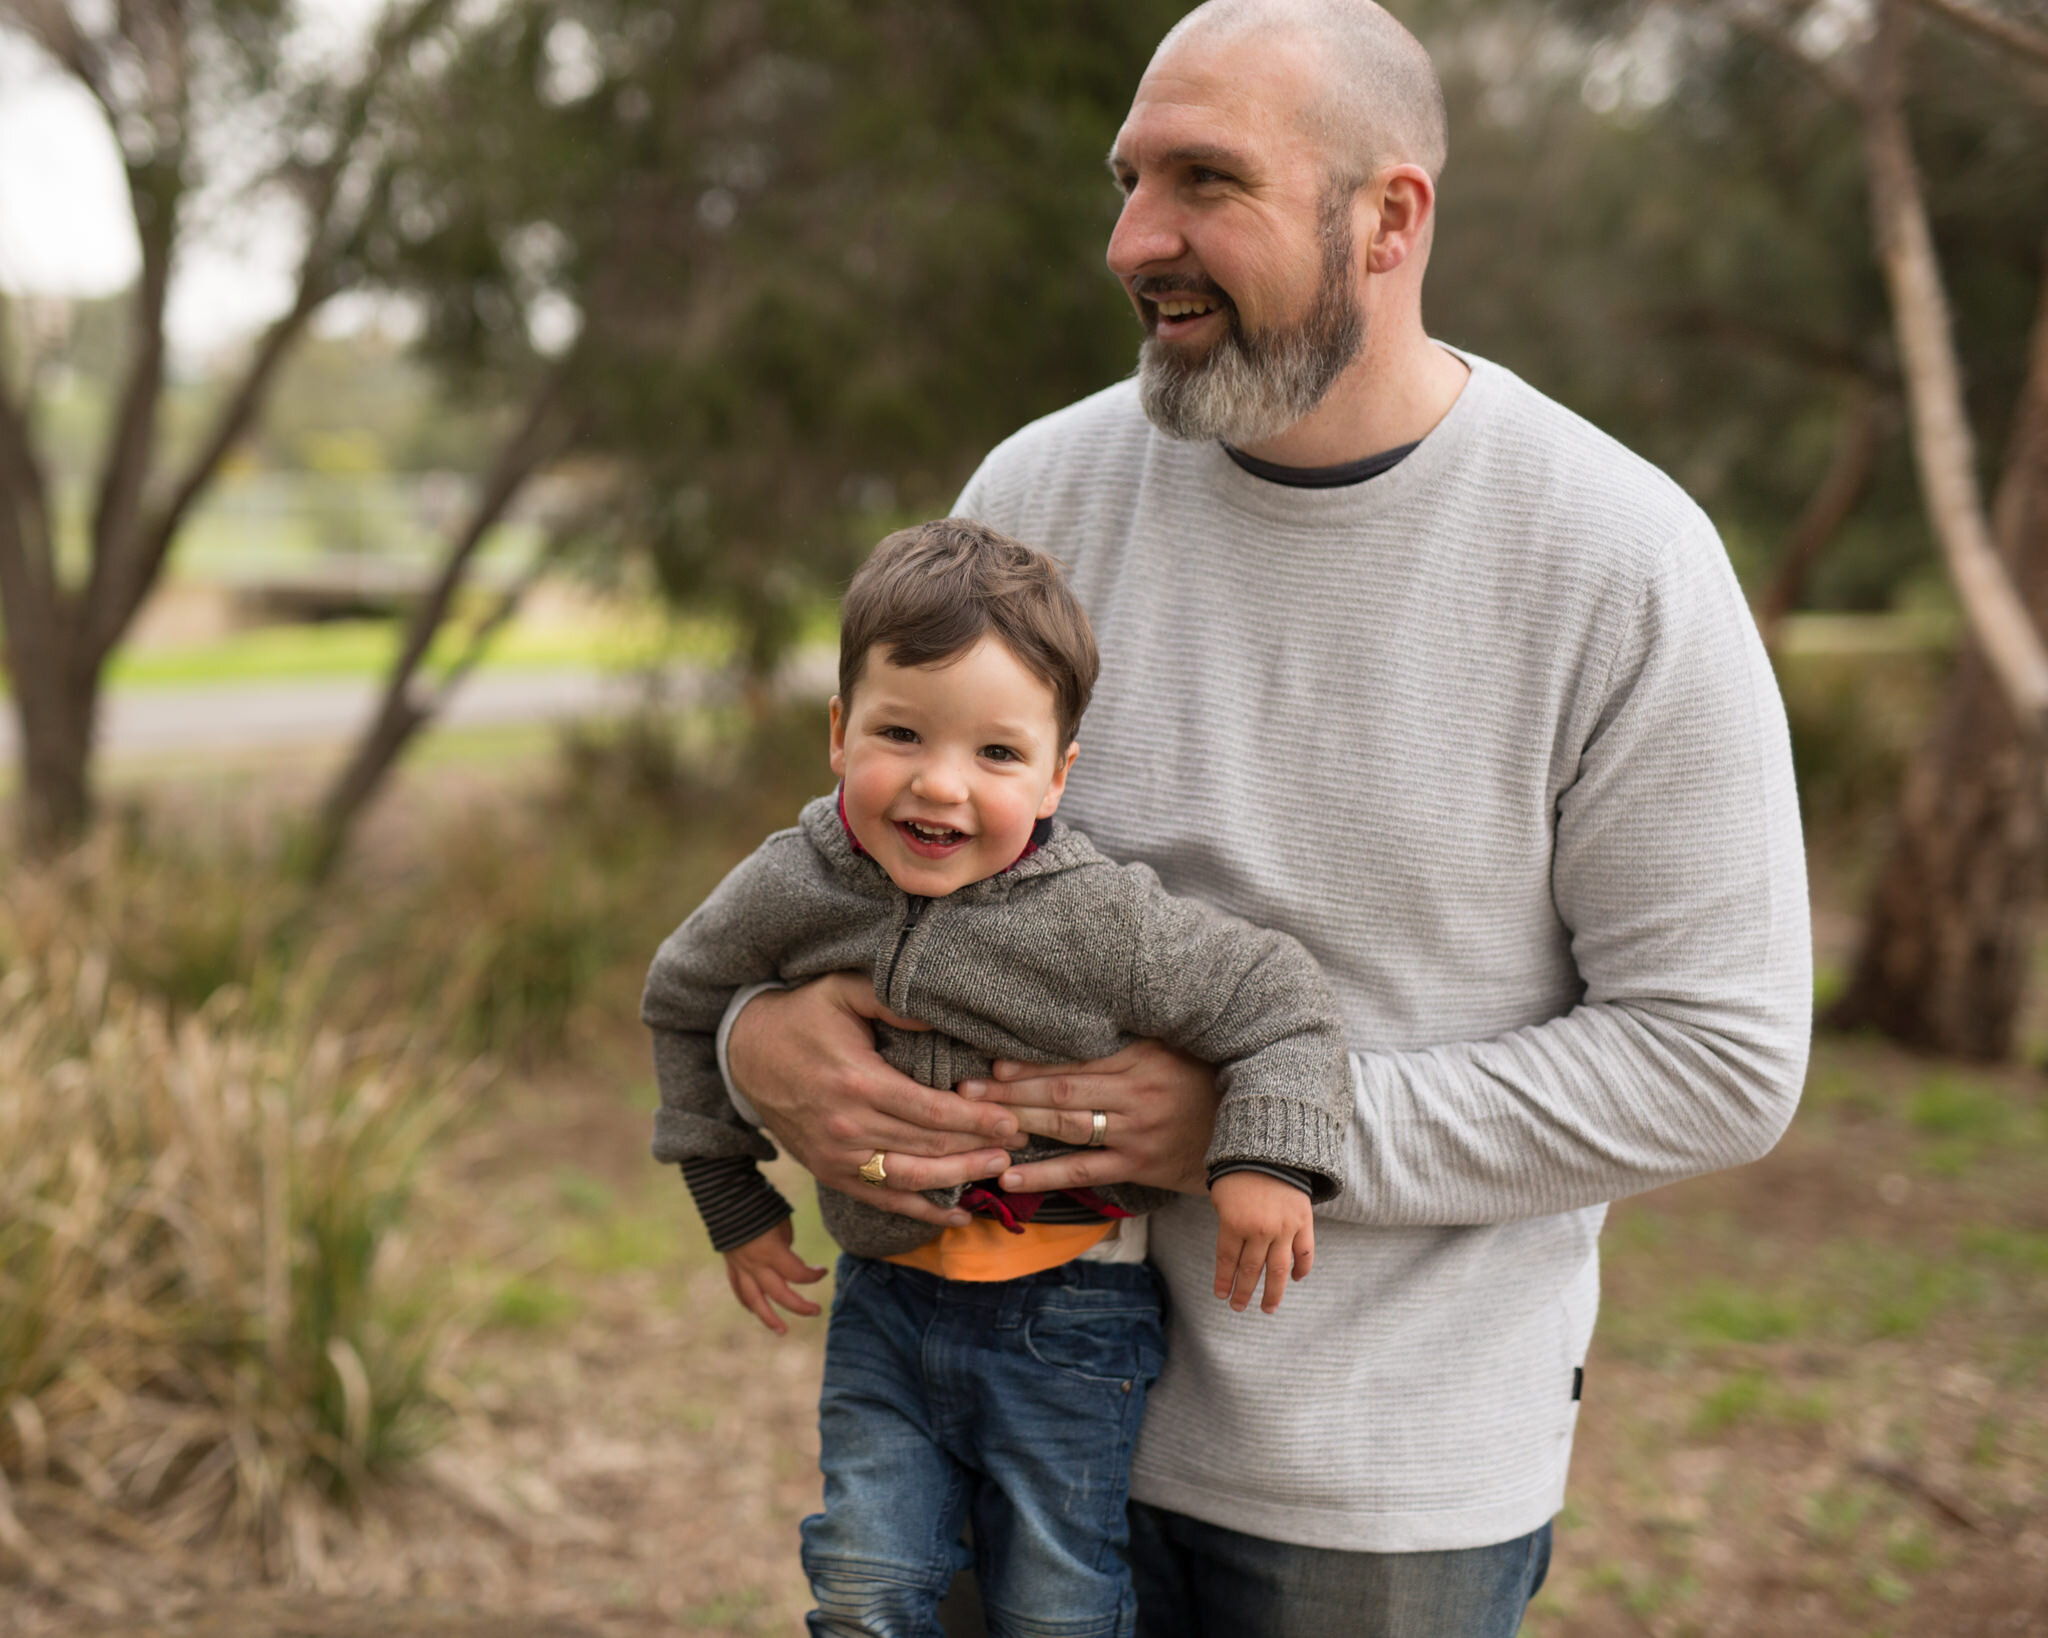
OUTDOOR PHOTOGRAPHY
When it comes to photographing outdoors, again I believe that natural and simple is best! The world is full of so many beautiful colours, and after spending many years manipulating them I’ve come full circle back to simple, timeless edits. And trust me - I’ve been down every dark path of editing - oversaturated warmth + oranges, super desaturated greens, too much contrast, too harsh highlights + shadows, under exposed, over exposed…lol. It’s part of the journey though, right? Experimentation + curiosity are the foundation of creative expression, and it was all worth it because it led me here.

Actual footage of me when I’m really feeling my edits 🤣
I hope you found this interesting to look through, whether you’re a client or a photographer!
I’d love to hear what you think of these so please drop me a comment below to let me know you were here ♥
If you are a photographer and you’re feeling a little imposter’y or comparing yourself or struggling to find inspiration, I wrote you a little love letter here and over here too. If you’re looking for a mentor and would like to learn from me, you can find out more about my mentoring sessions here.
Big love!
L xo