10 tips on what to wear to your photography session.
You’ve finally done it - booked that photo session you’ve been daydreaming about. But now the panic is setting in because you’ve suddenly realised that trying to figure out what to wear on a daily basis is difficult enough, let alone picking an outfit that will be captured forever and hung up on your walls.
Even though your closet is probably full of clothes; suddenly you have no idea what to wear to your photo session.
Sound familiar?
As your photographer, all I want is for you to be comfortable and happy. Our session should be a relaxed and happy event, so you should wear clothes you feel good in!
BUT if you are anything like me you have heaps of outfits that fit that criteria, and I also recognise that advice is not actually helpful, so here are my top tips to help you figure this out.
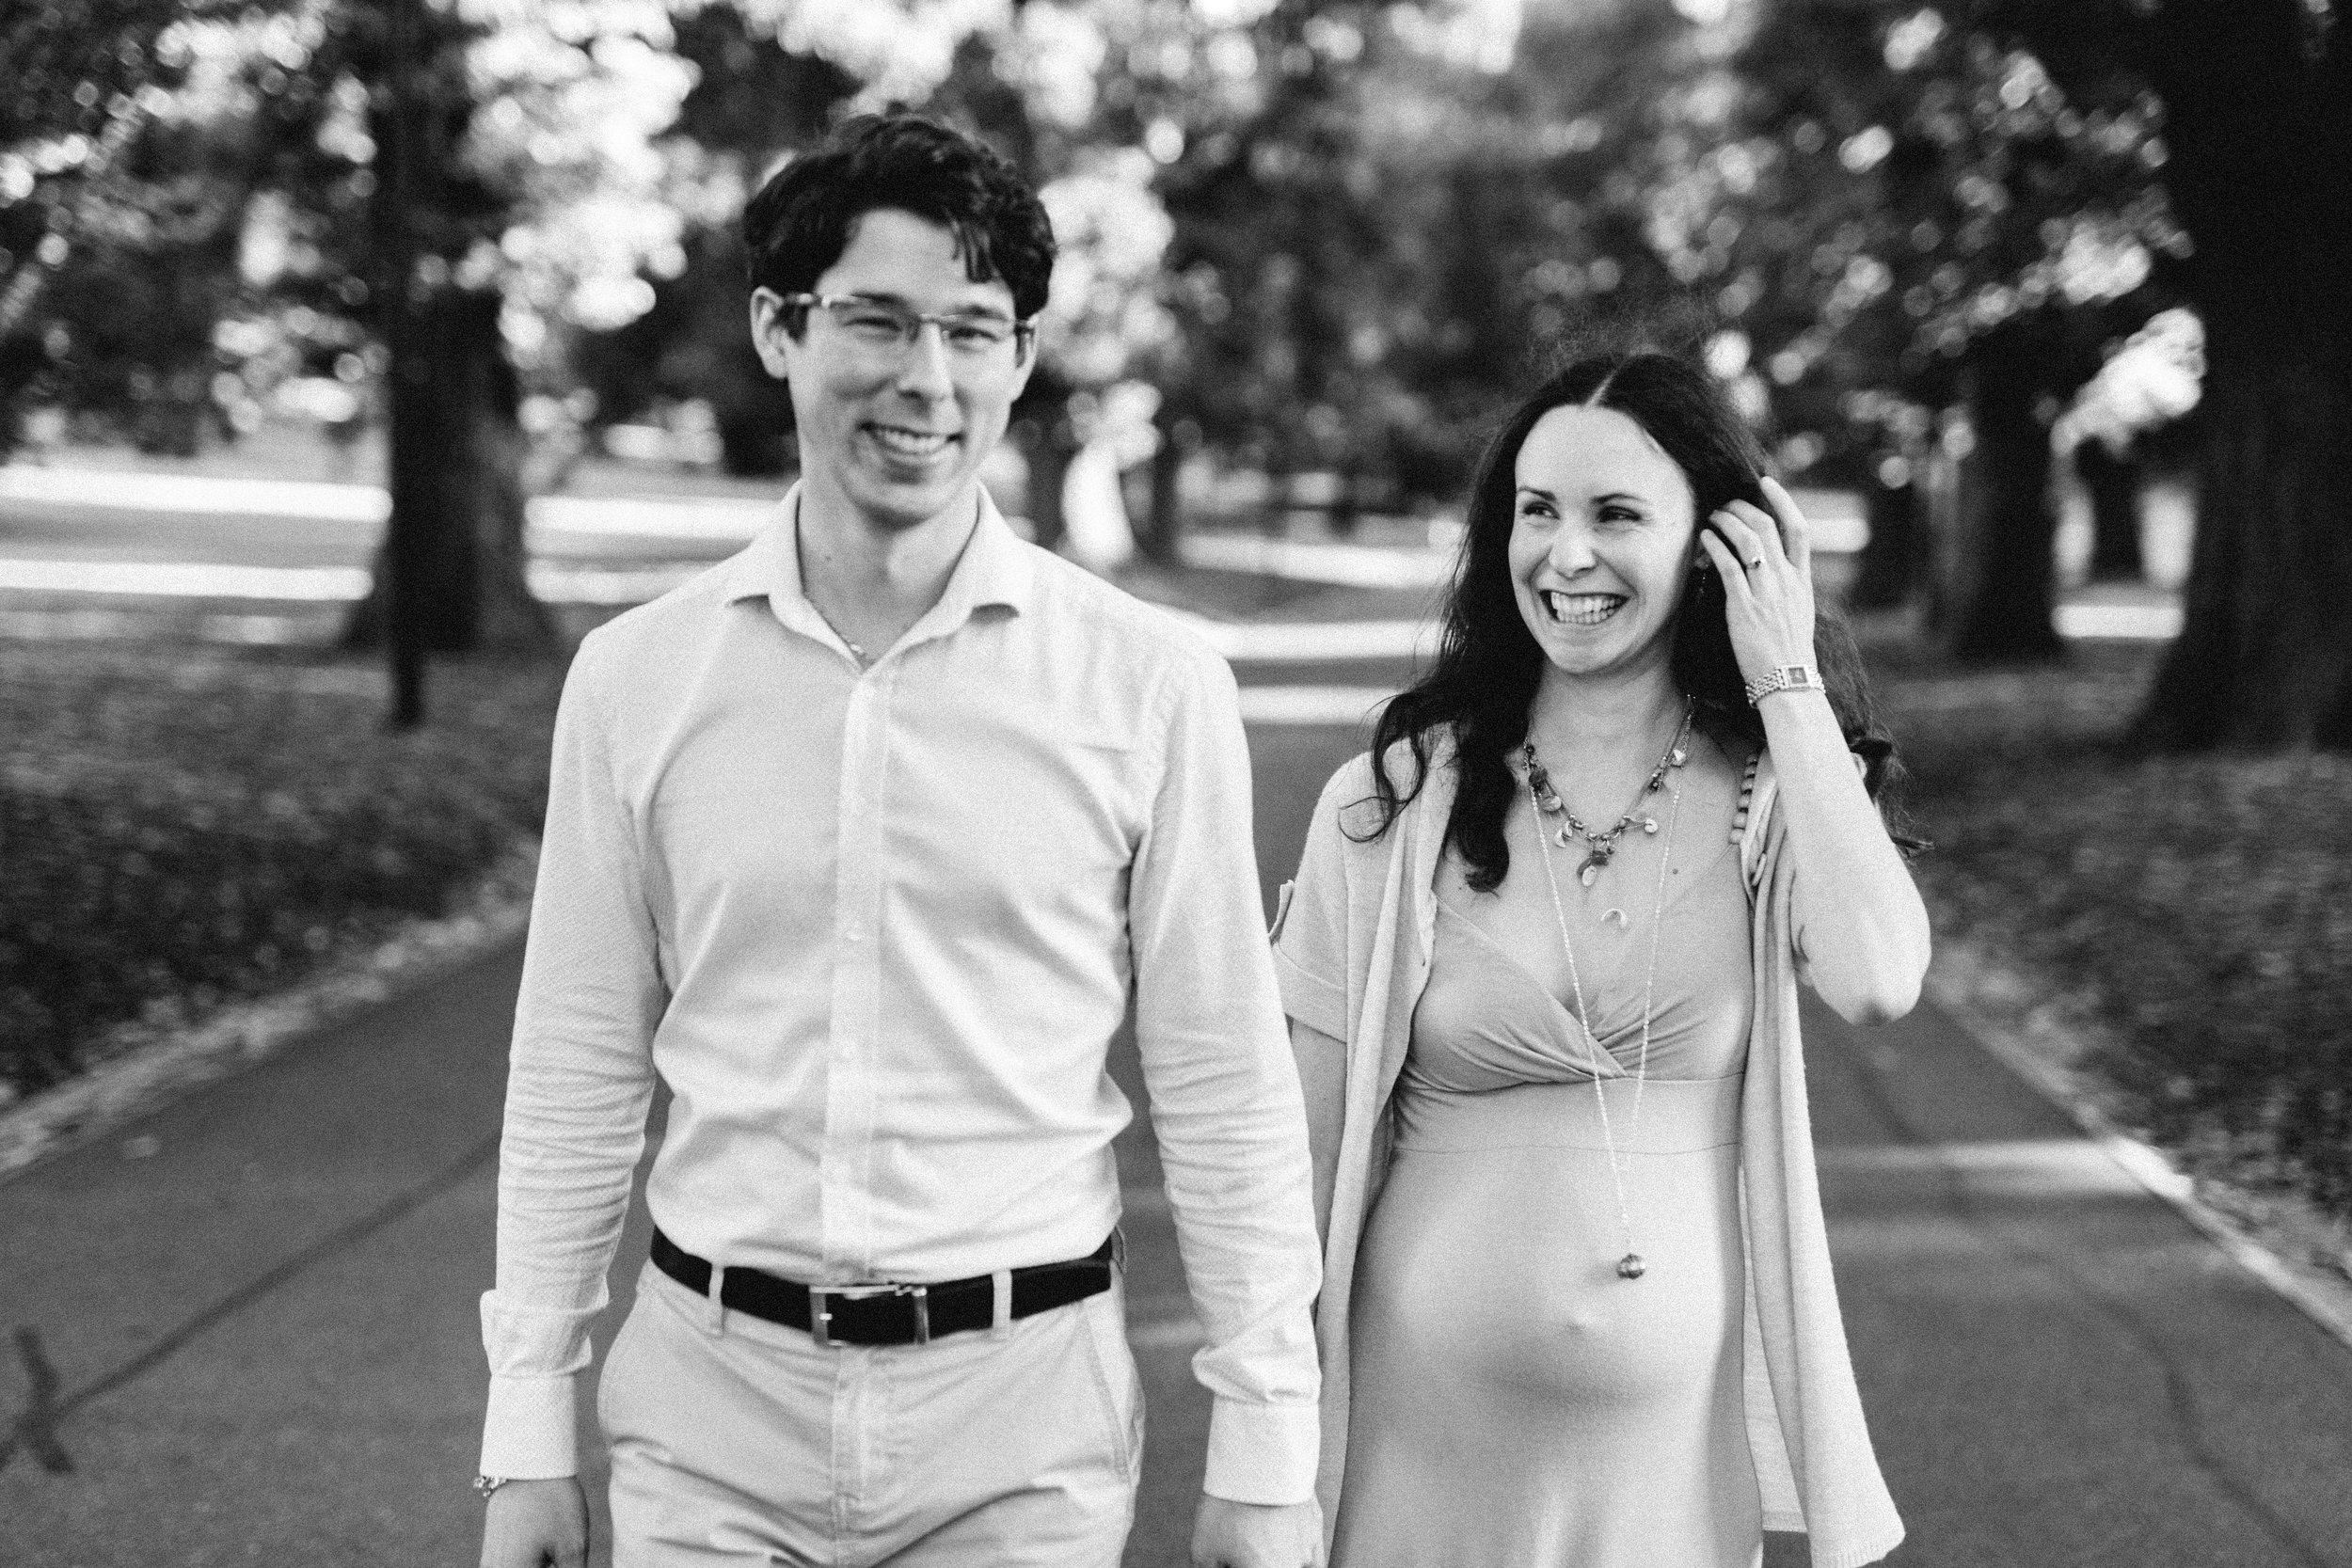
TIP #1: AIM FOR COMFORT
The most important thing is to wear something you feel comfortable in, that reflects your style.
Avoid wearing anything that makes you feel like you have to suck your belly in, that you'll be constantly readjusting etc - this is the fastest way to kill any confidence & excitement you have about your session.
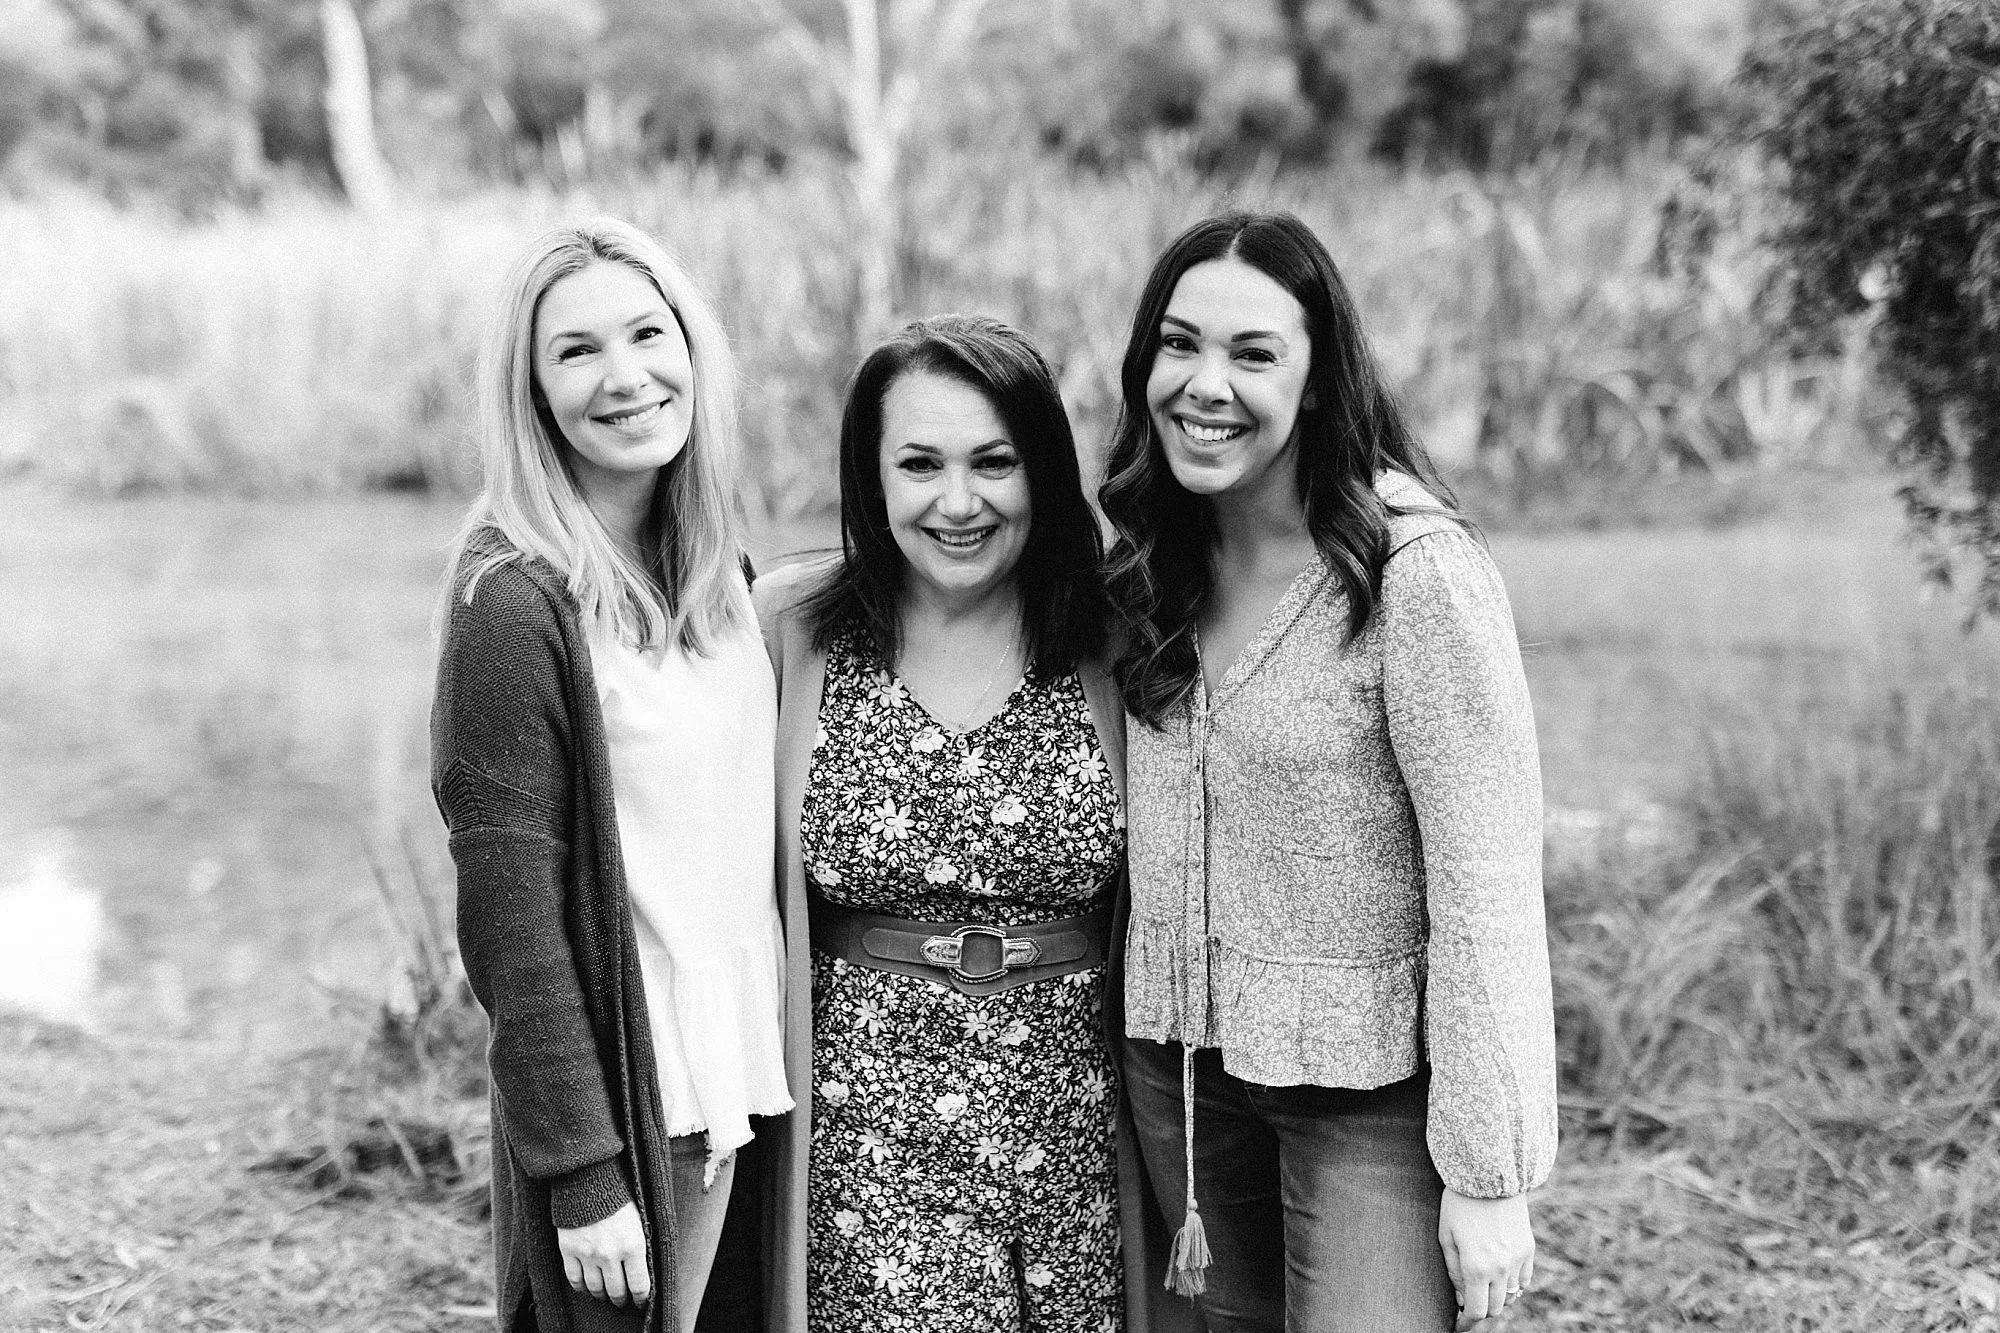
TIP #2: COMPLIMENTARY COLOURS - NOT MATCHY-MATCHY
If you grew up in the nineties, you likely were exposed to studio family portraits in all matching outfits (we wore white + lime green for ours lol).
The matchy-matchy vibes can still be a lot of fun; but I find these work best for really big extended family sessions, where everyone treats it like a bit of fun or you intentionally want those nostalgic 90s vibes.
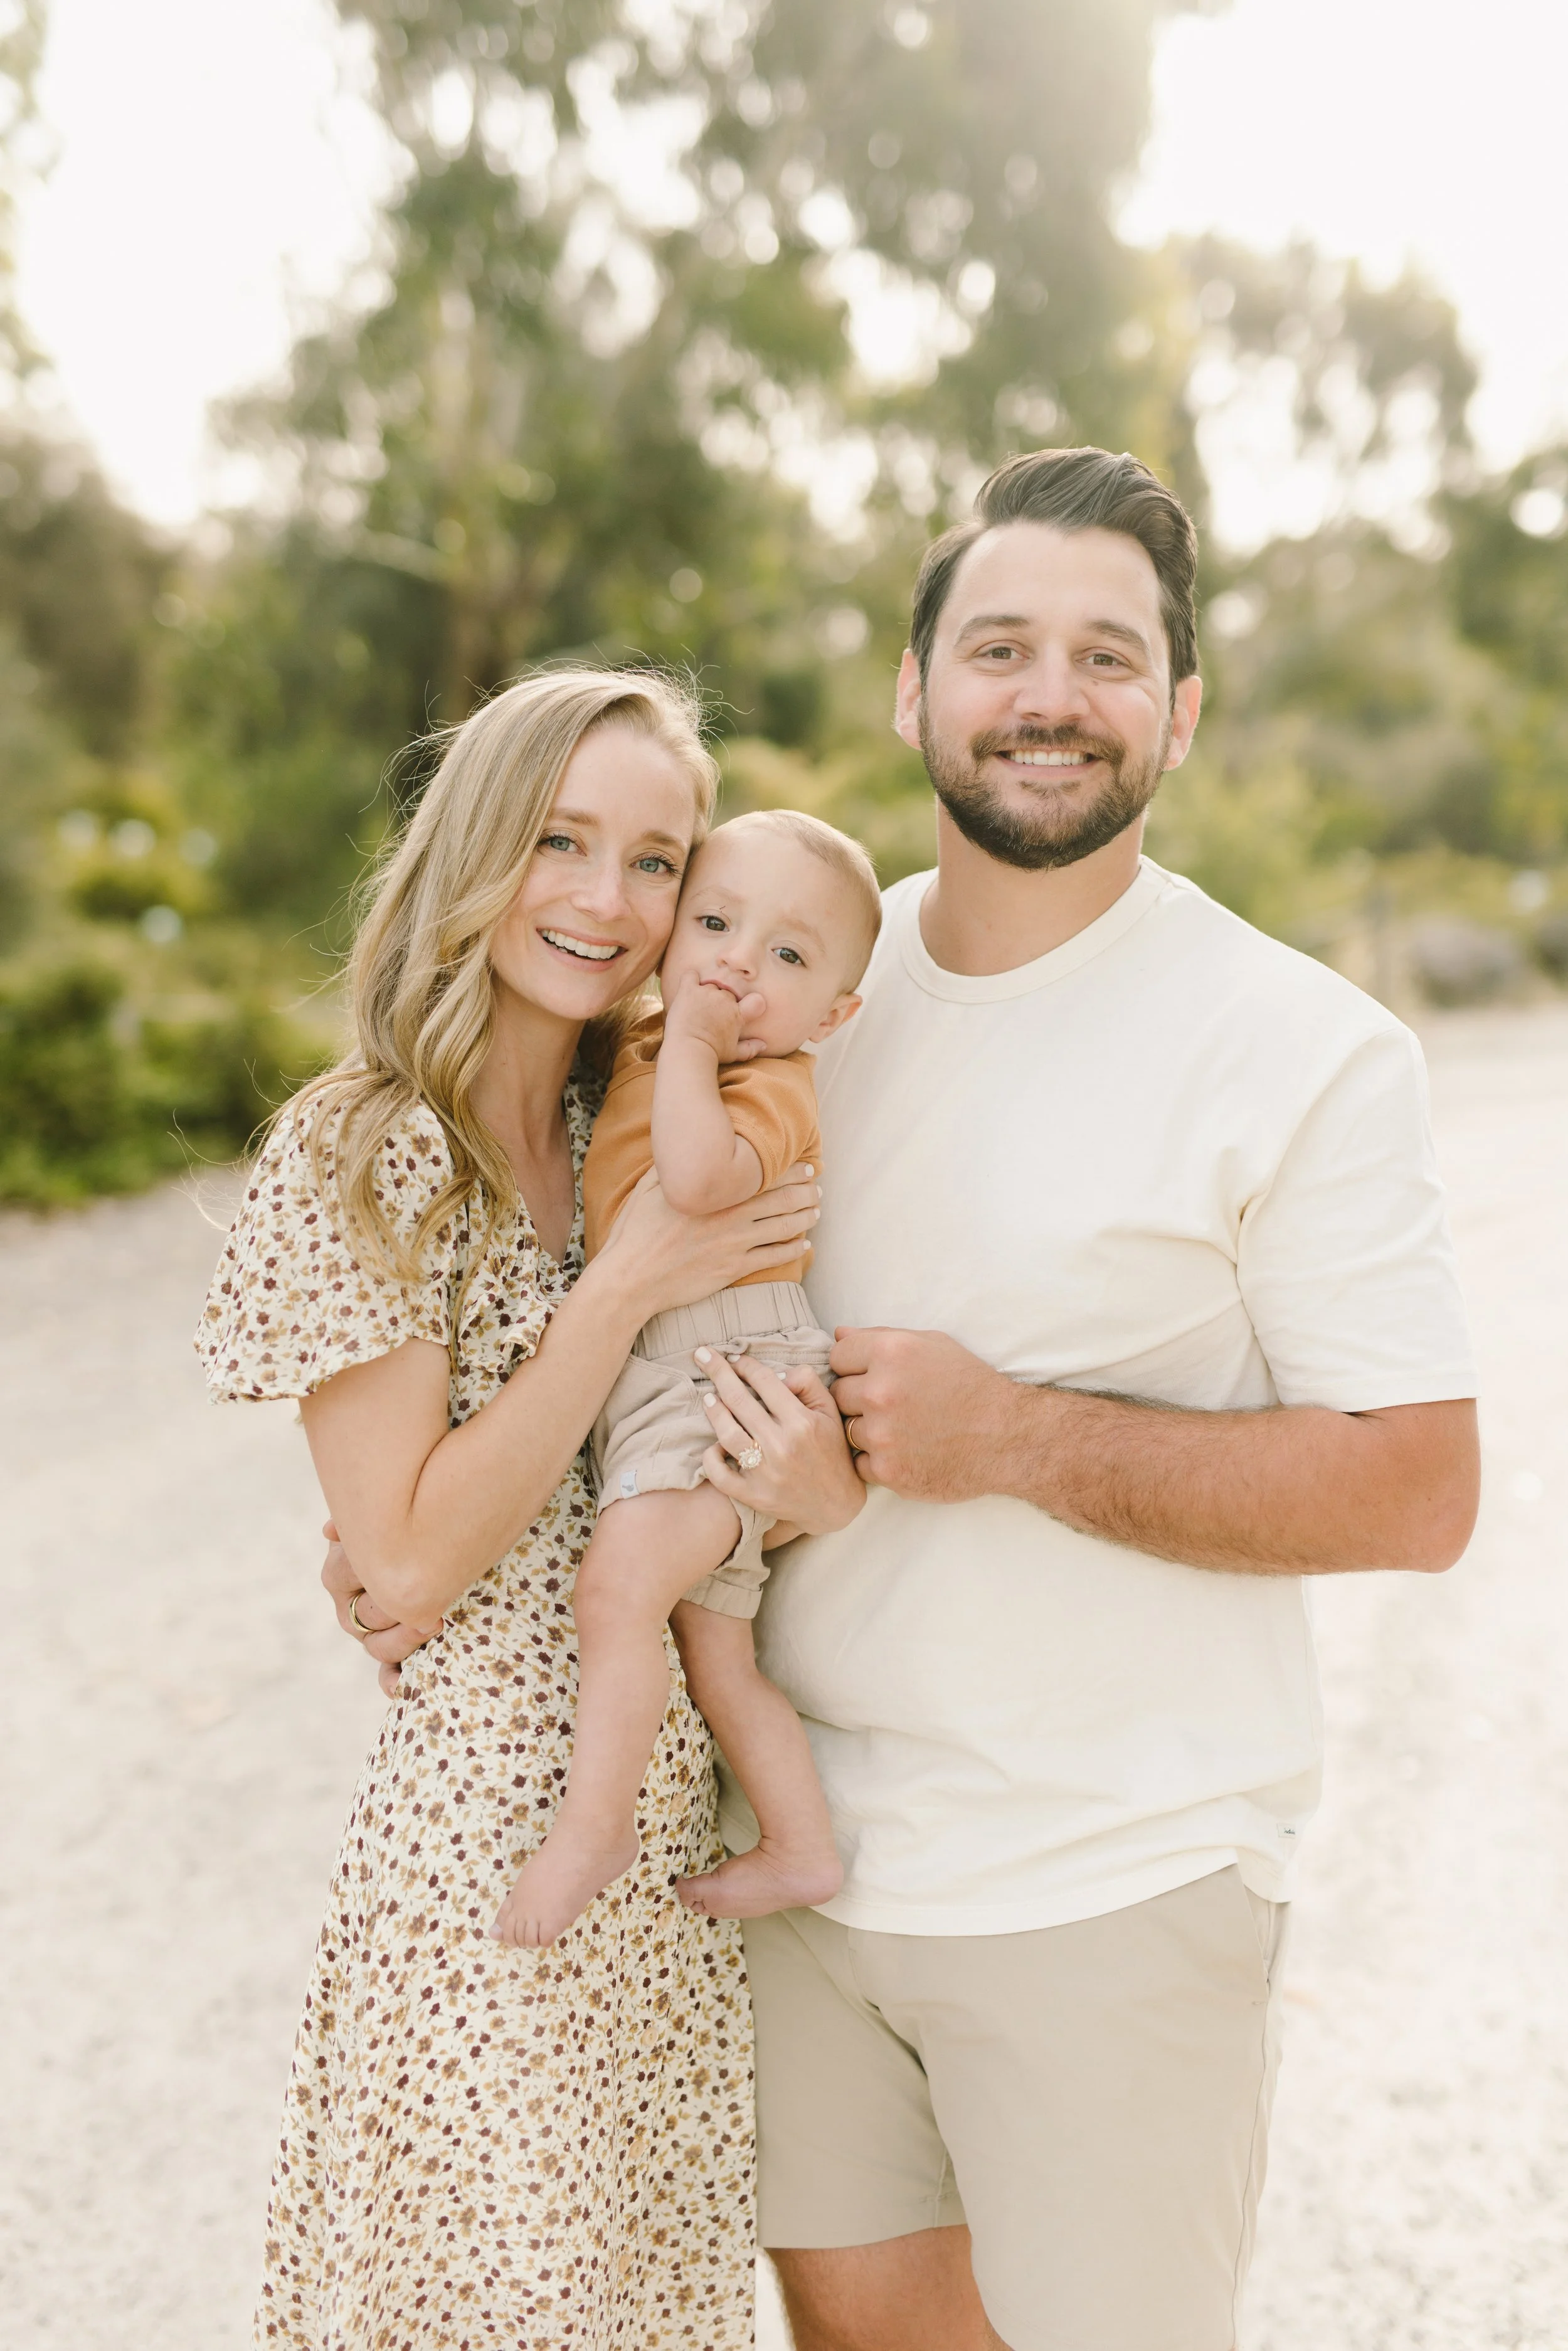
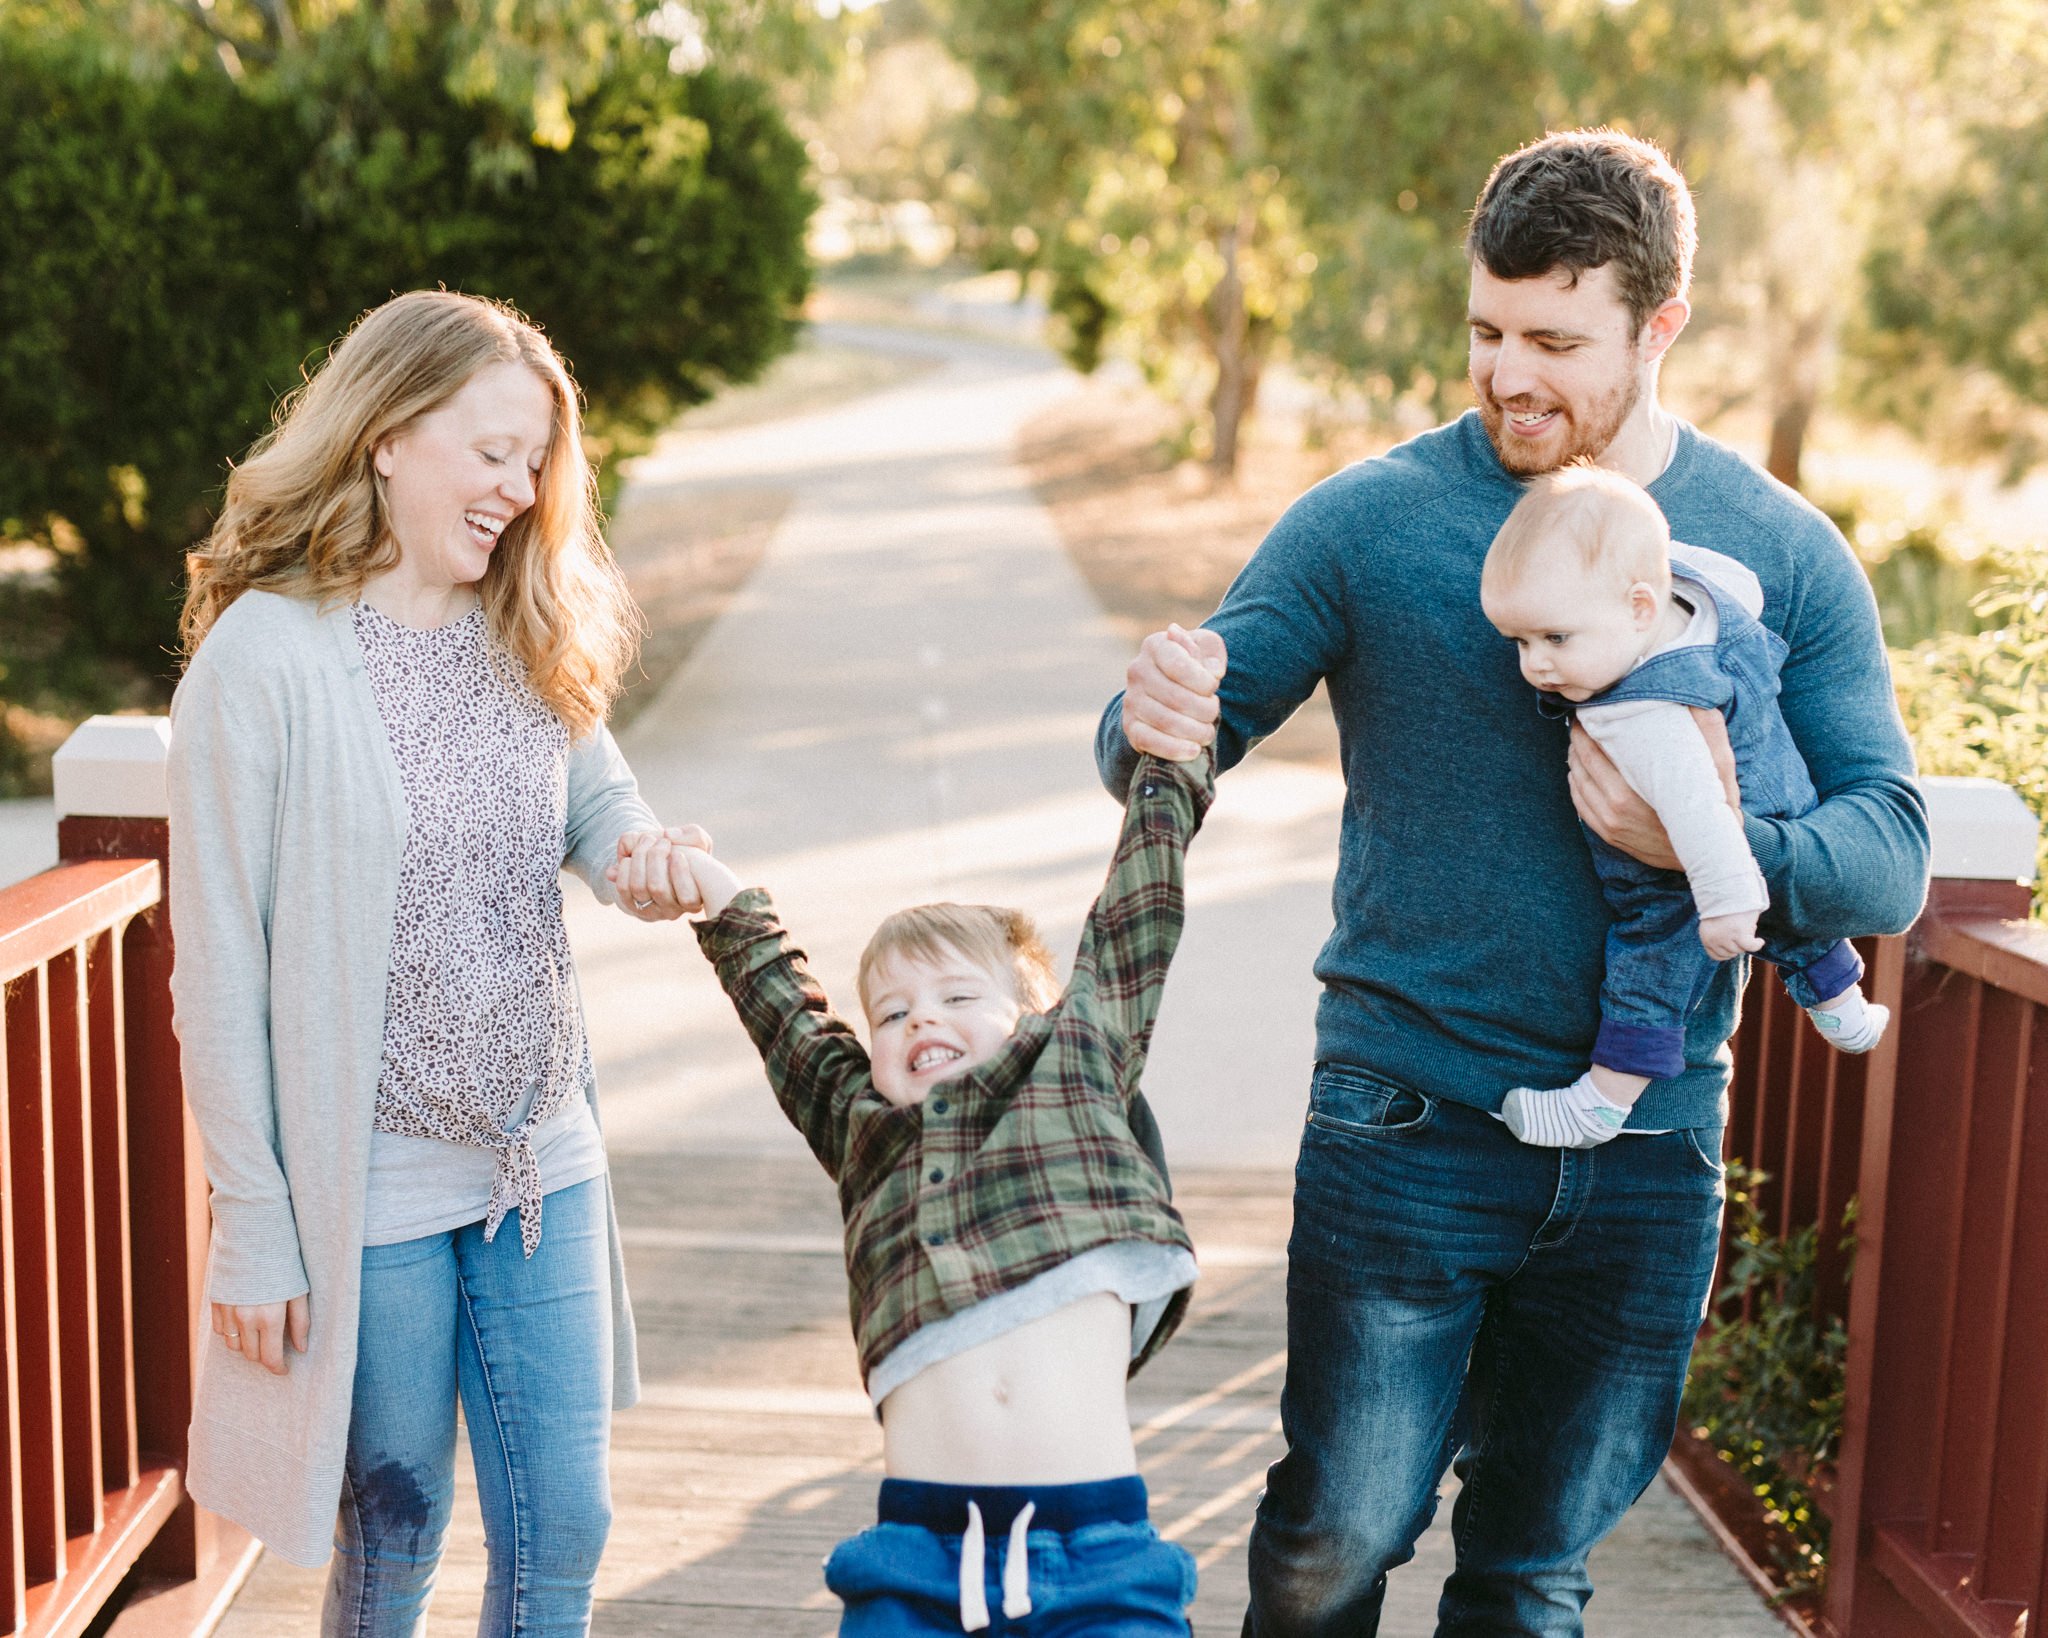
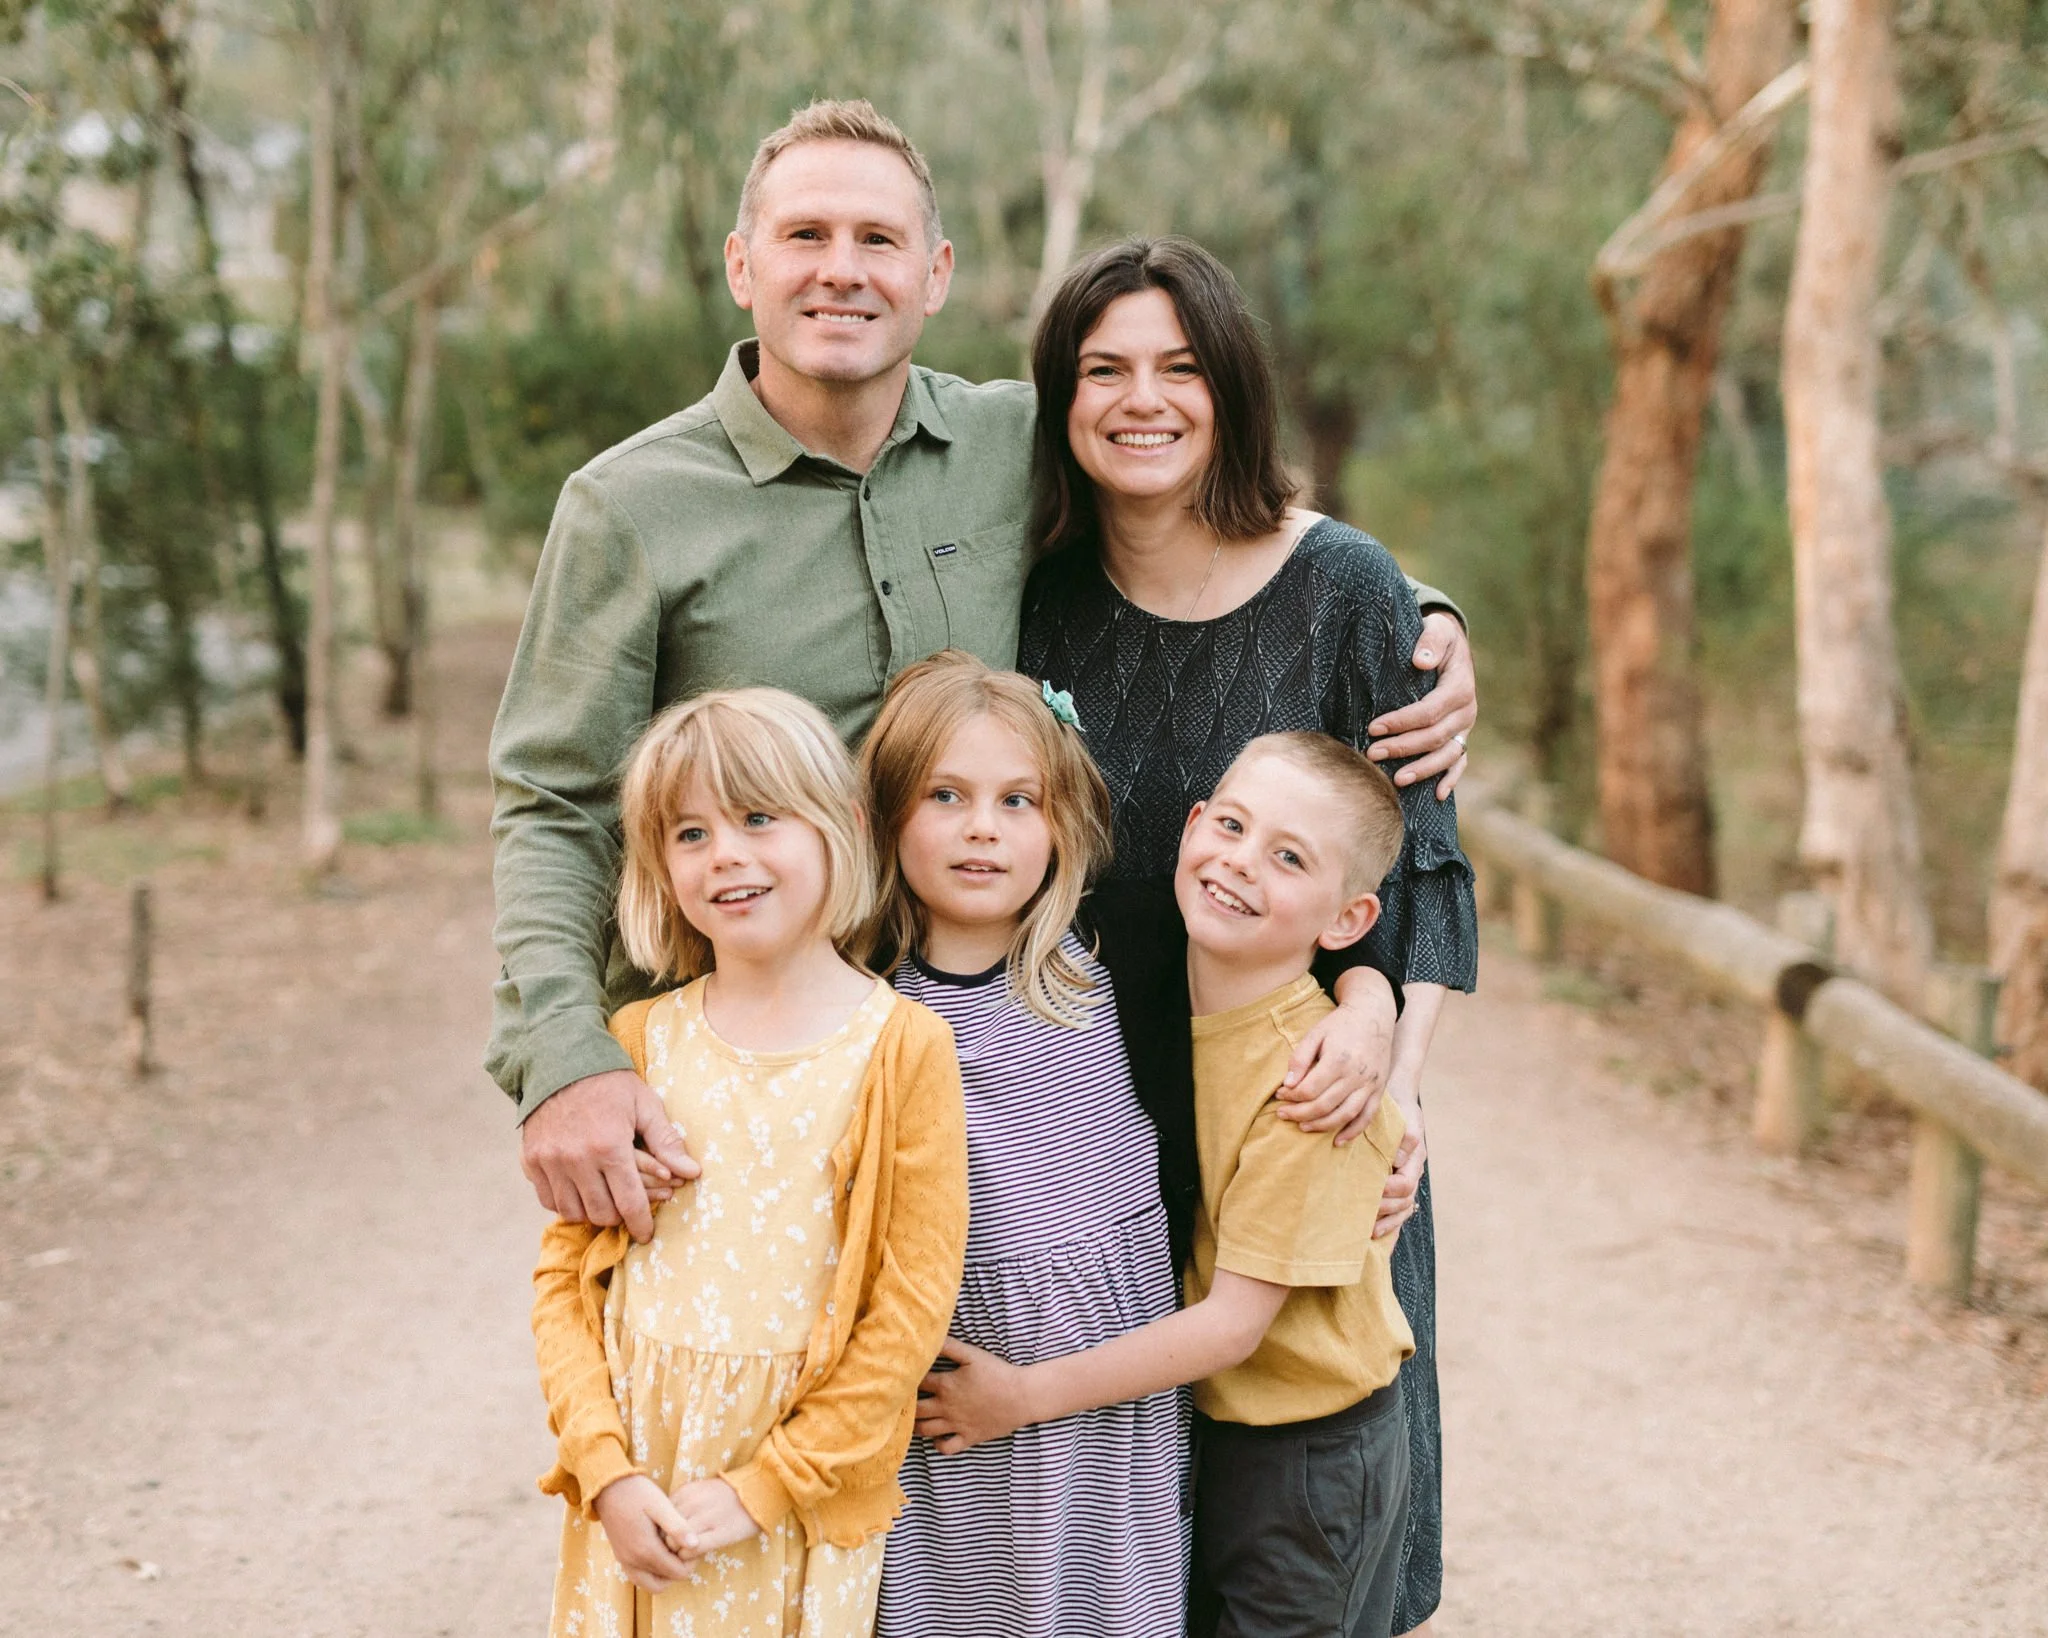
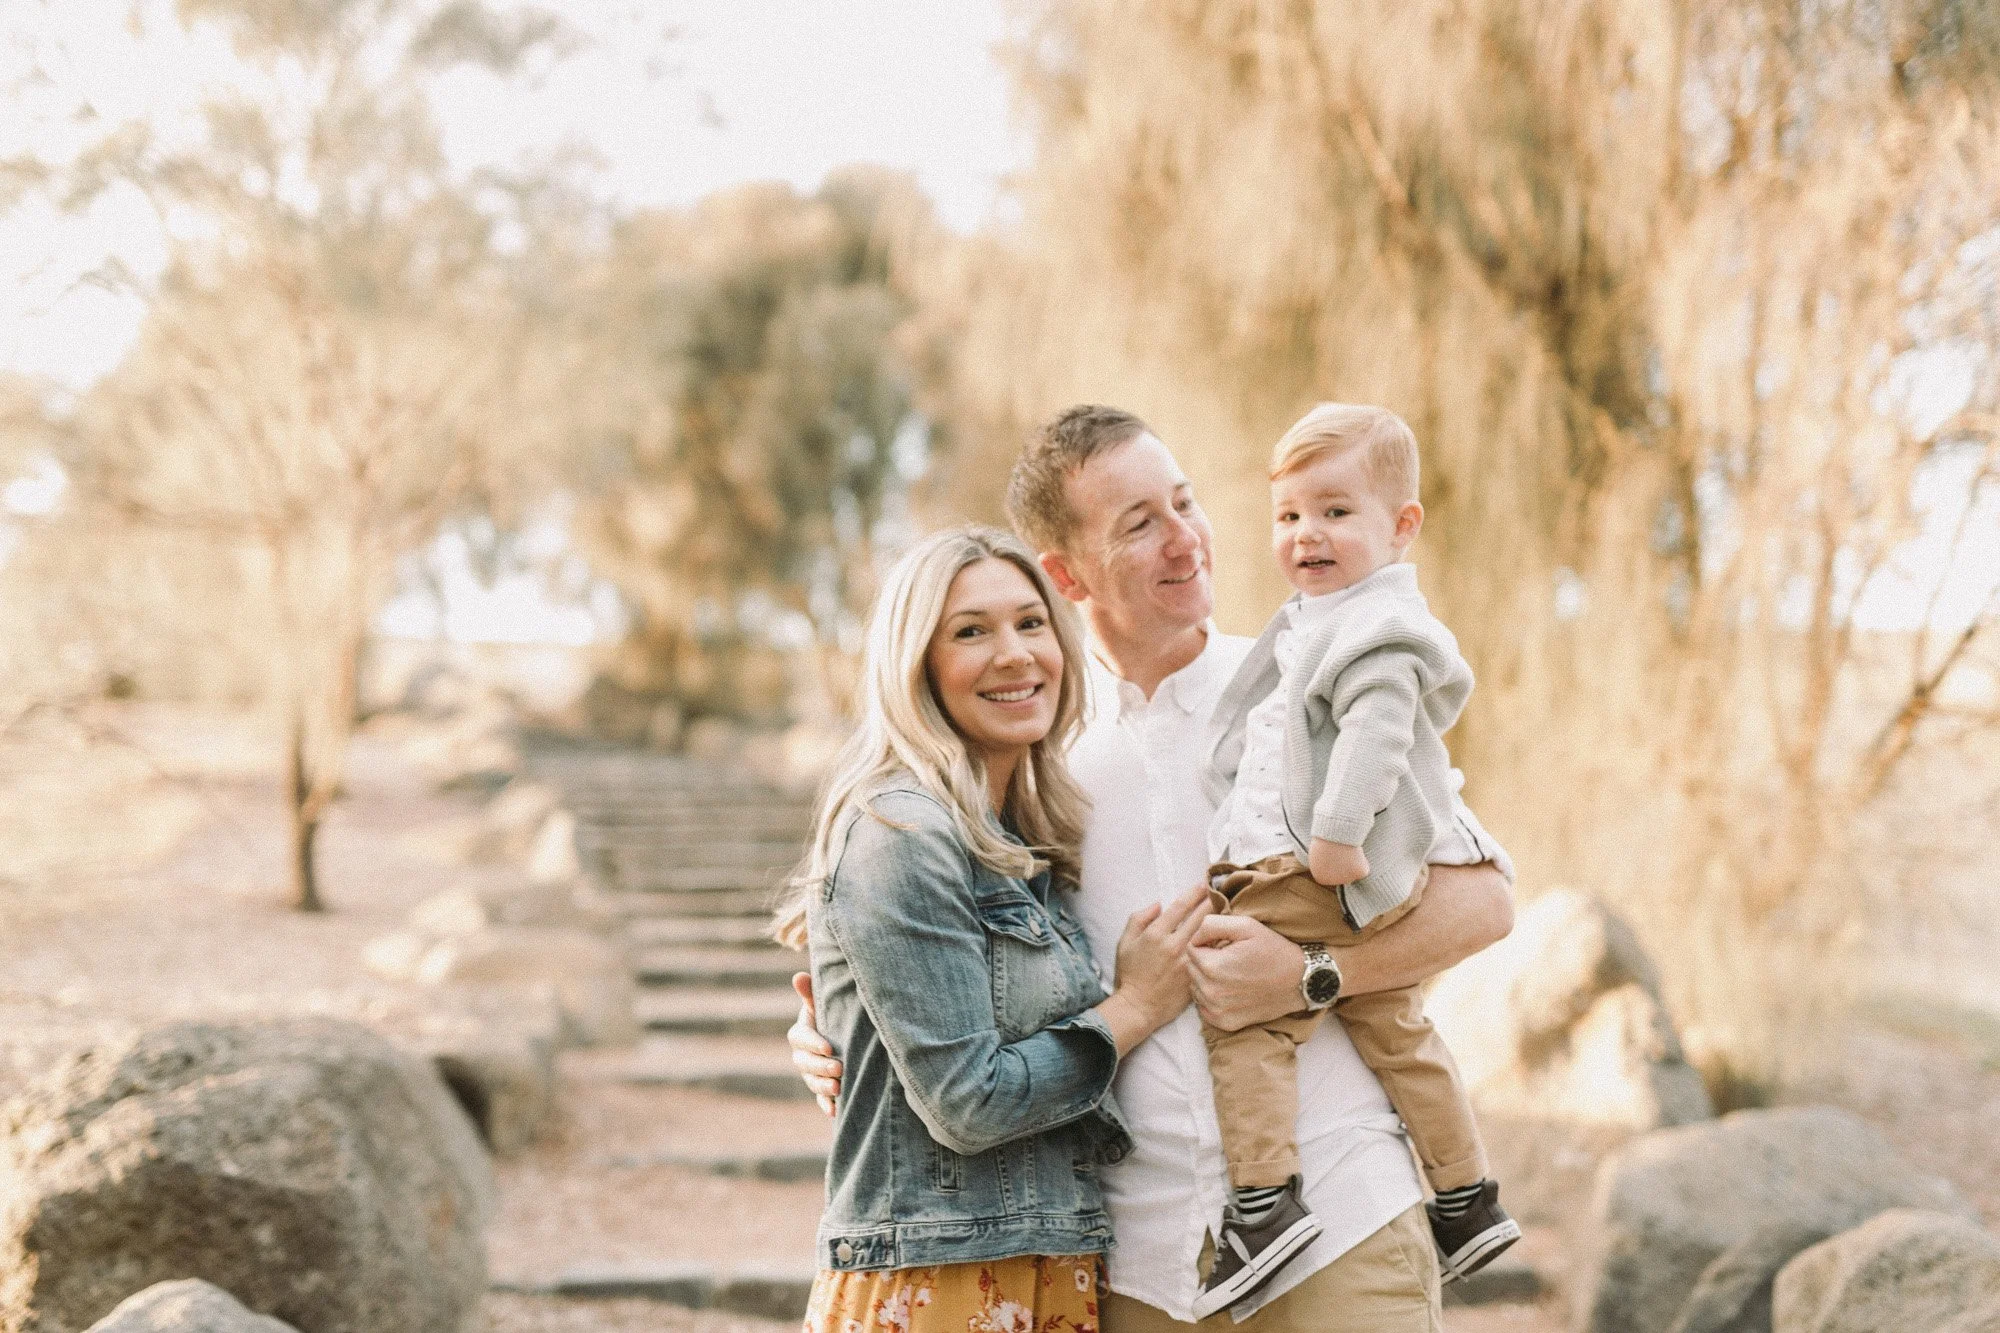
After a decade of experience, I believe that earthy/neutral colours definitely work best. These always seem to have longevity, and look timeless no matter how the photos age.
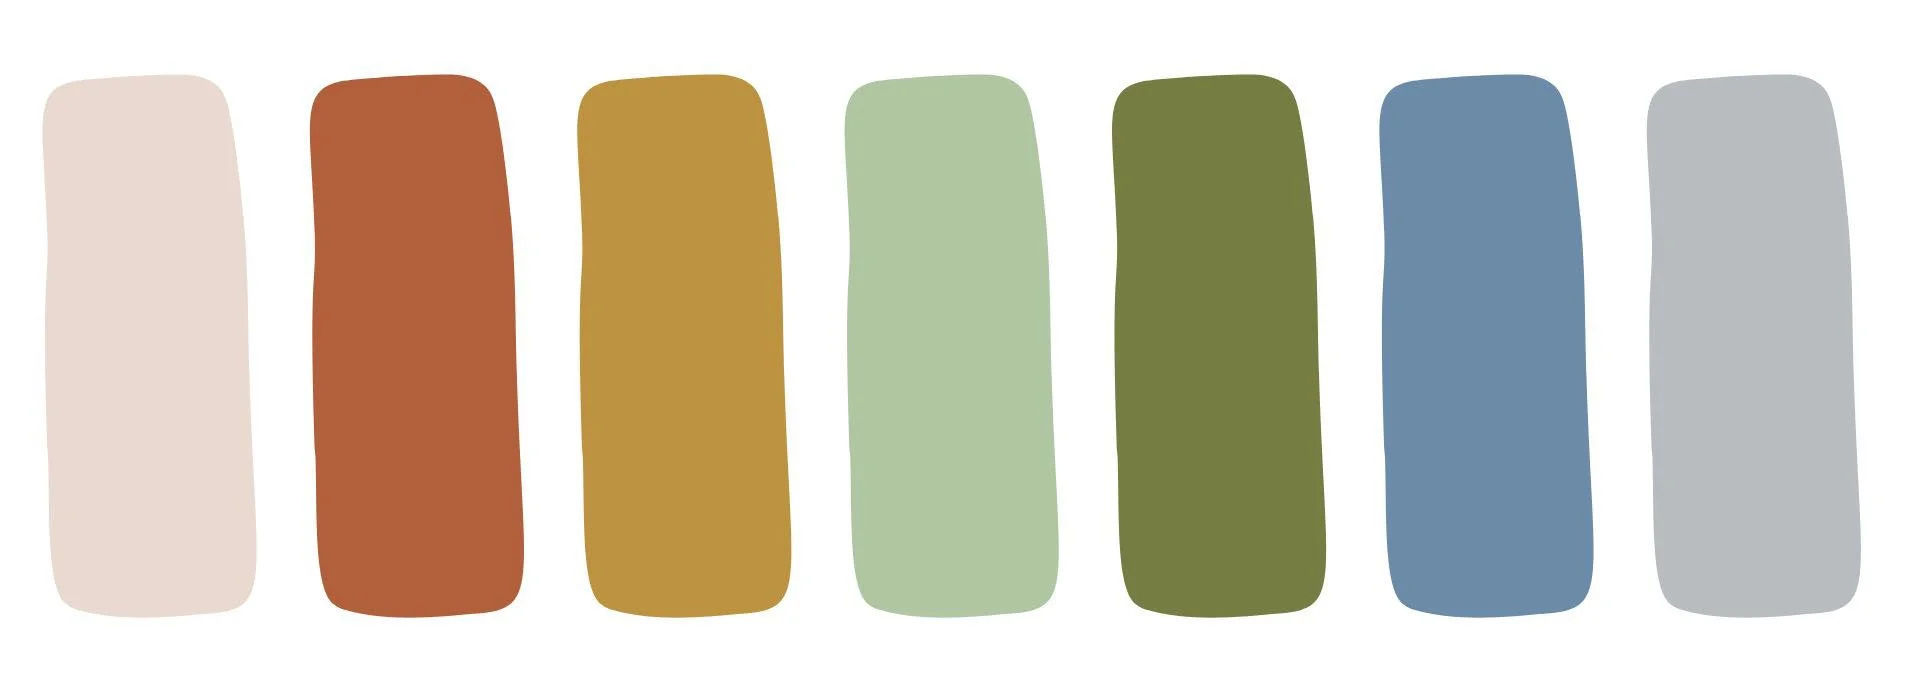
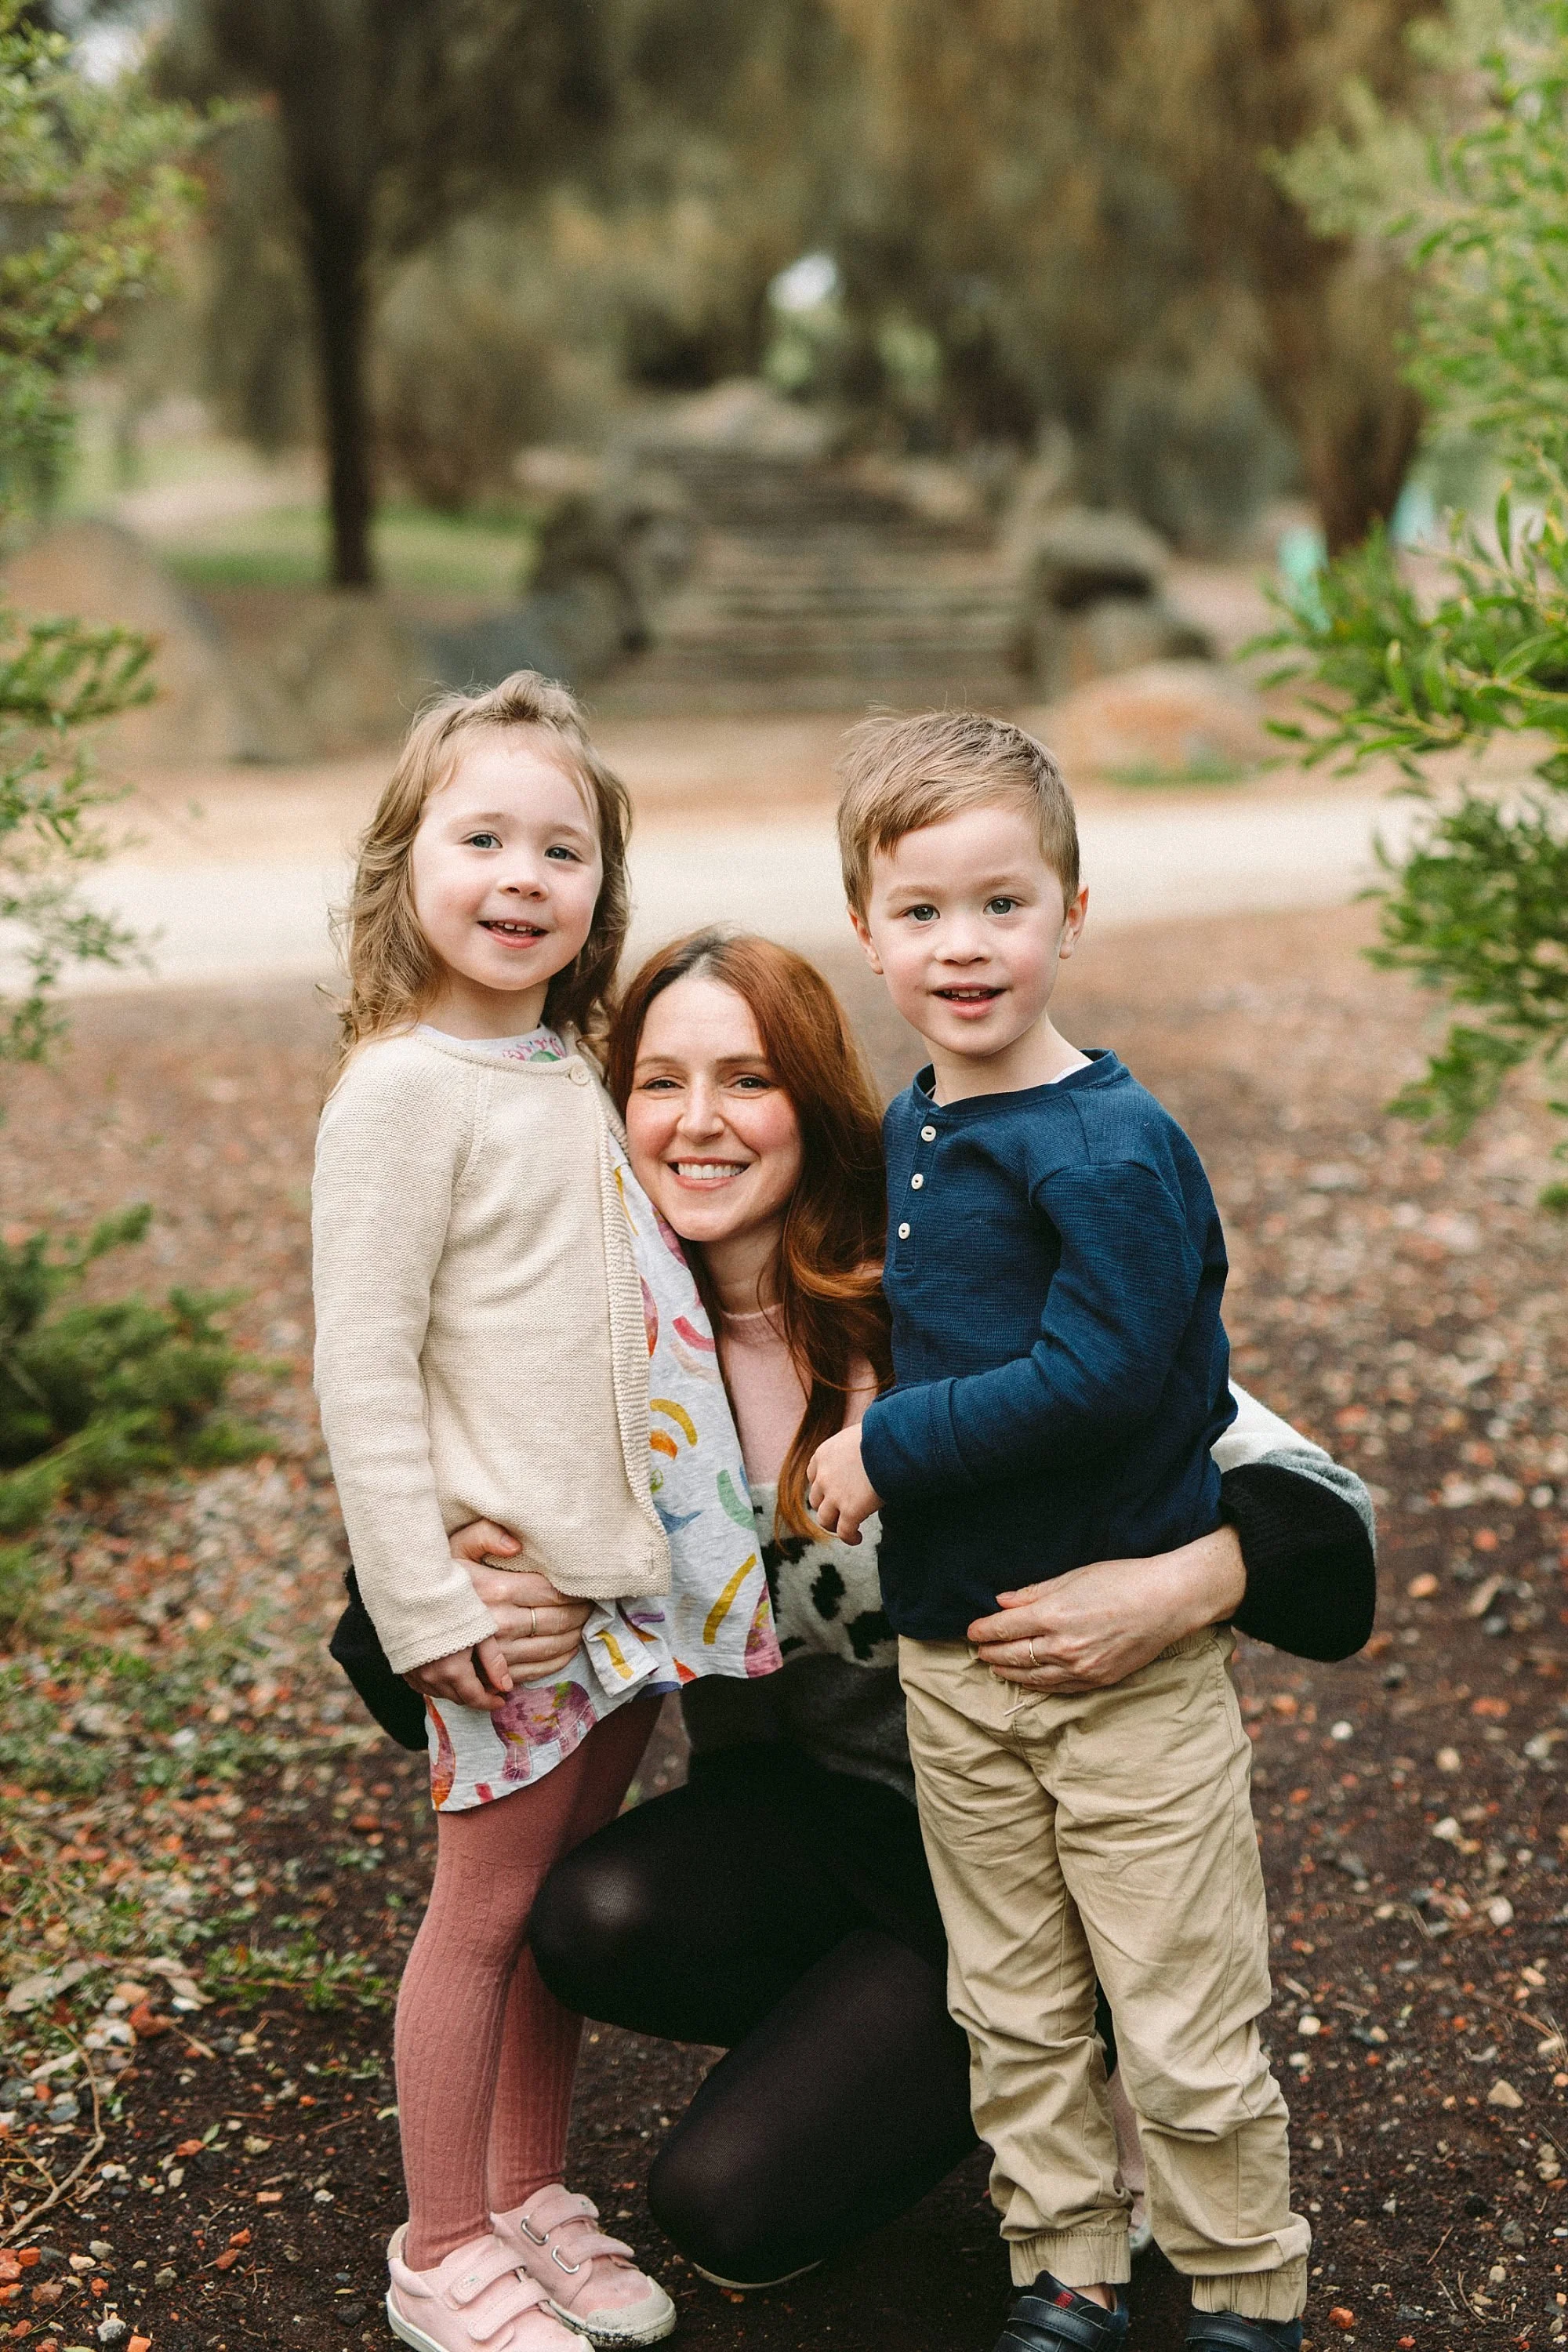
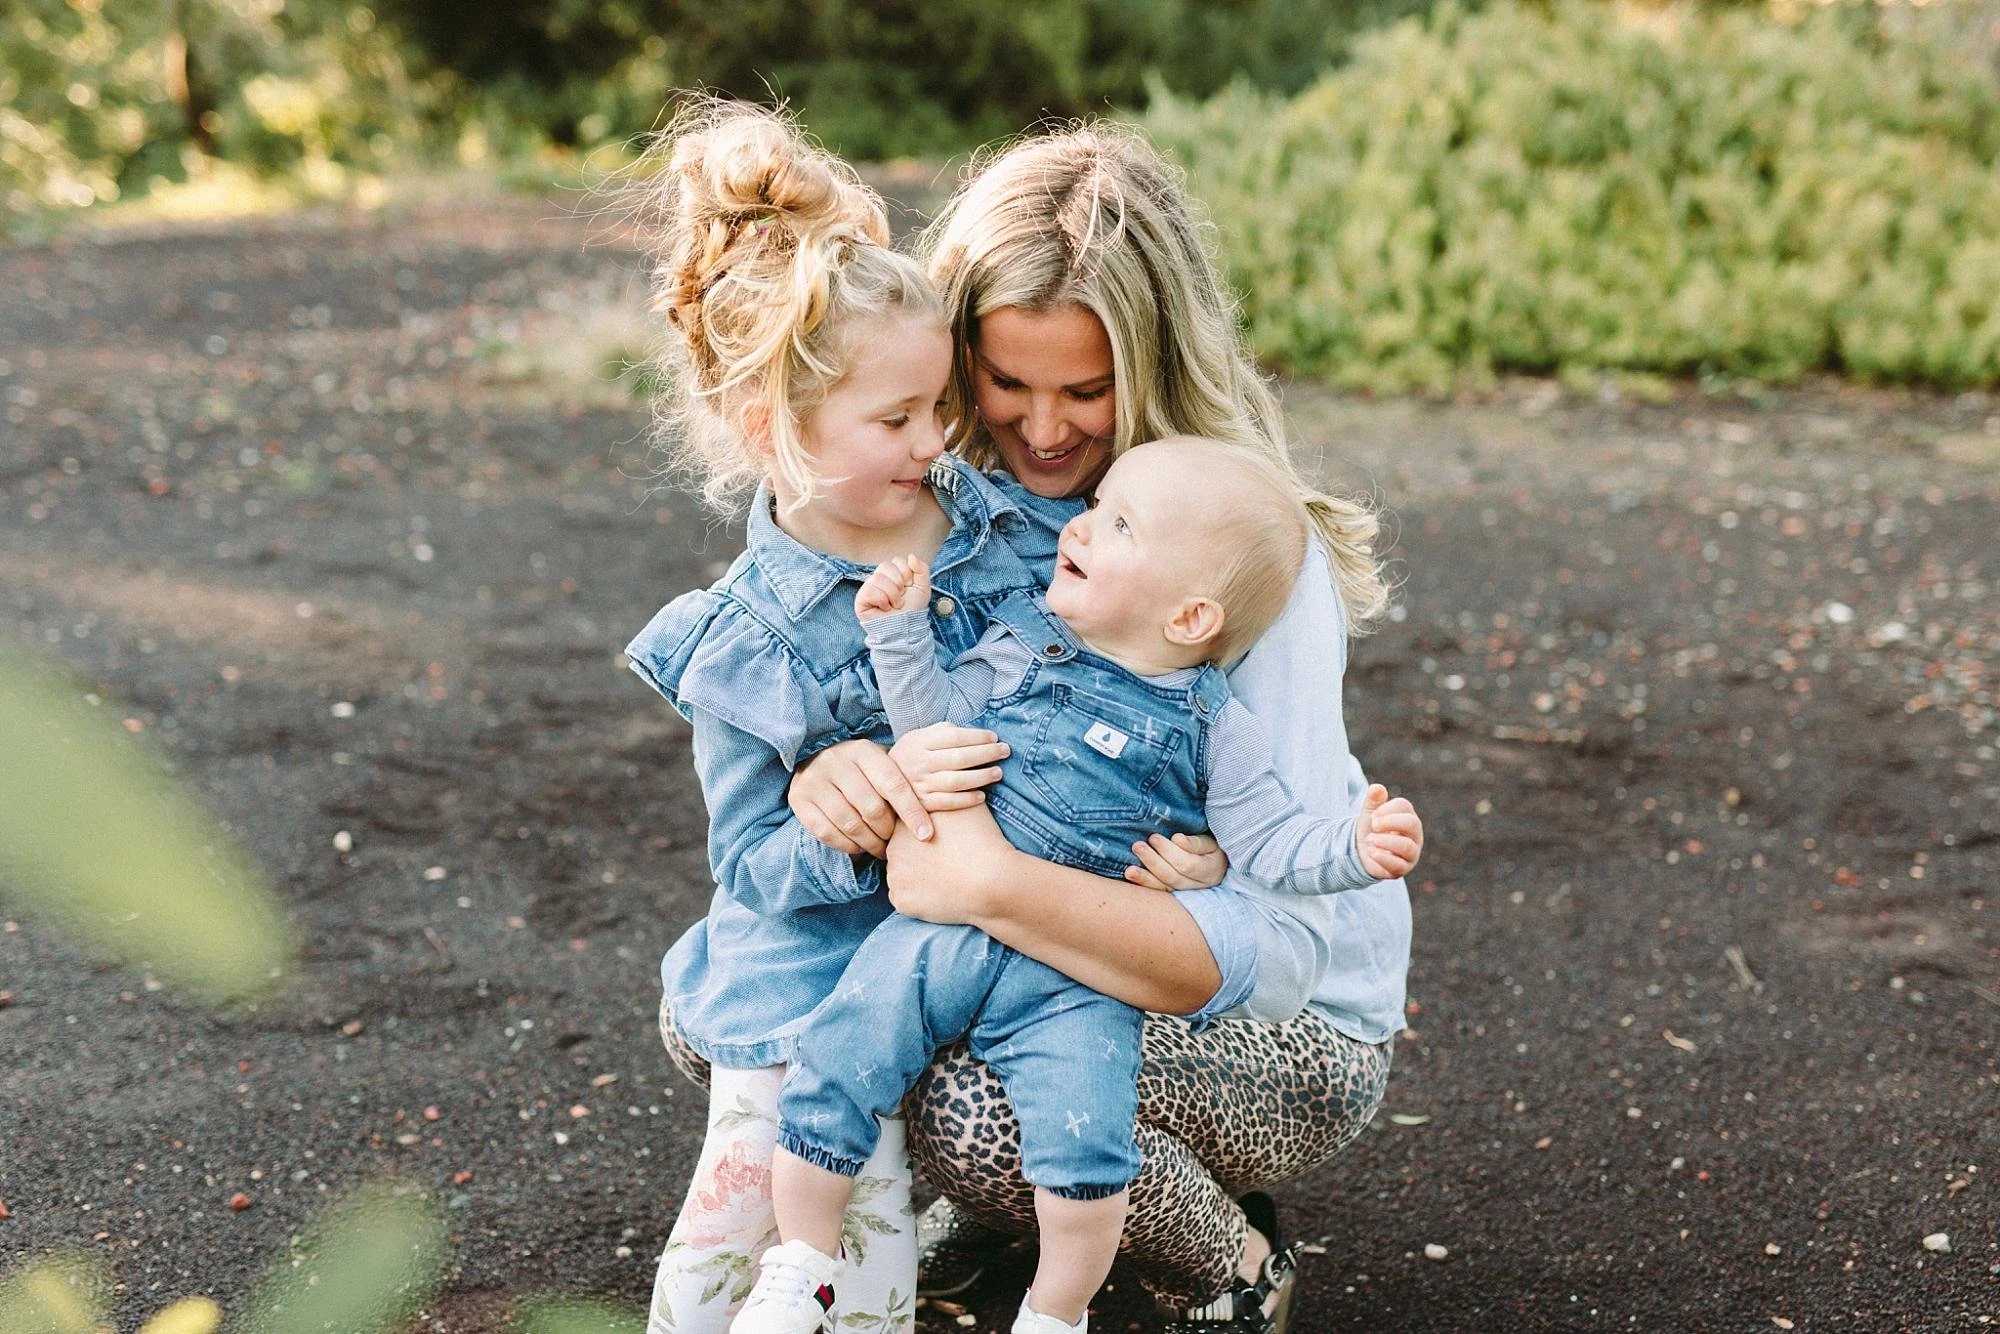
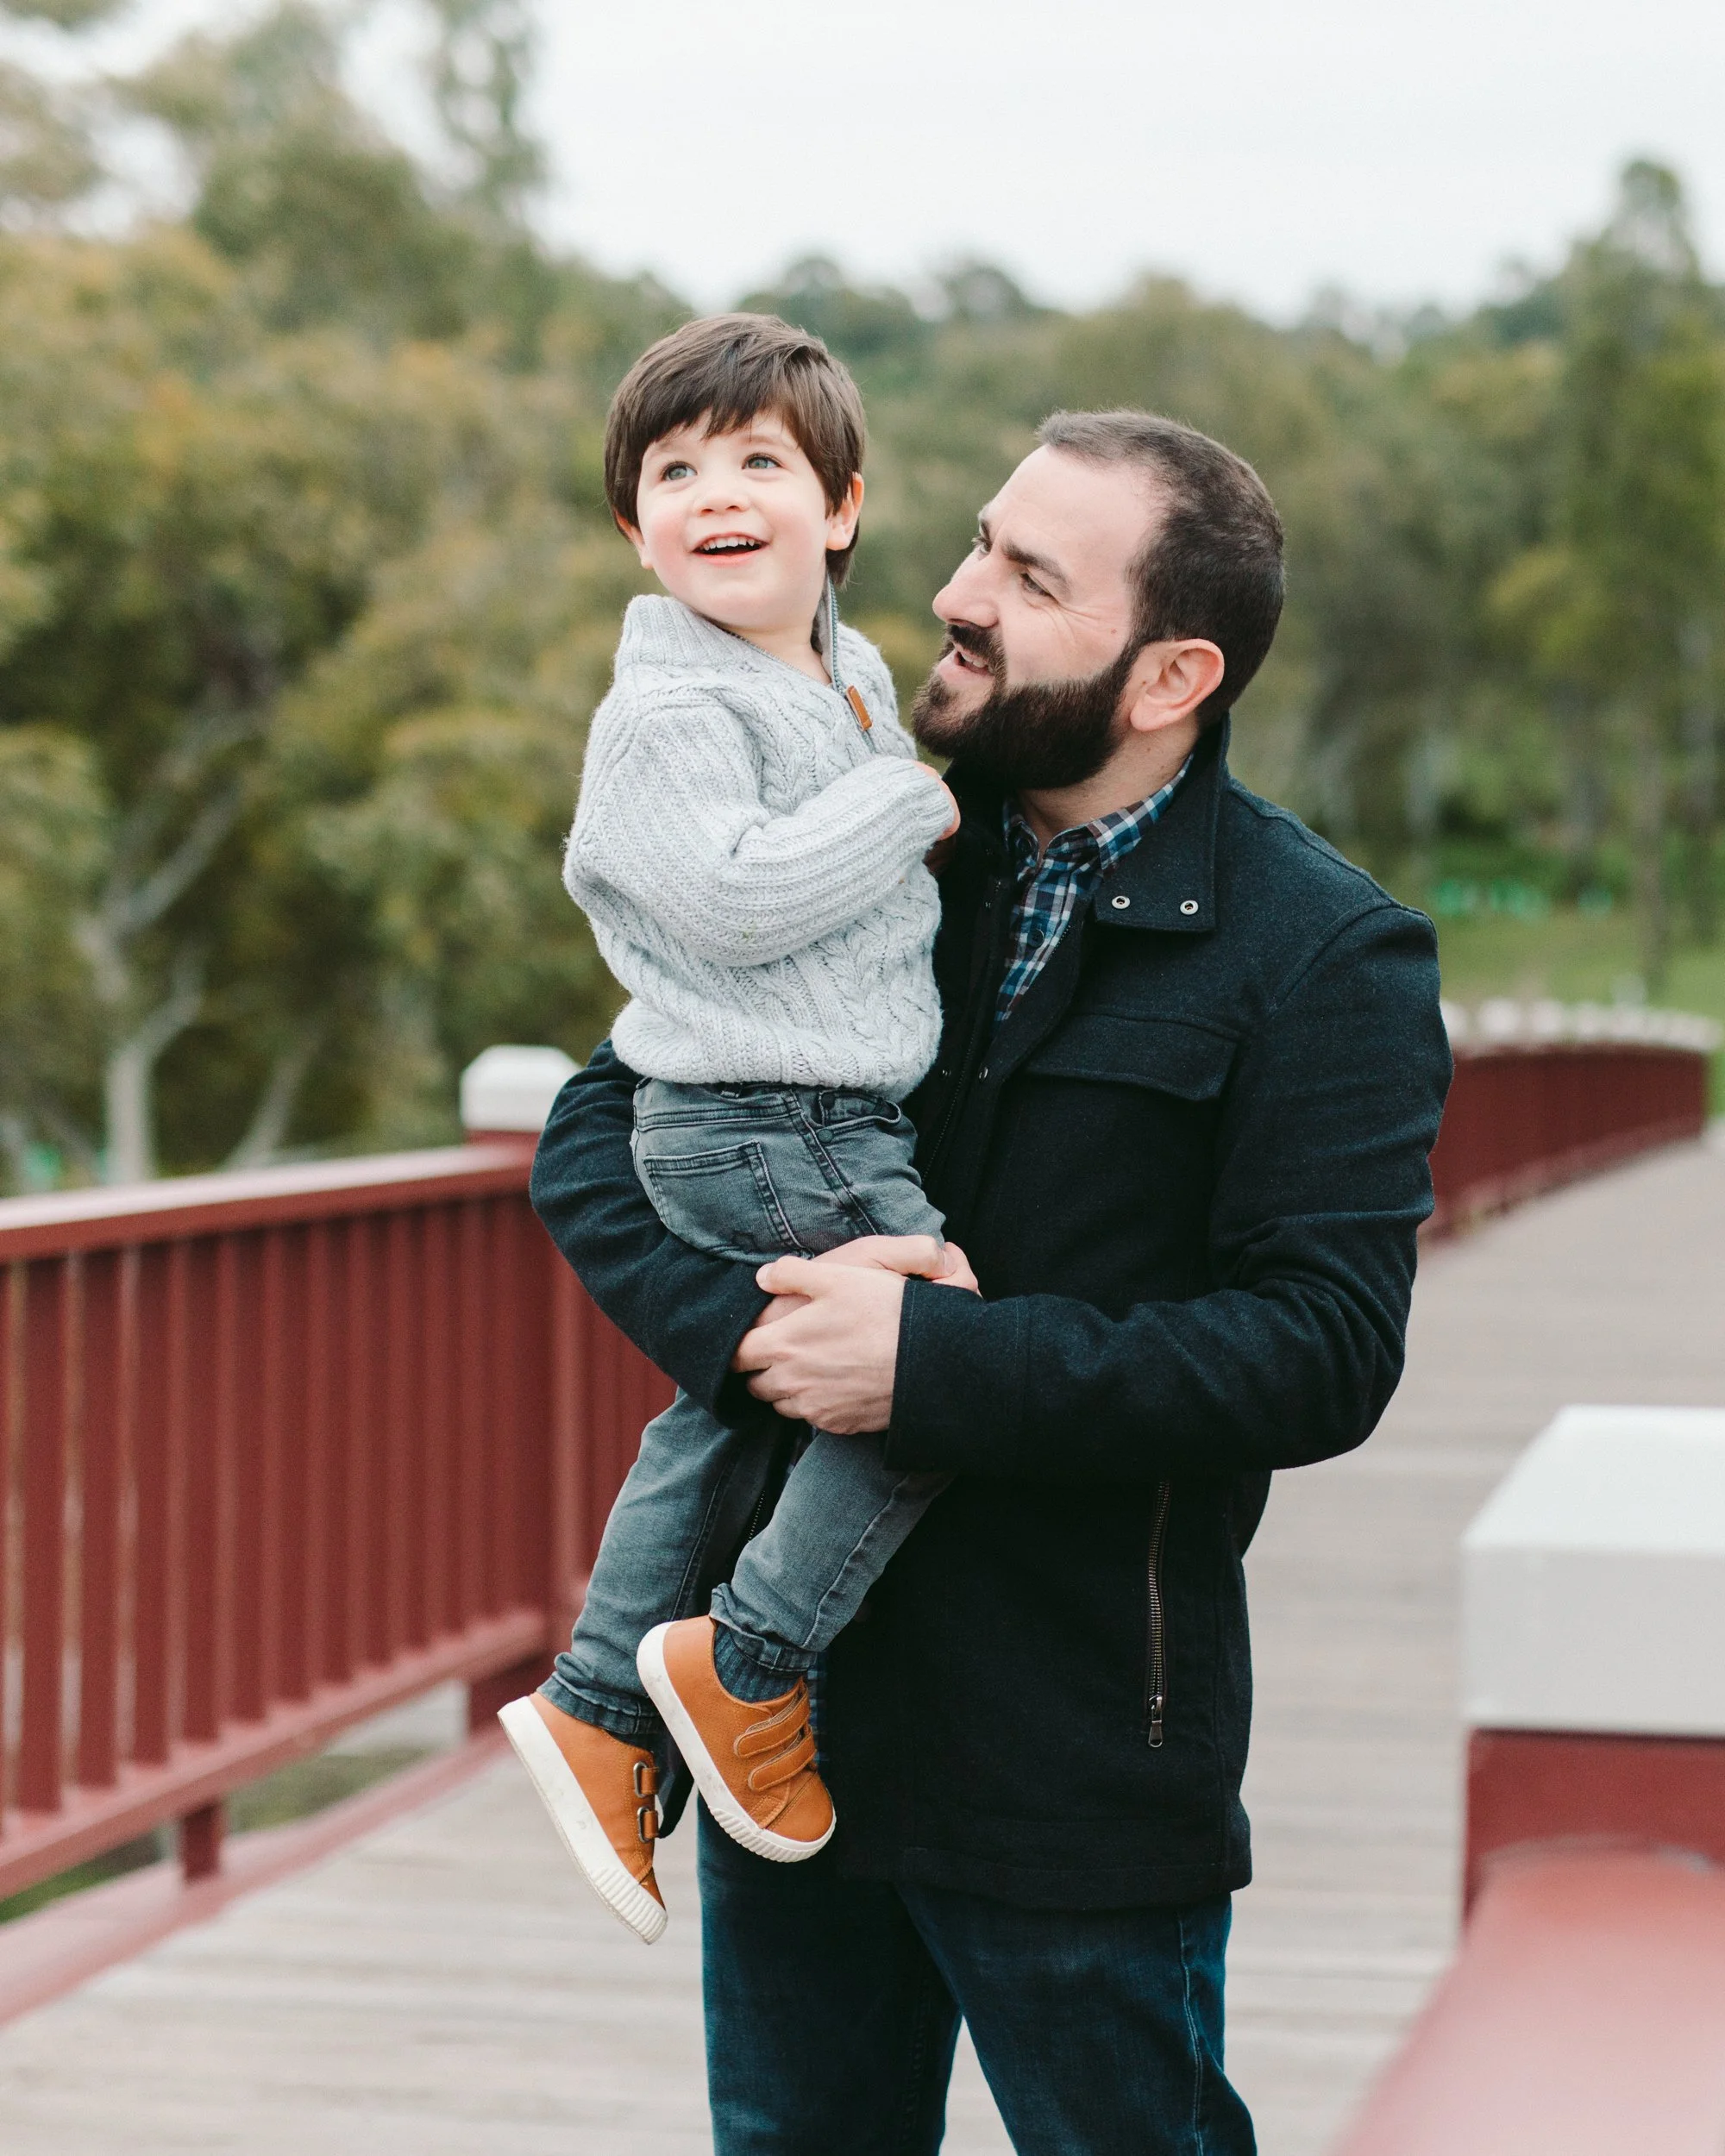
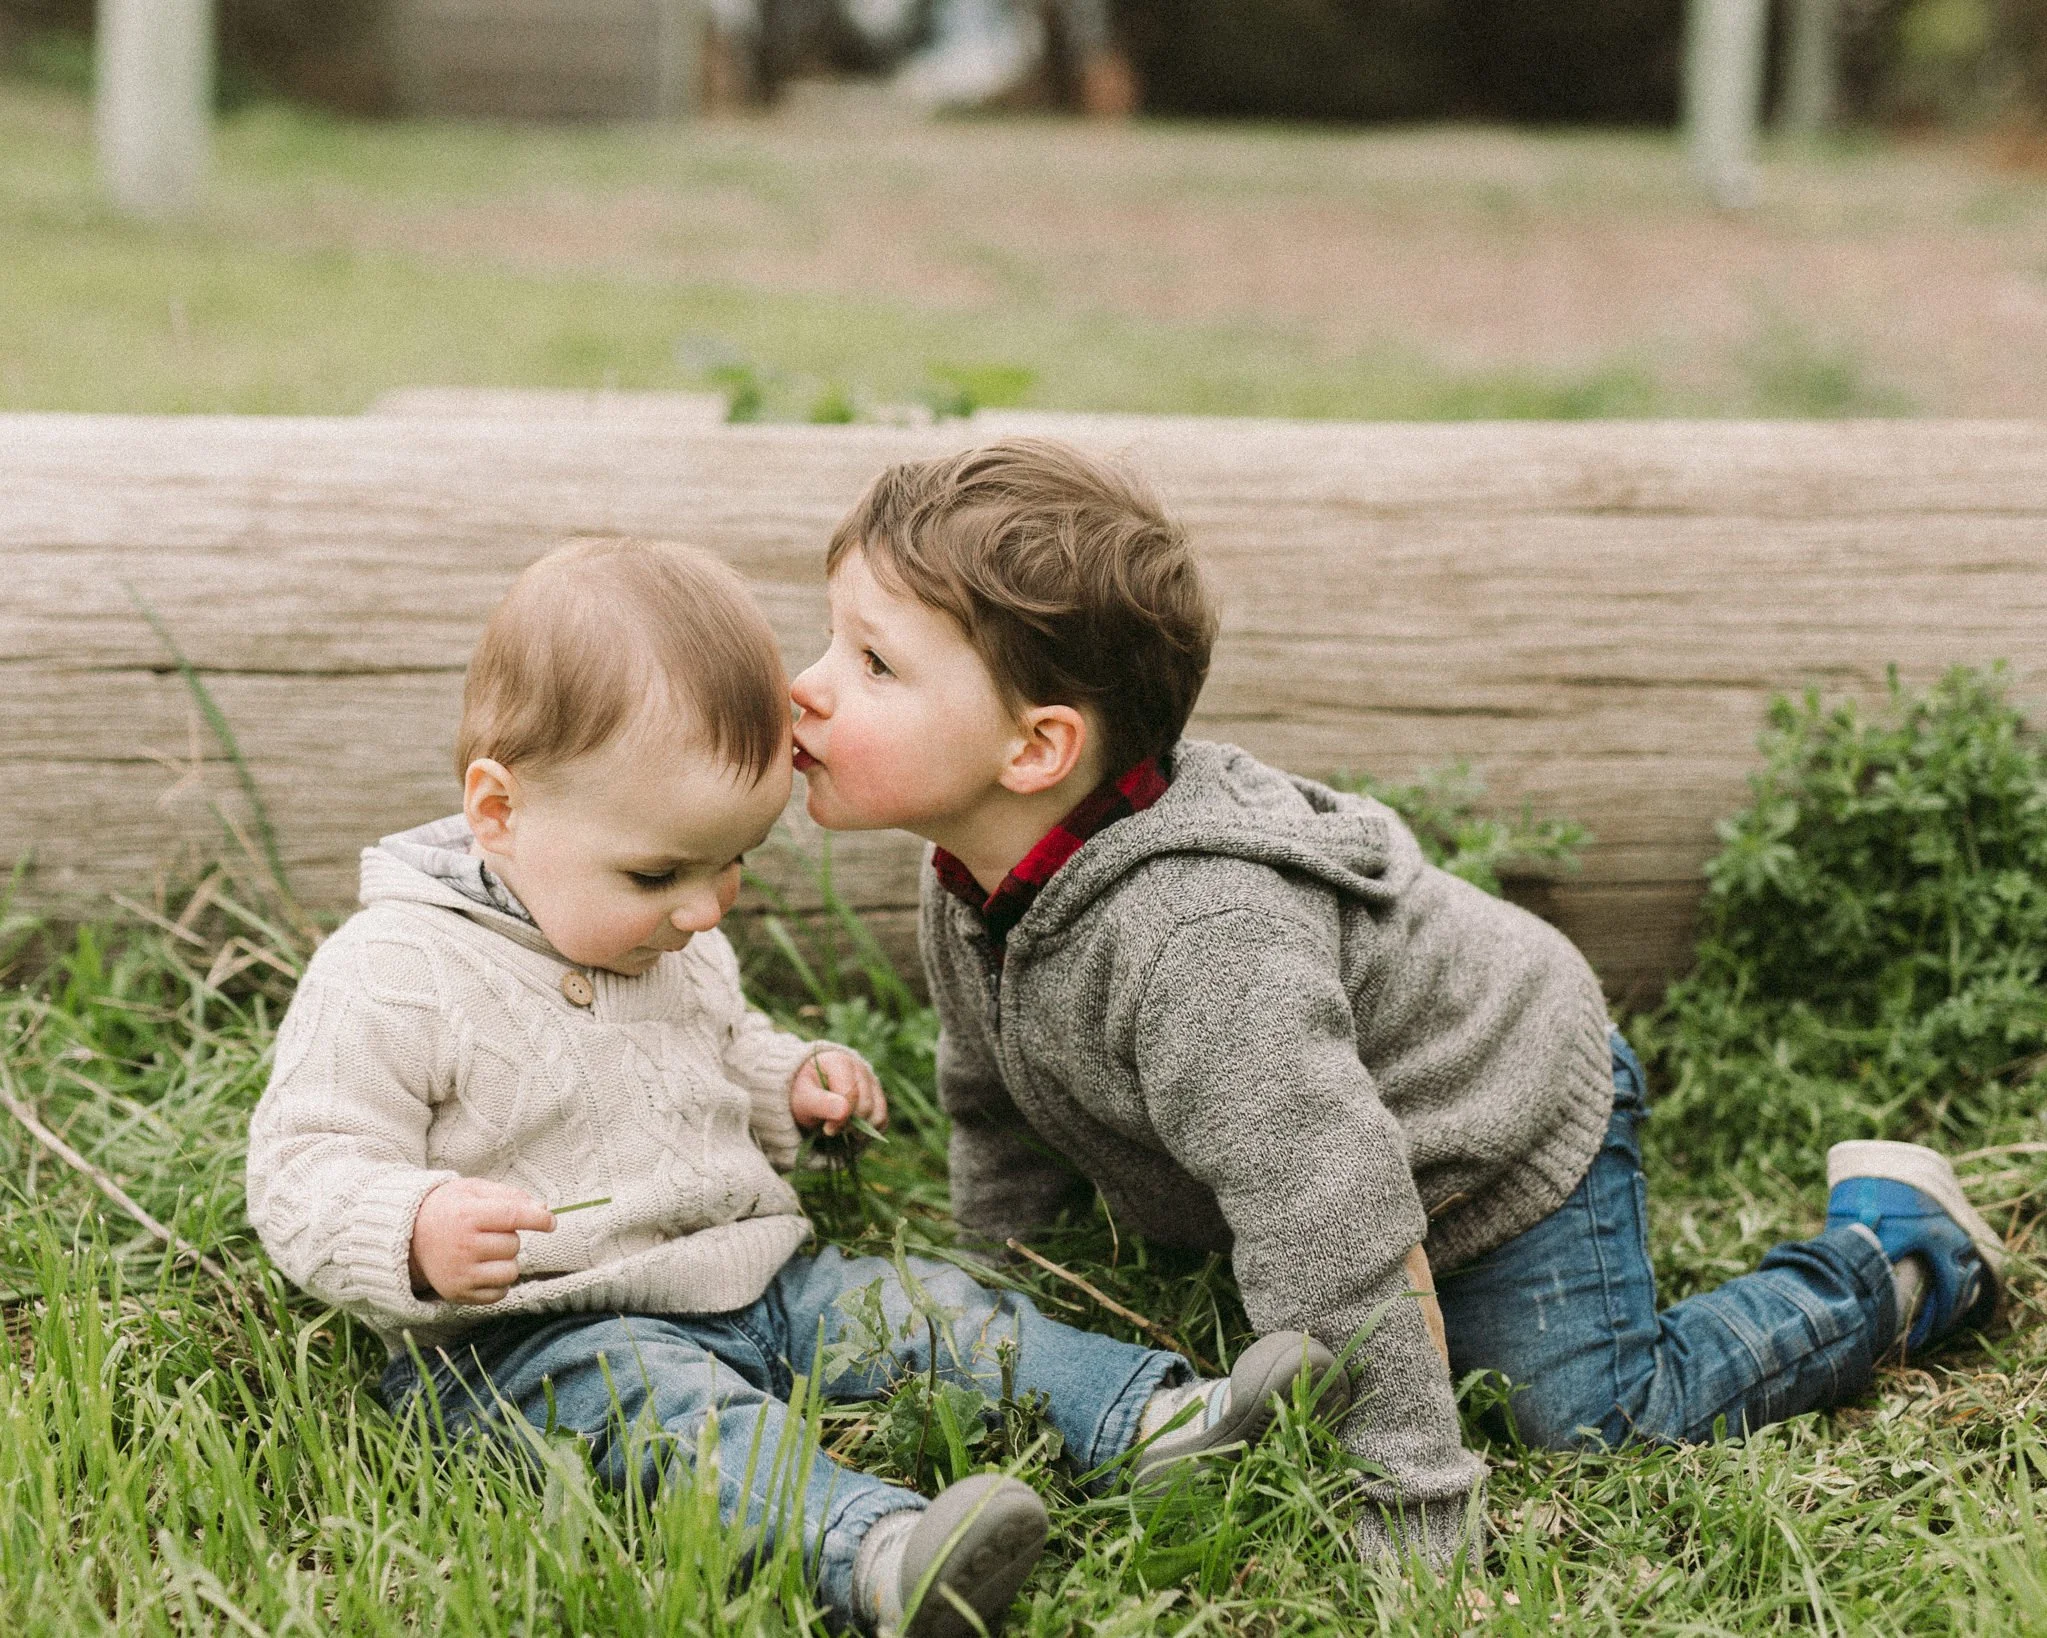
Aim for the following colours: denimy blues, khaki/olive/sage, tan/gold, rust, mustardy yellows, light pastel colours, and anything between white/cream to medium grey.
Always aim for lighter colours, rather than darker colours, wherever possible and especially on the torso. Avoid fluro colours, fire engine red, charcoal, dark navy and blacks. Dark colours on your legs is fine (eg black jeans are fine) just please try really hard to avoid dark colours on the torso.
Definitely mix and match these colours together. Don't all wear the same colour (or different shades of the same colour).
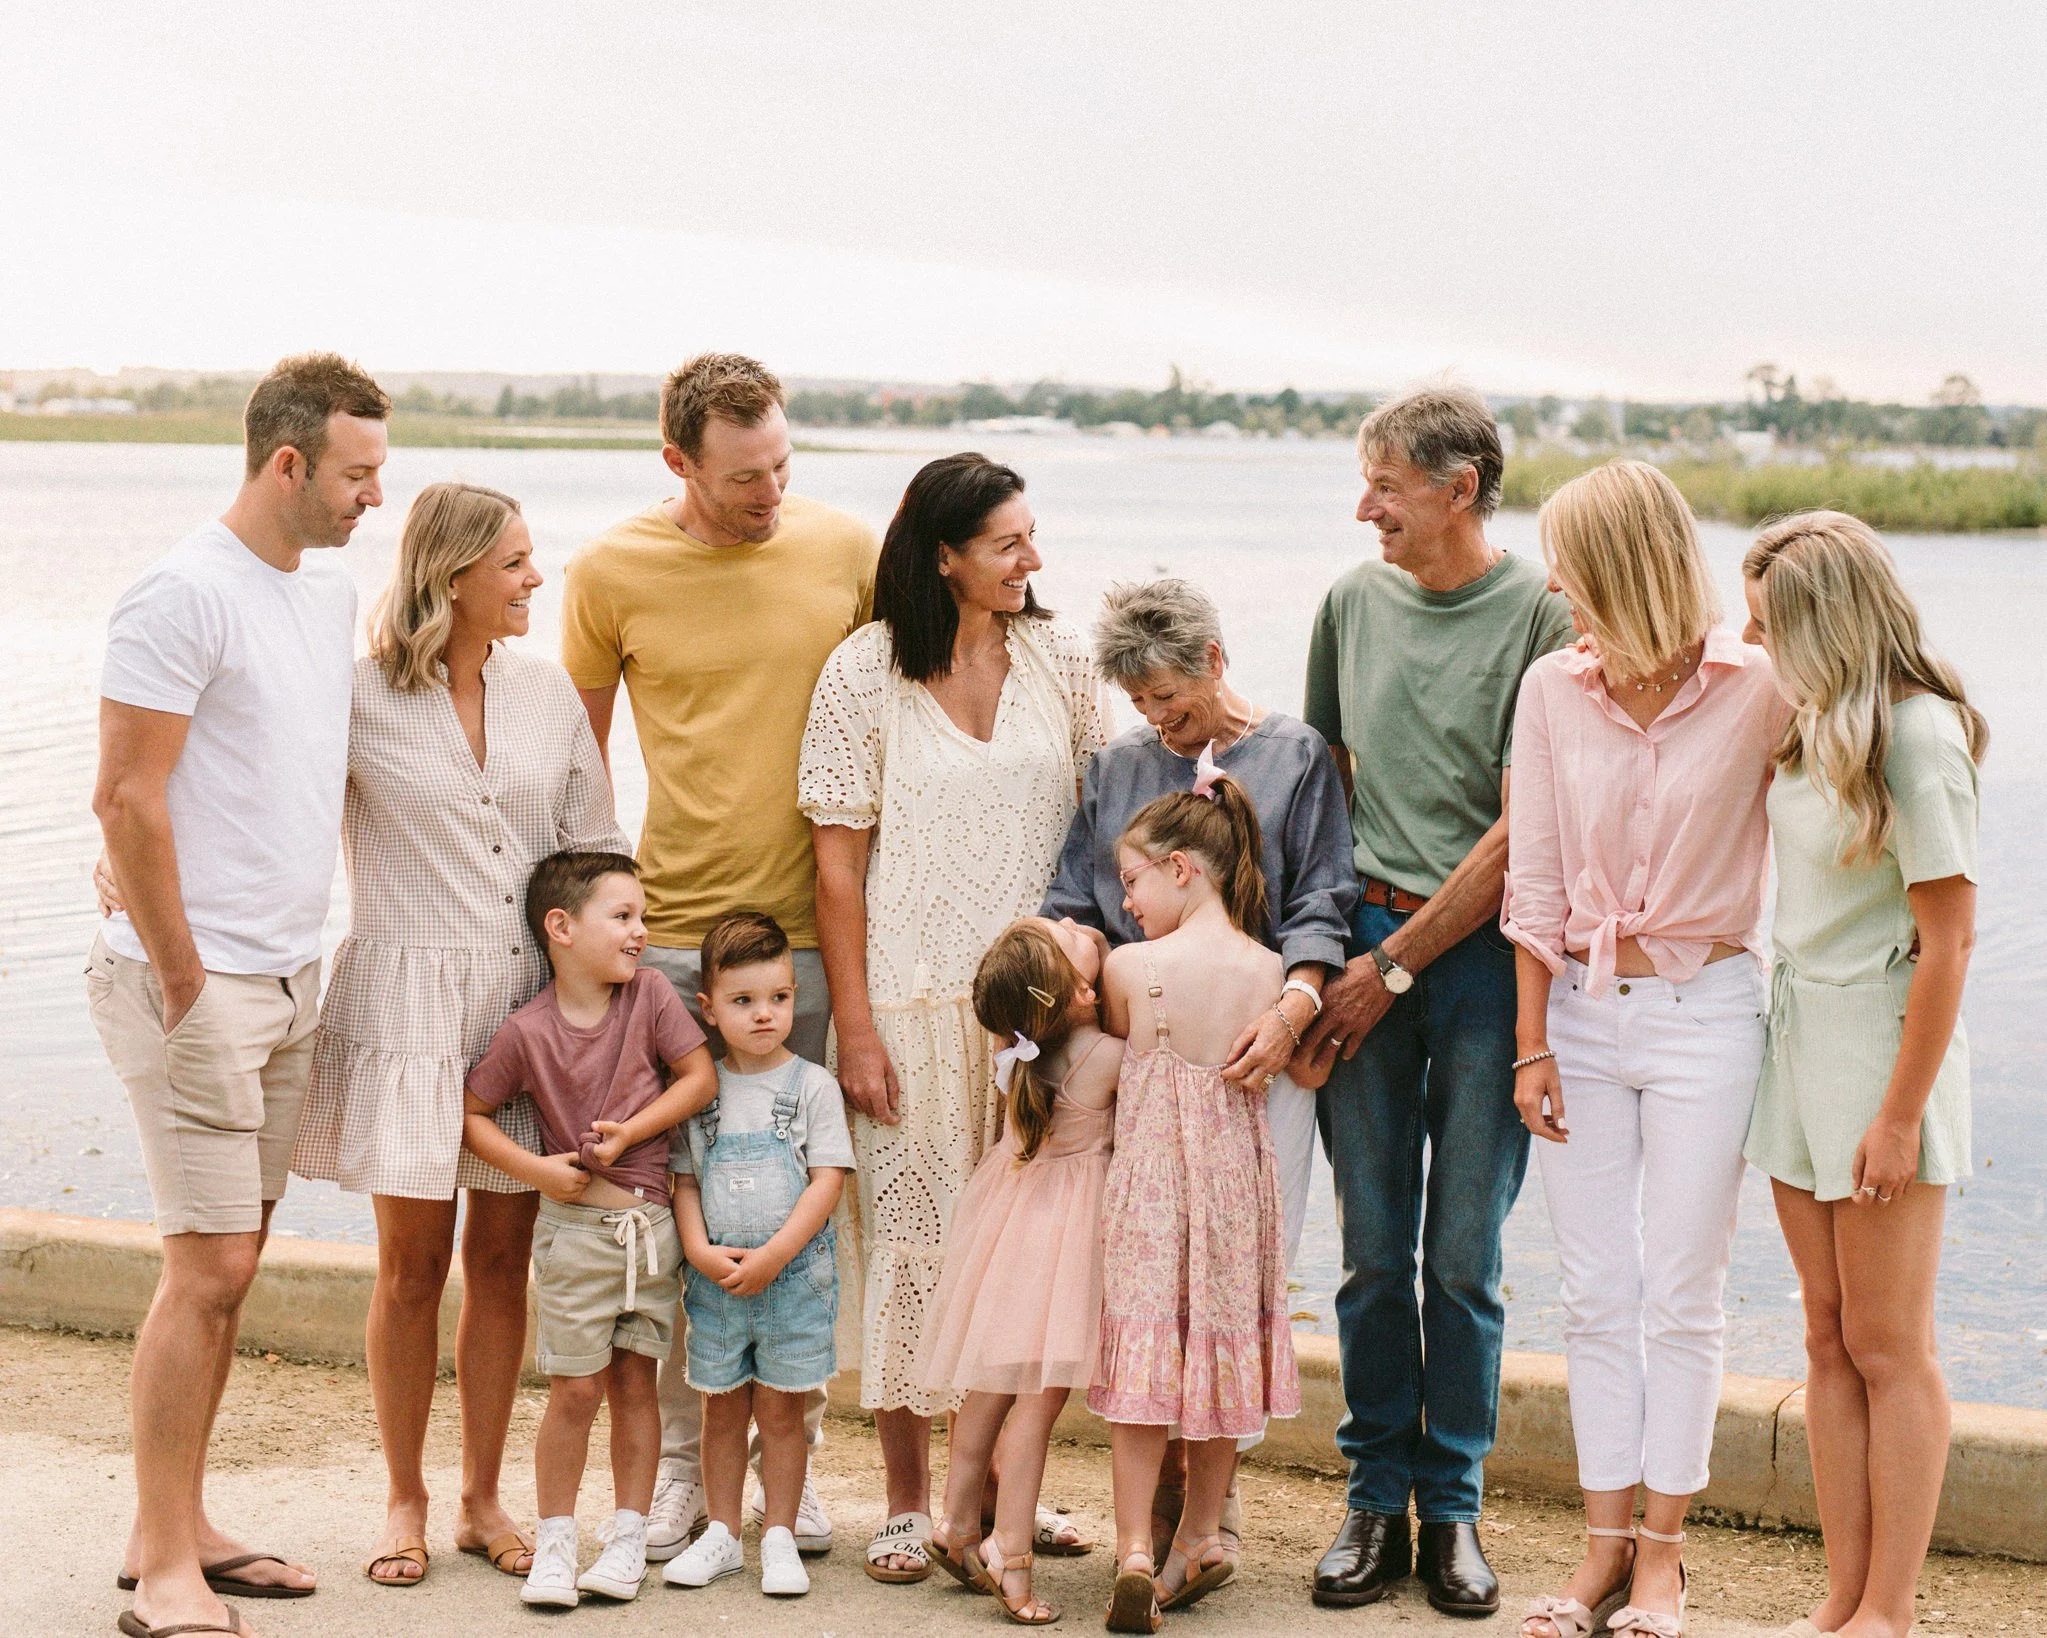
I think this extended family absolutely nailed it.
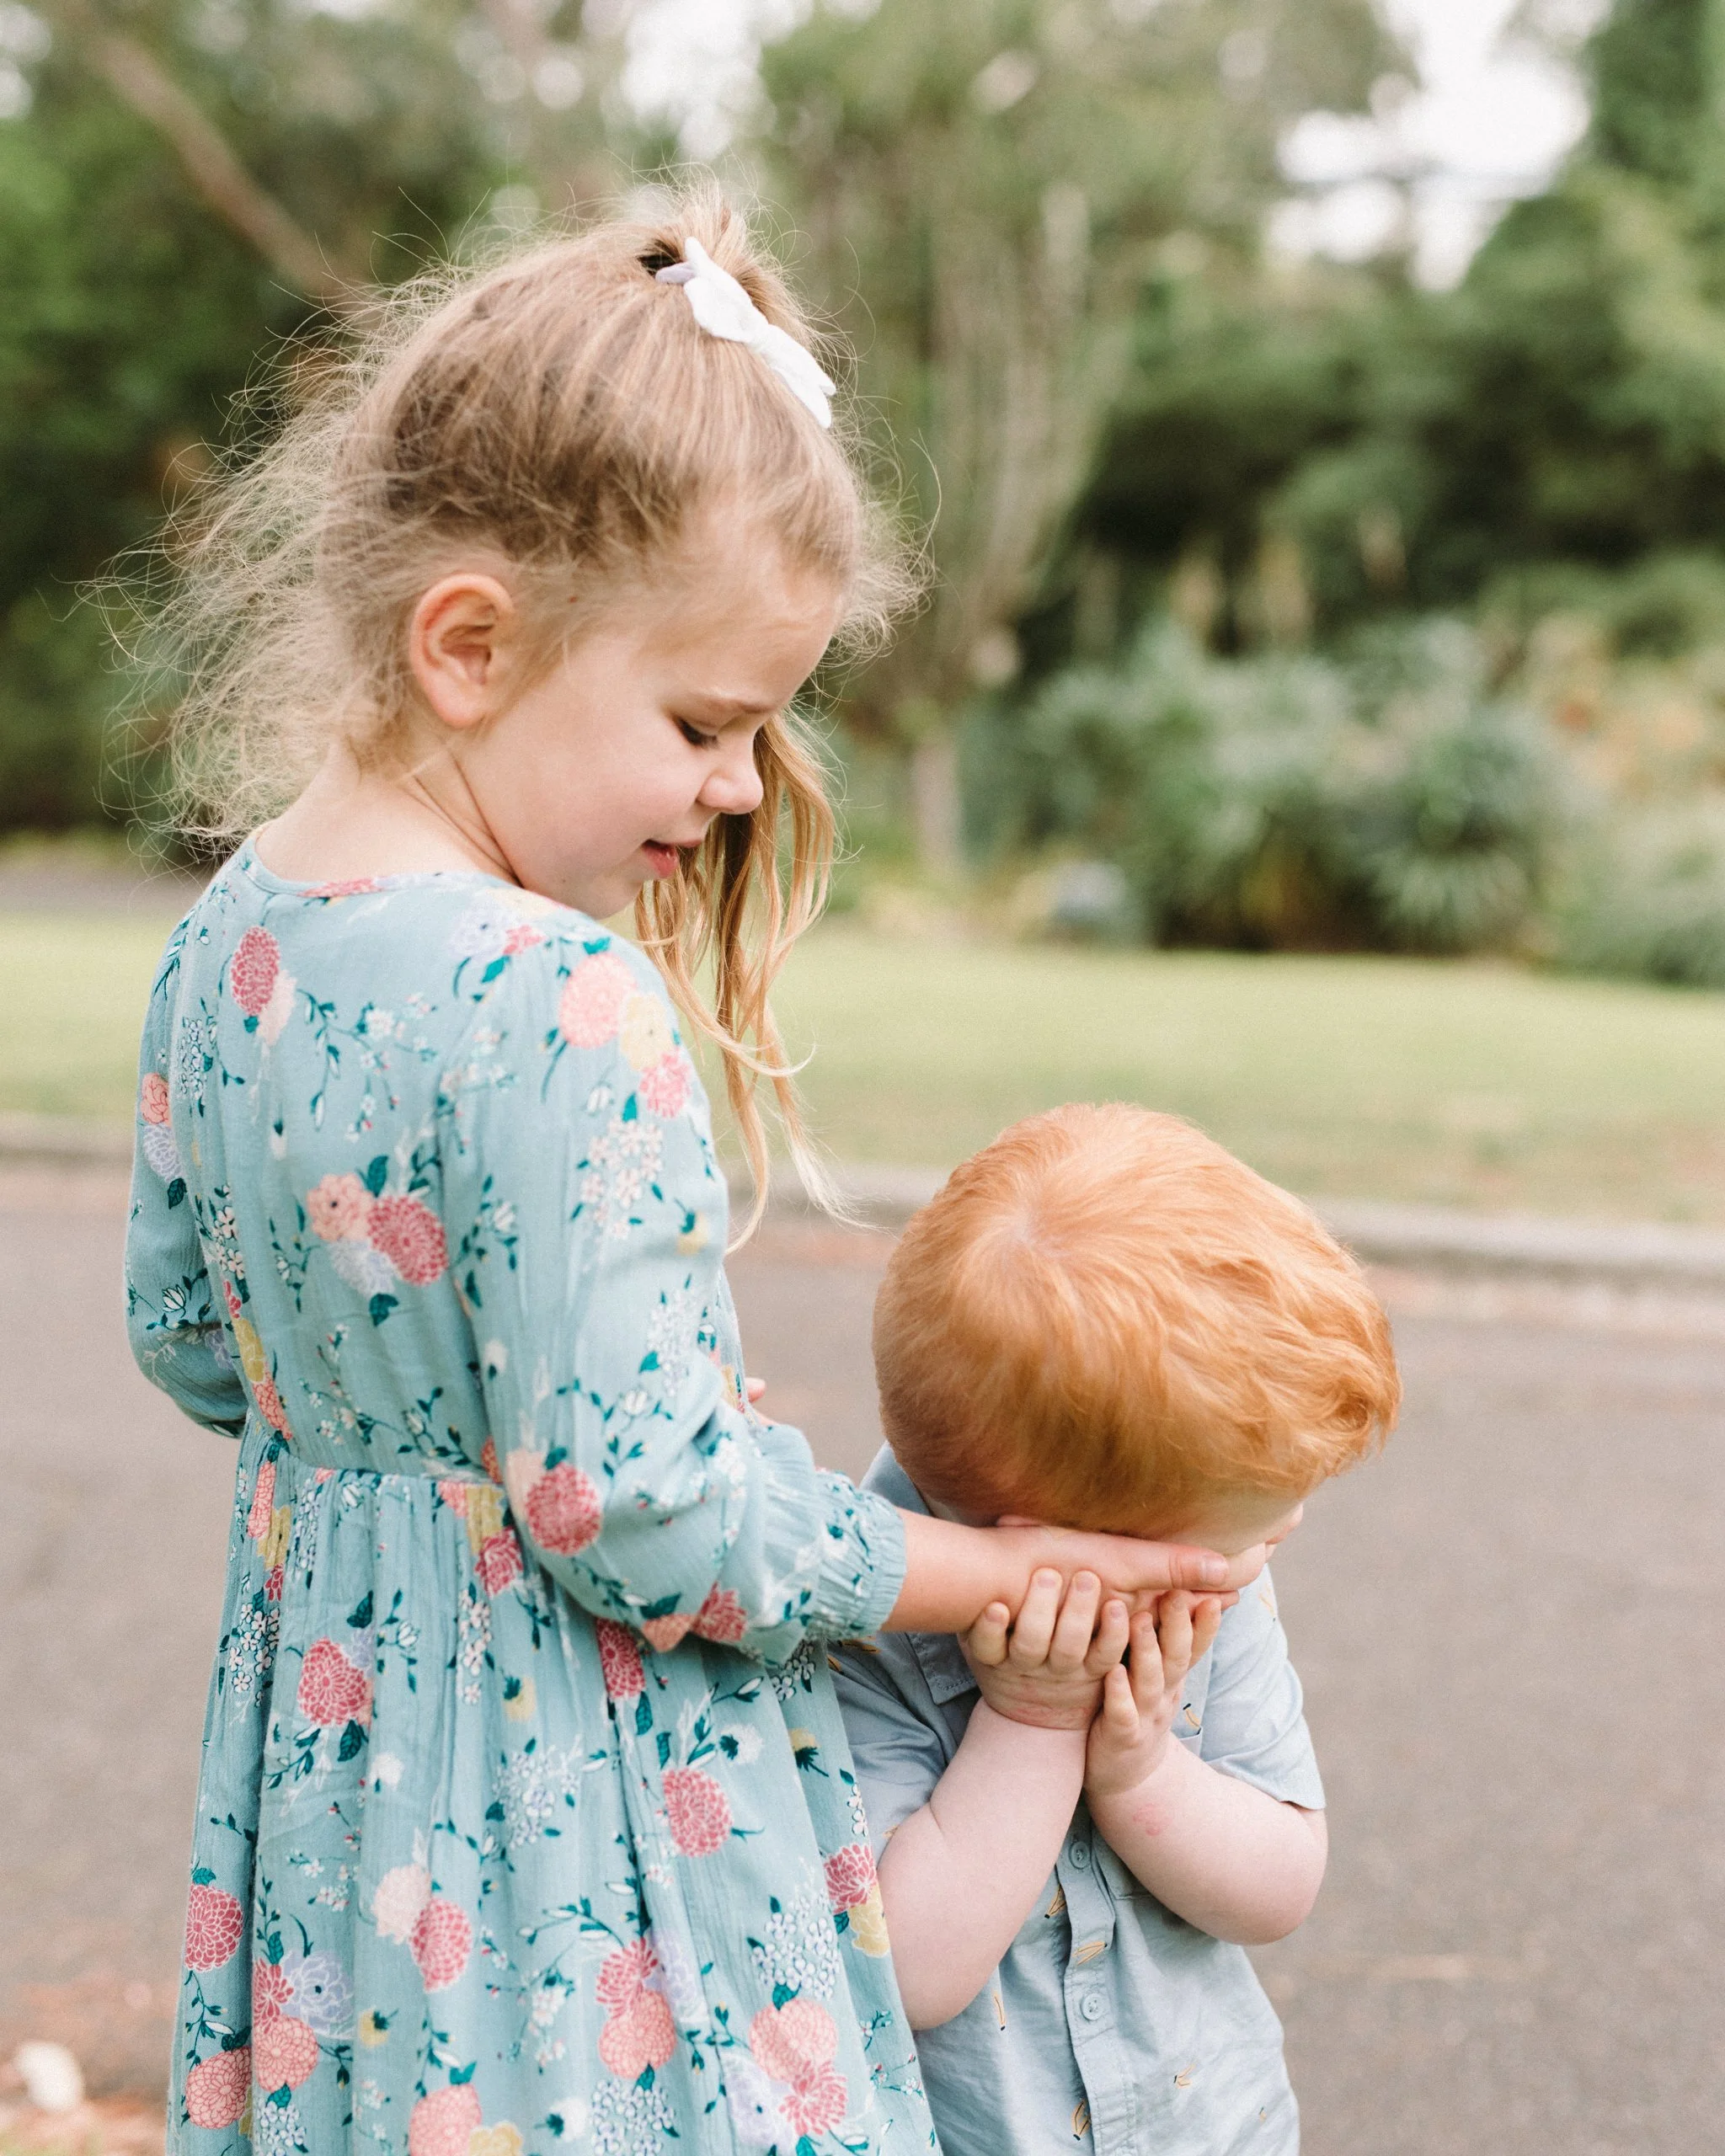
TIP #3: HOW TO MIX PATTERNS AND SOLIDS
Who doesn’t love a good pattern? They add variety and colour, but they do run the risk of being overpowering so you need to be careful when choosing them!
When it comes to patterns, think small and simple.
Avoid wearing clothes with logos & graphics.
A special mention goes out to my Gorman lovers (or lovers of bright & colourful clothing). Stay true to yourself, and ultimately wear what makes you happy even if it goes against all these rules. BUT make sure to keep the rest of your families outfits simple, and choose colours that compliment the colours in YOUR outfit.
The trick is to pick one pattern you love, and go from there. Does your partner have an awesome checkered shirt in teal that you love on him? Choose outfits for the rest of your family in colours that compliment teal, like pale pinks, navy, and dusky blues and remember you can add grey and white as extras.
If the colours and patterns compliment each other, you can also go totally wild and use two patterns.
TIP #4: K.I.S.S (KEEP IT SIMPLE, SILLY!)
As is the key to most things in life, keep it simple, silly! Simple clothes and colours are timeless, and are less likely to make you wonder “What on earth was I wearing?” in ten to twenty years ;)
This tip really needs to be read together with tips #1 and #2 above as well. Things really start to look messy and distracting when you have too many patterns and colours all fighting for our attention (fluro colours and fire engine red clothes do mean things to my lenses).
Lighter colours (light blues, pinks and greens), neutral colours (shades of white, grey, black varying from light to dark) and darker colours (tan, navy, khaki, burgundy etc) are a great way to keep it simple. They always work well together, are easy to coordinate, and best of all – they won’t steal the attention away from the connections and emotions between you all. We want you to be the main subject of your photos, not your clothes.
TIP #5: START WITH YOU
If you are still not sure – try starting with yourself. Pick out your all-time favourite outfit that makes you feel like a million dollars (or treat yourself to something new) and use your outfit to guide your choices for the rest of your family.
You can just as easily start with someone else in your family that you already have an amazing outfit for, and go from there.
TIP $6: KEEP THE ENVIRONMENT AND LOCATION OF YOUR SESSION IN MIND
The environment and location of our session matters, and should also have a big influence on the style of clothes you wear as well as the colour.
Picking clothes to work with your location
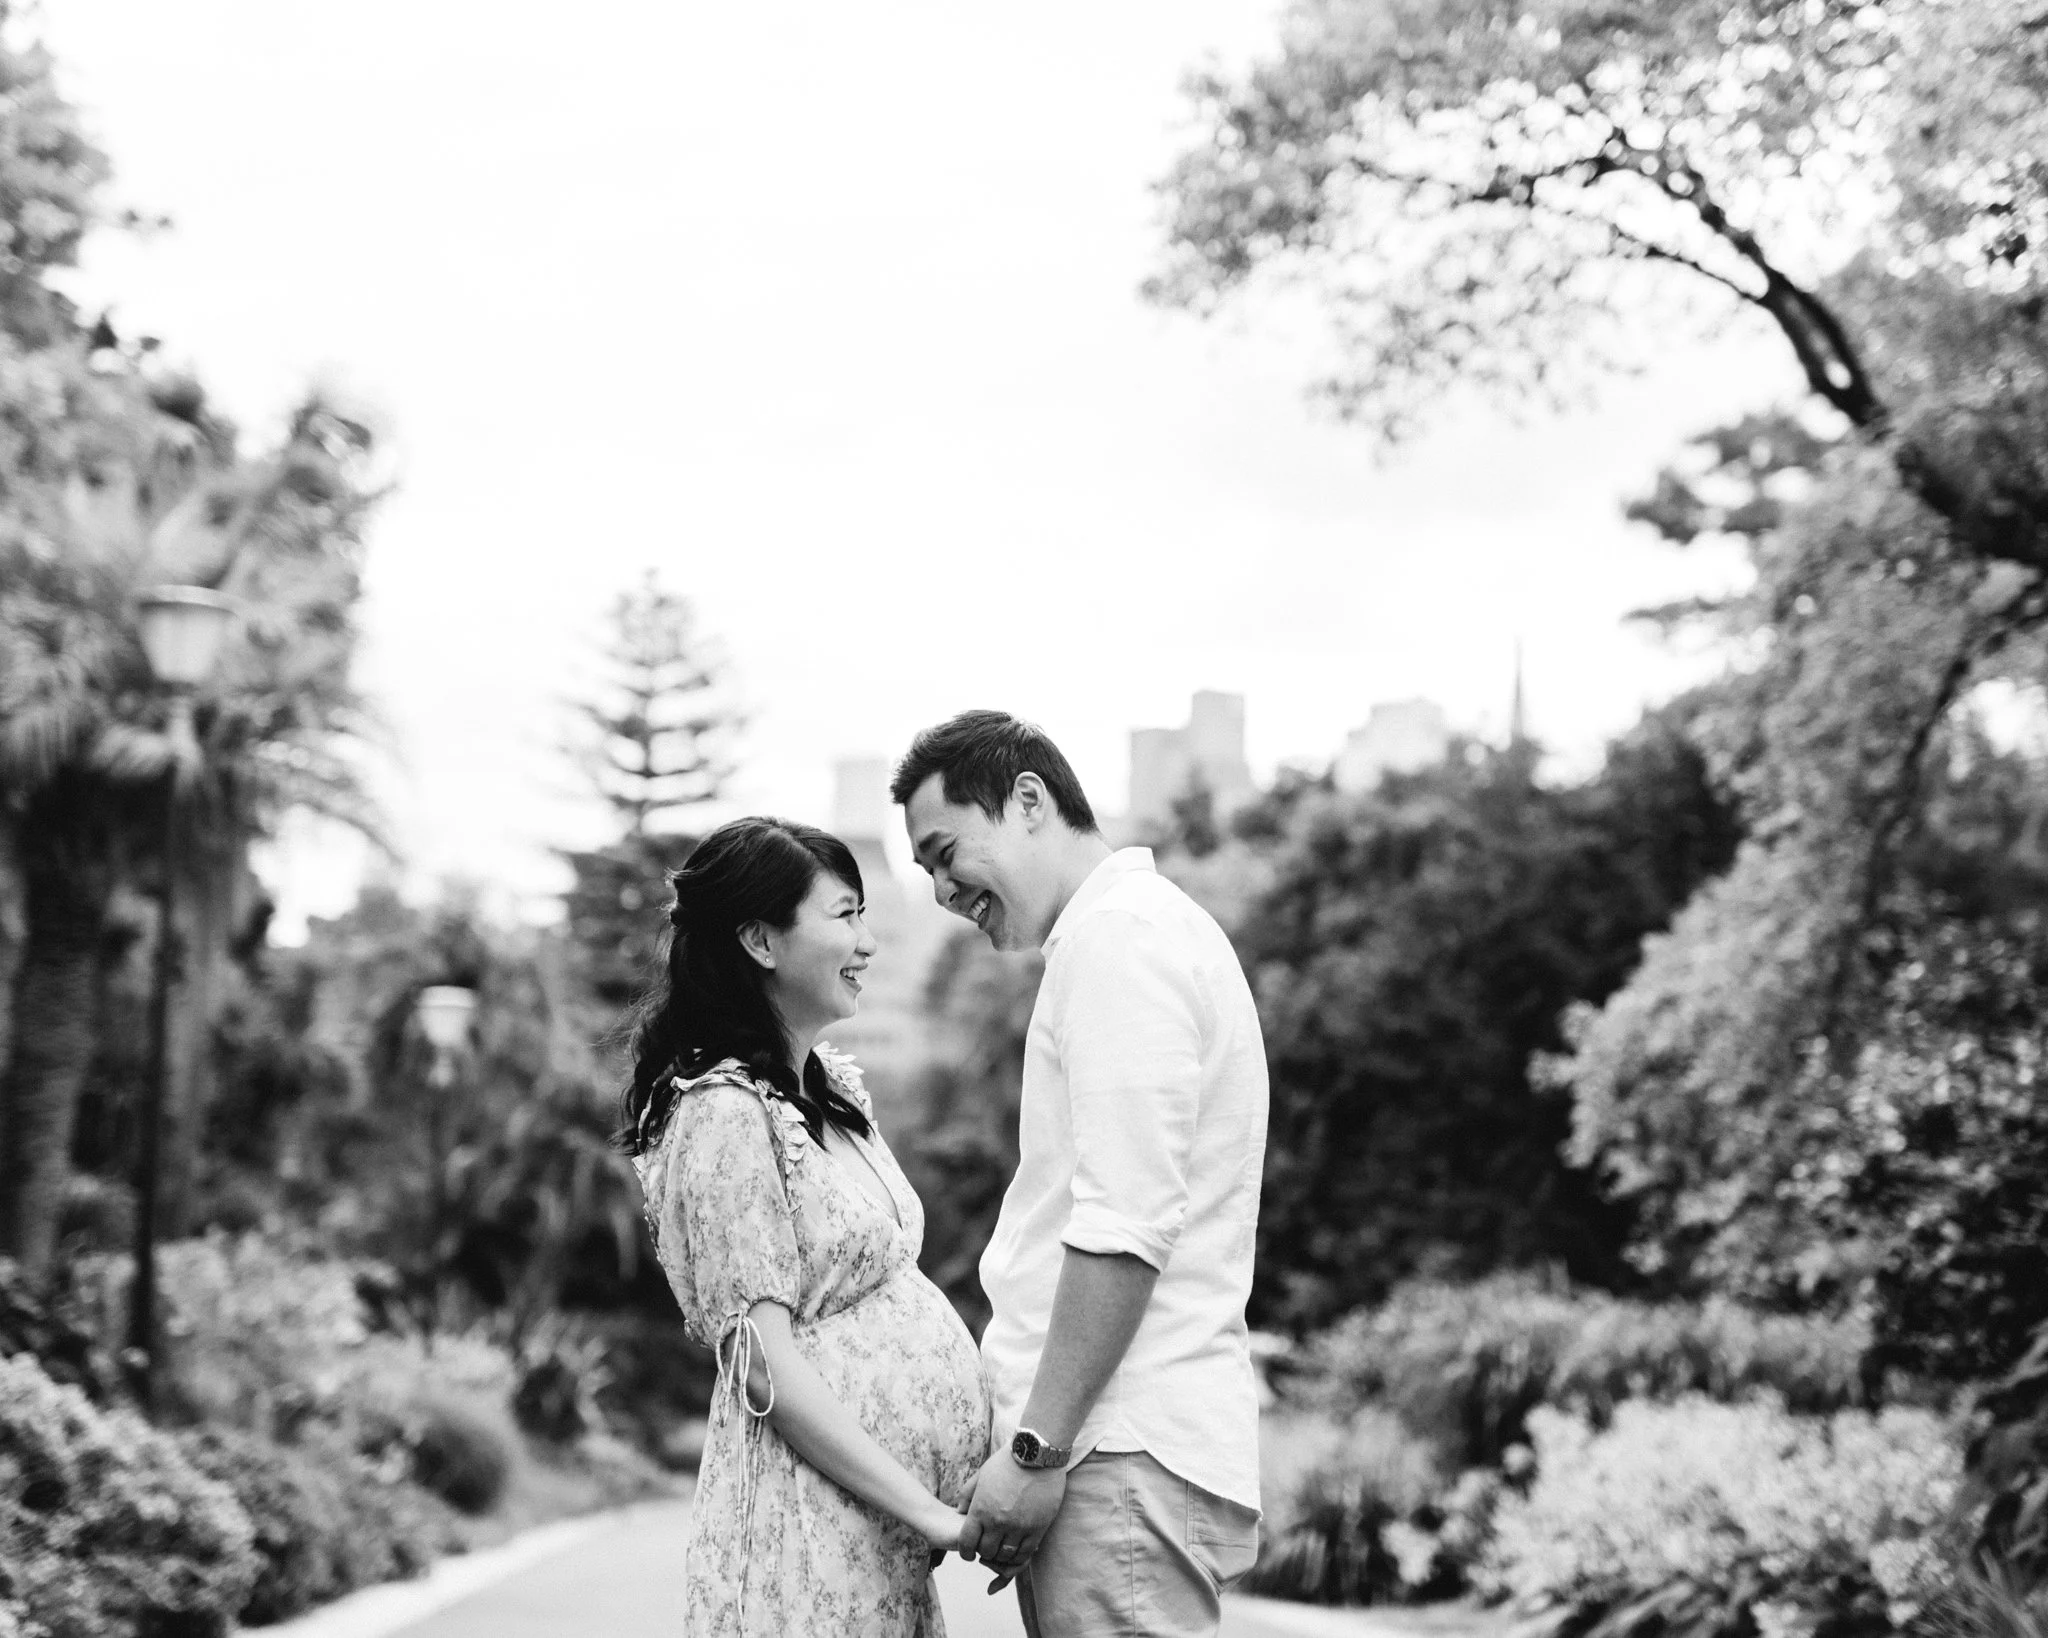
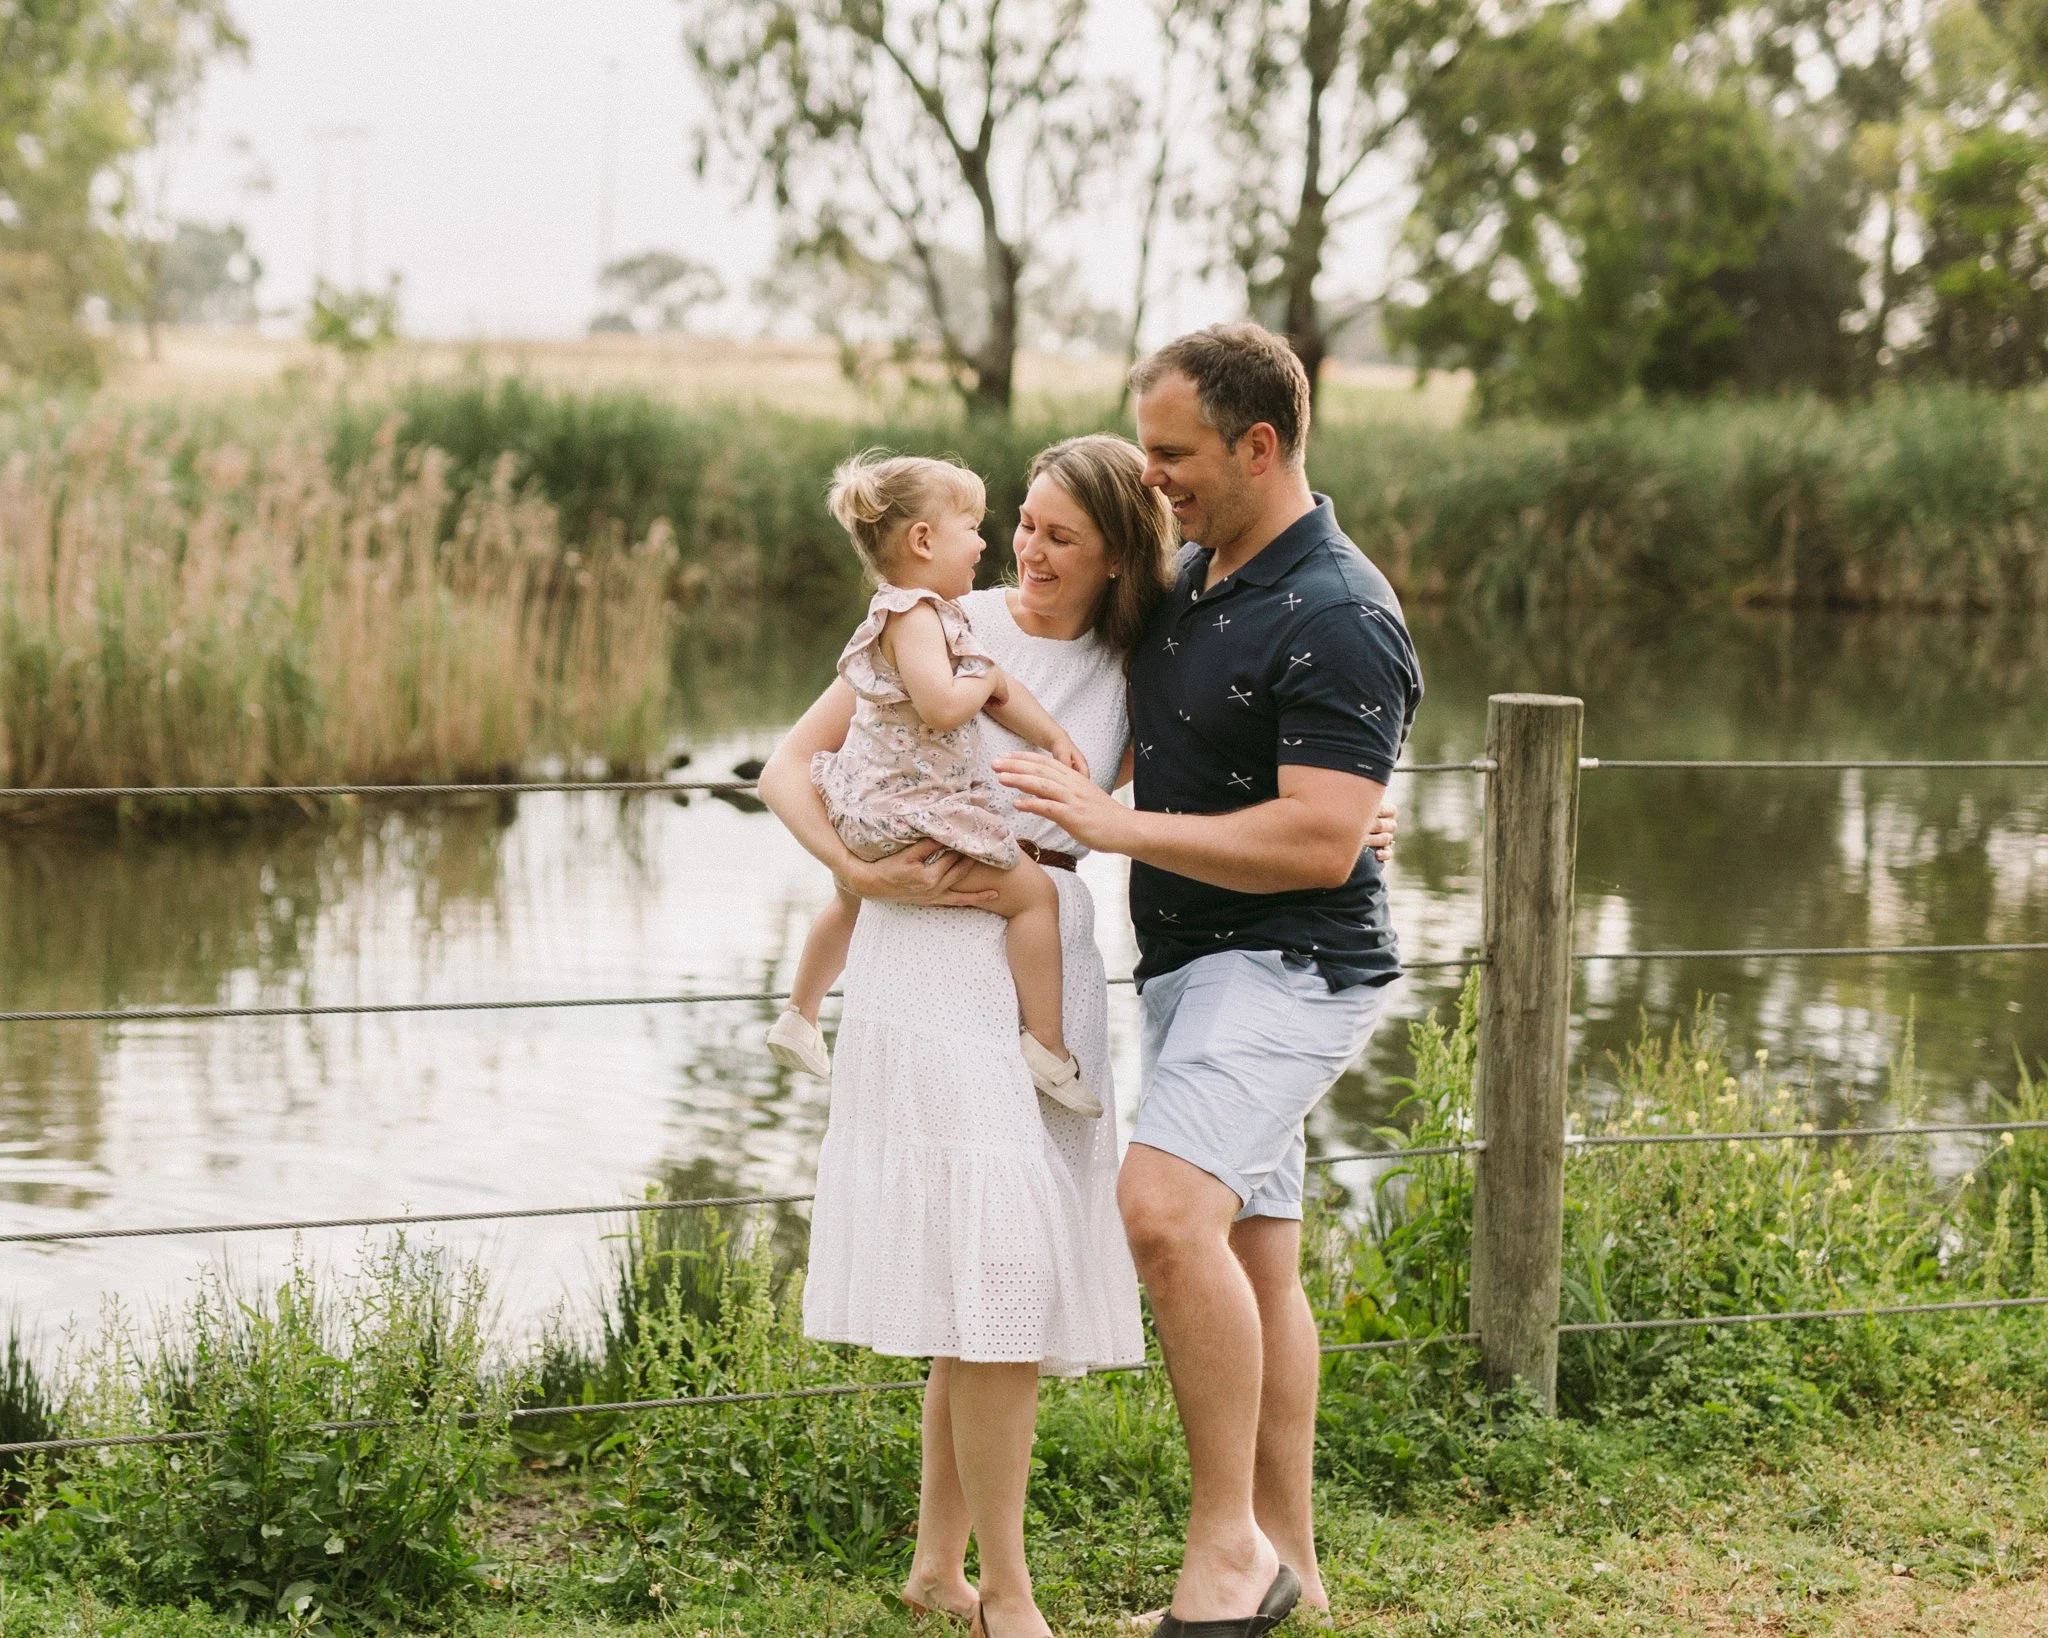
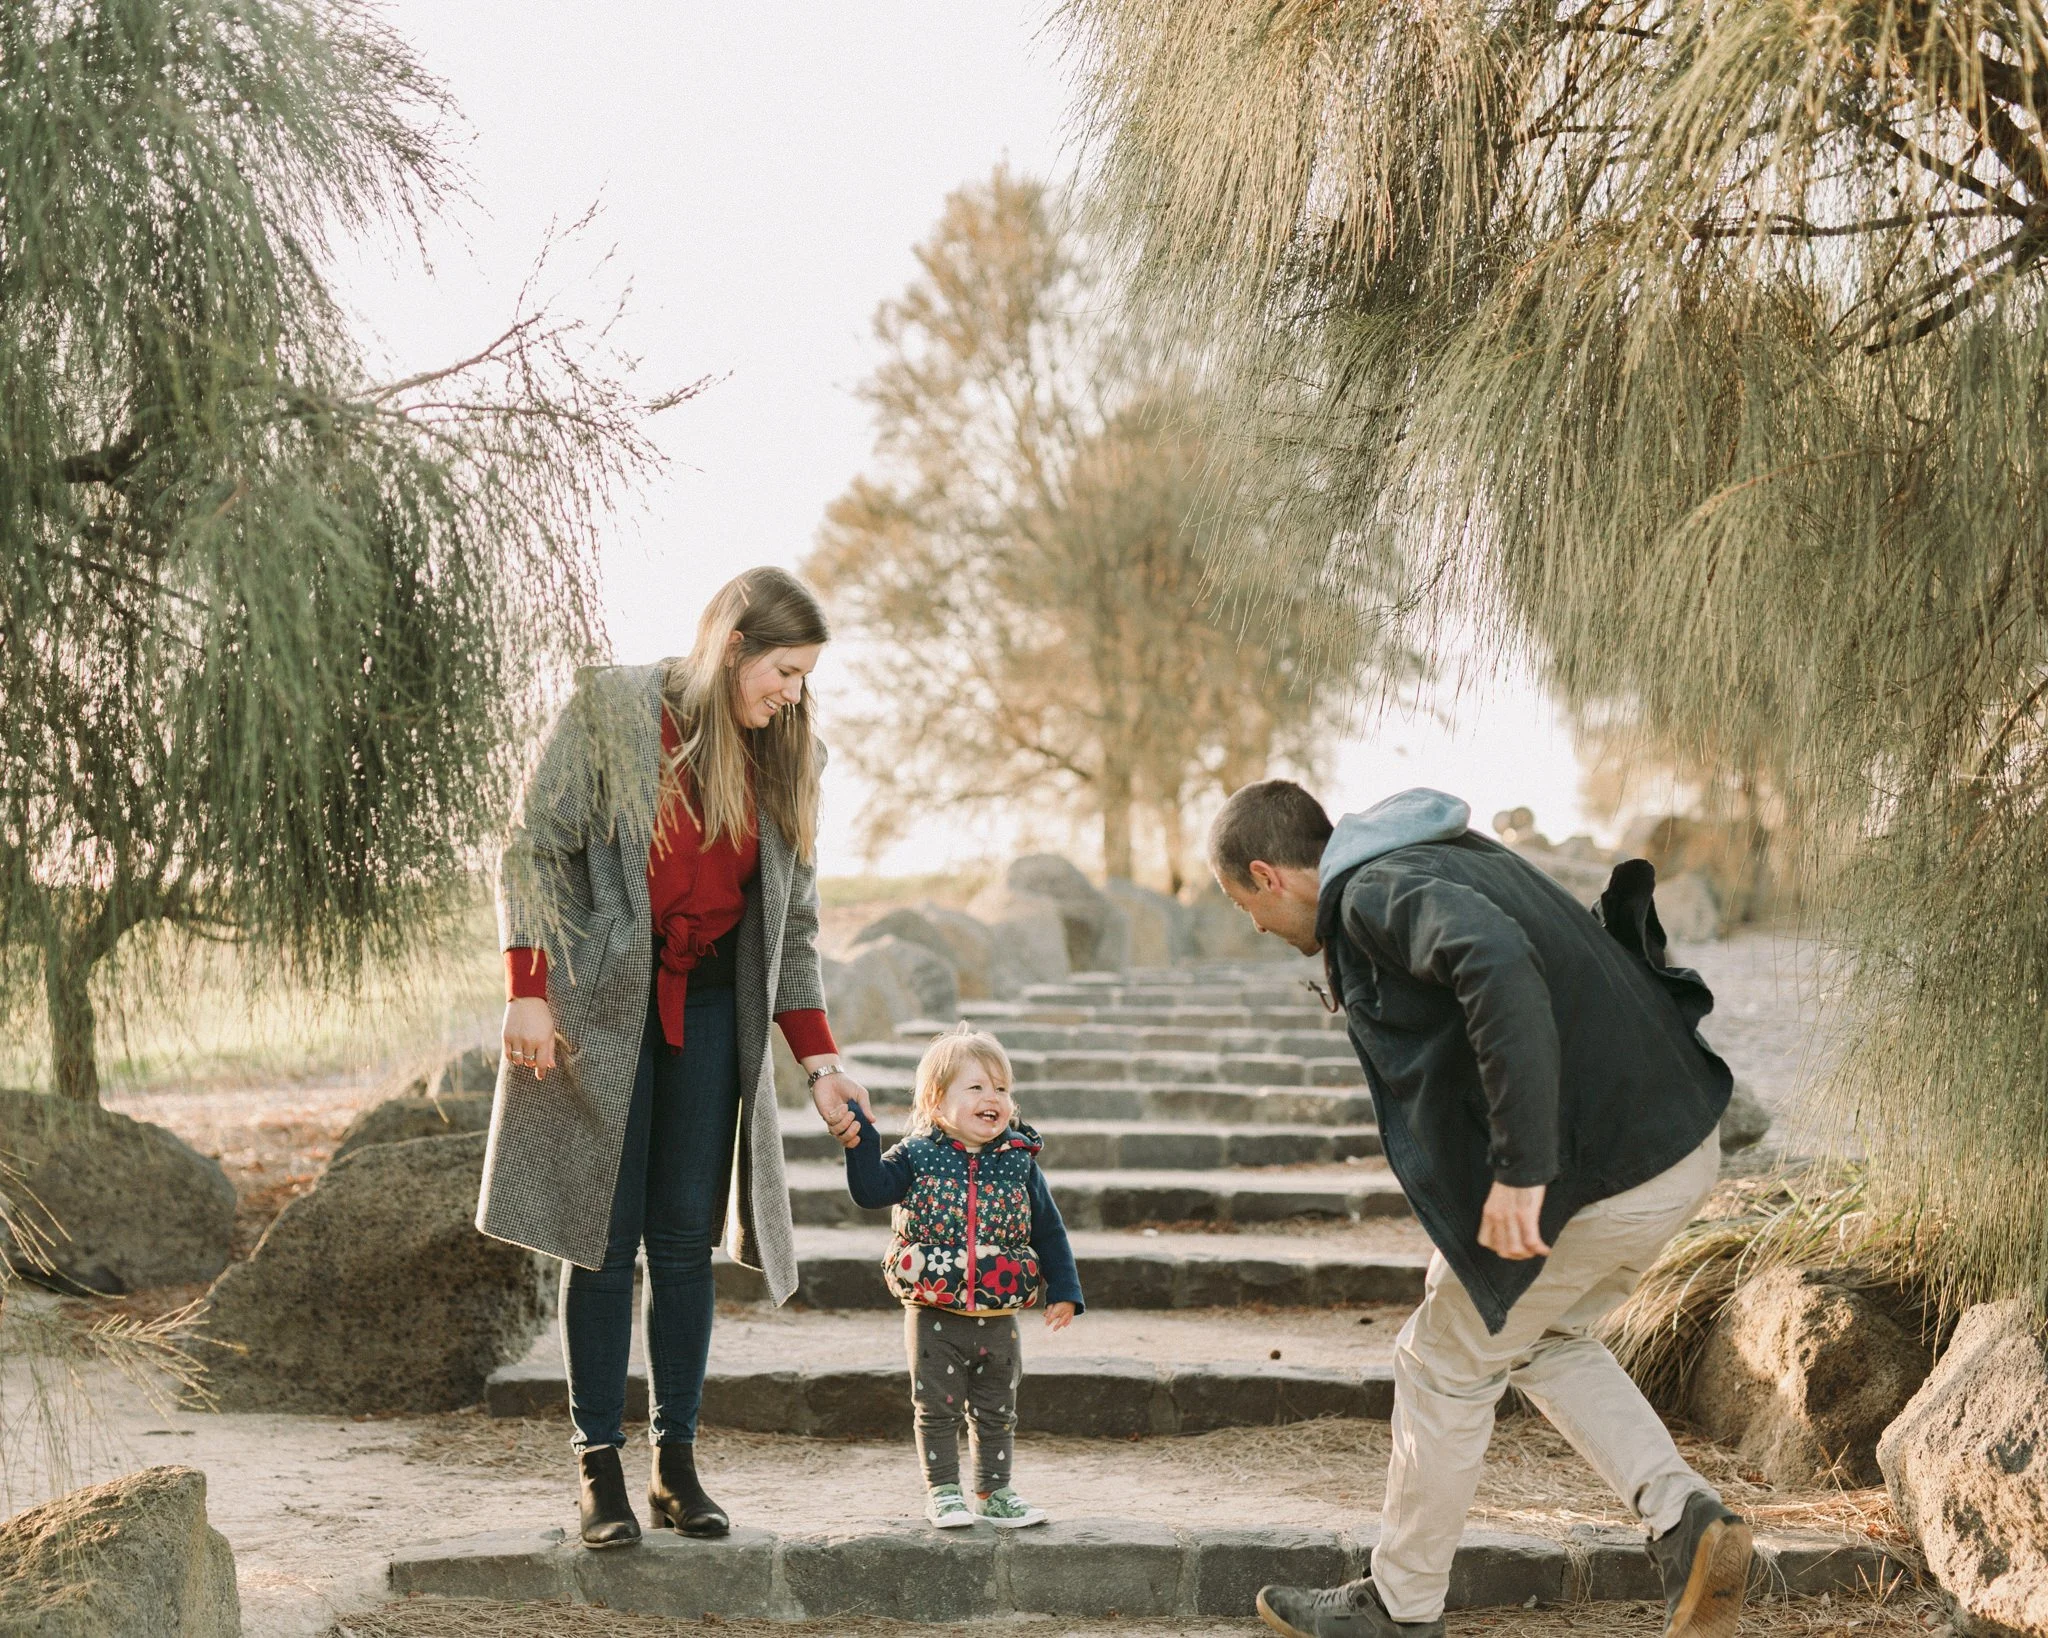
I normally only head to the beach in summer, which means you can easily rock a more casual and beachy look; sandals, flowy dresses and tops. Smart casual works really well on the beach, and even better for parks.
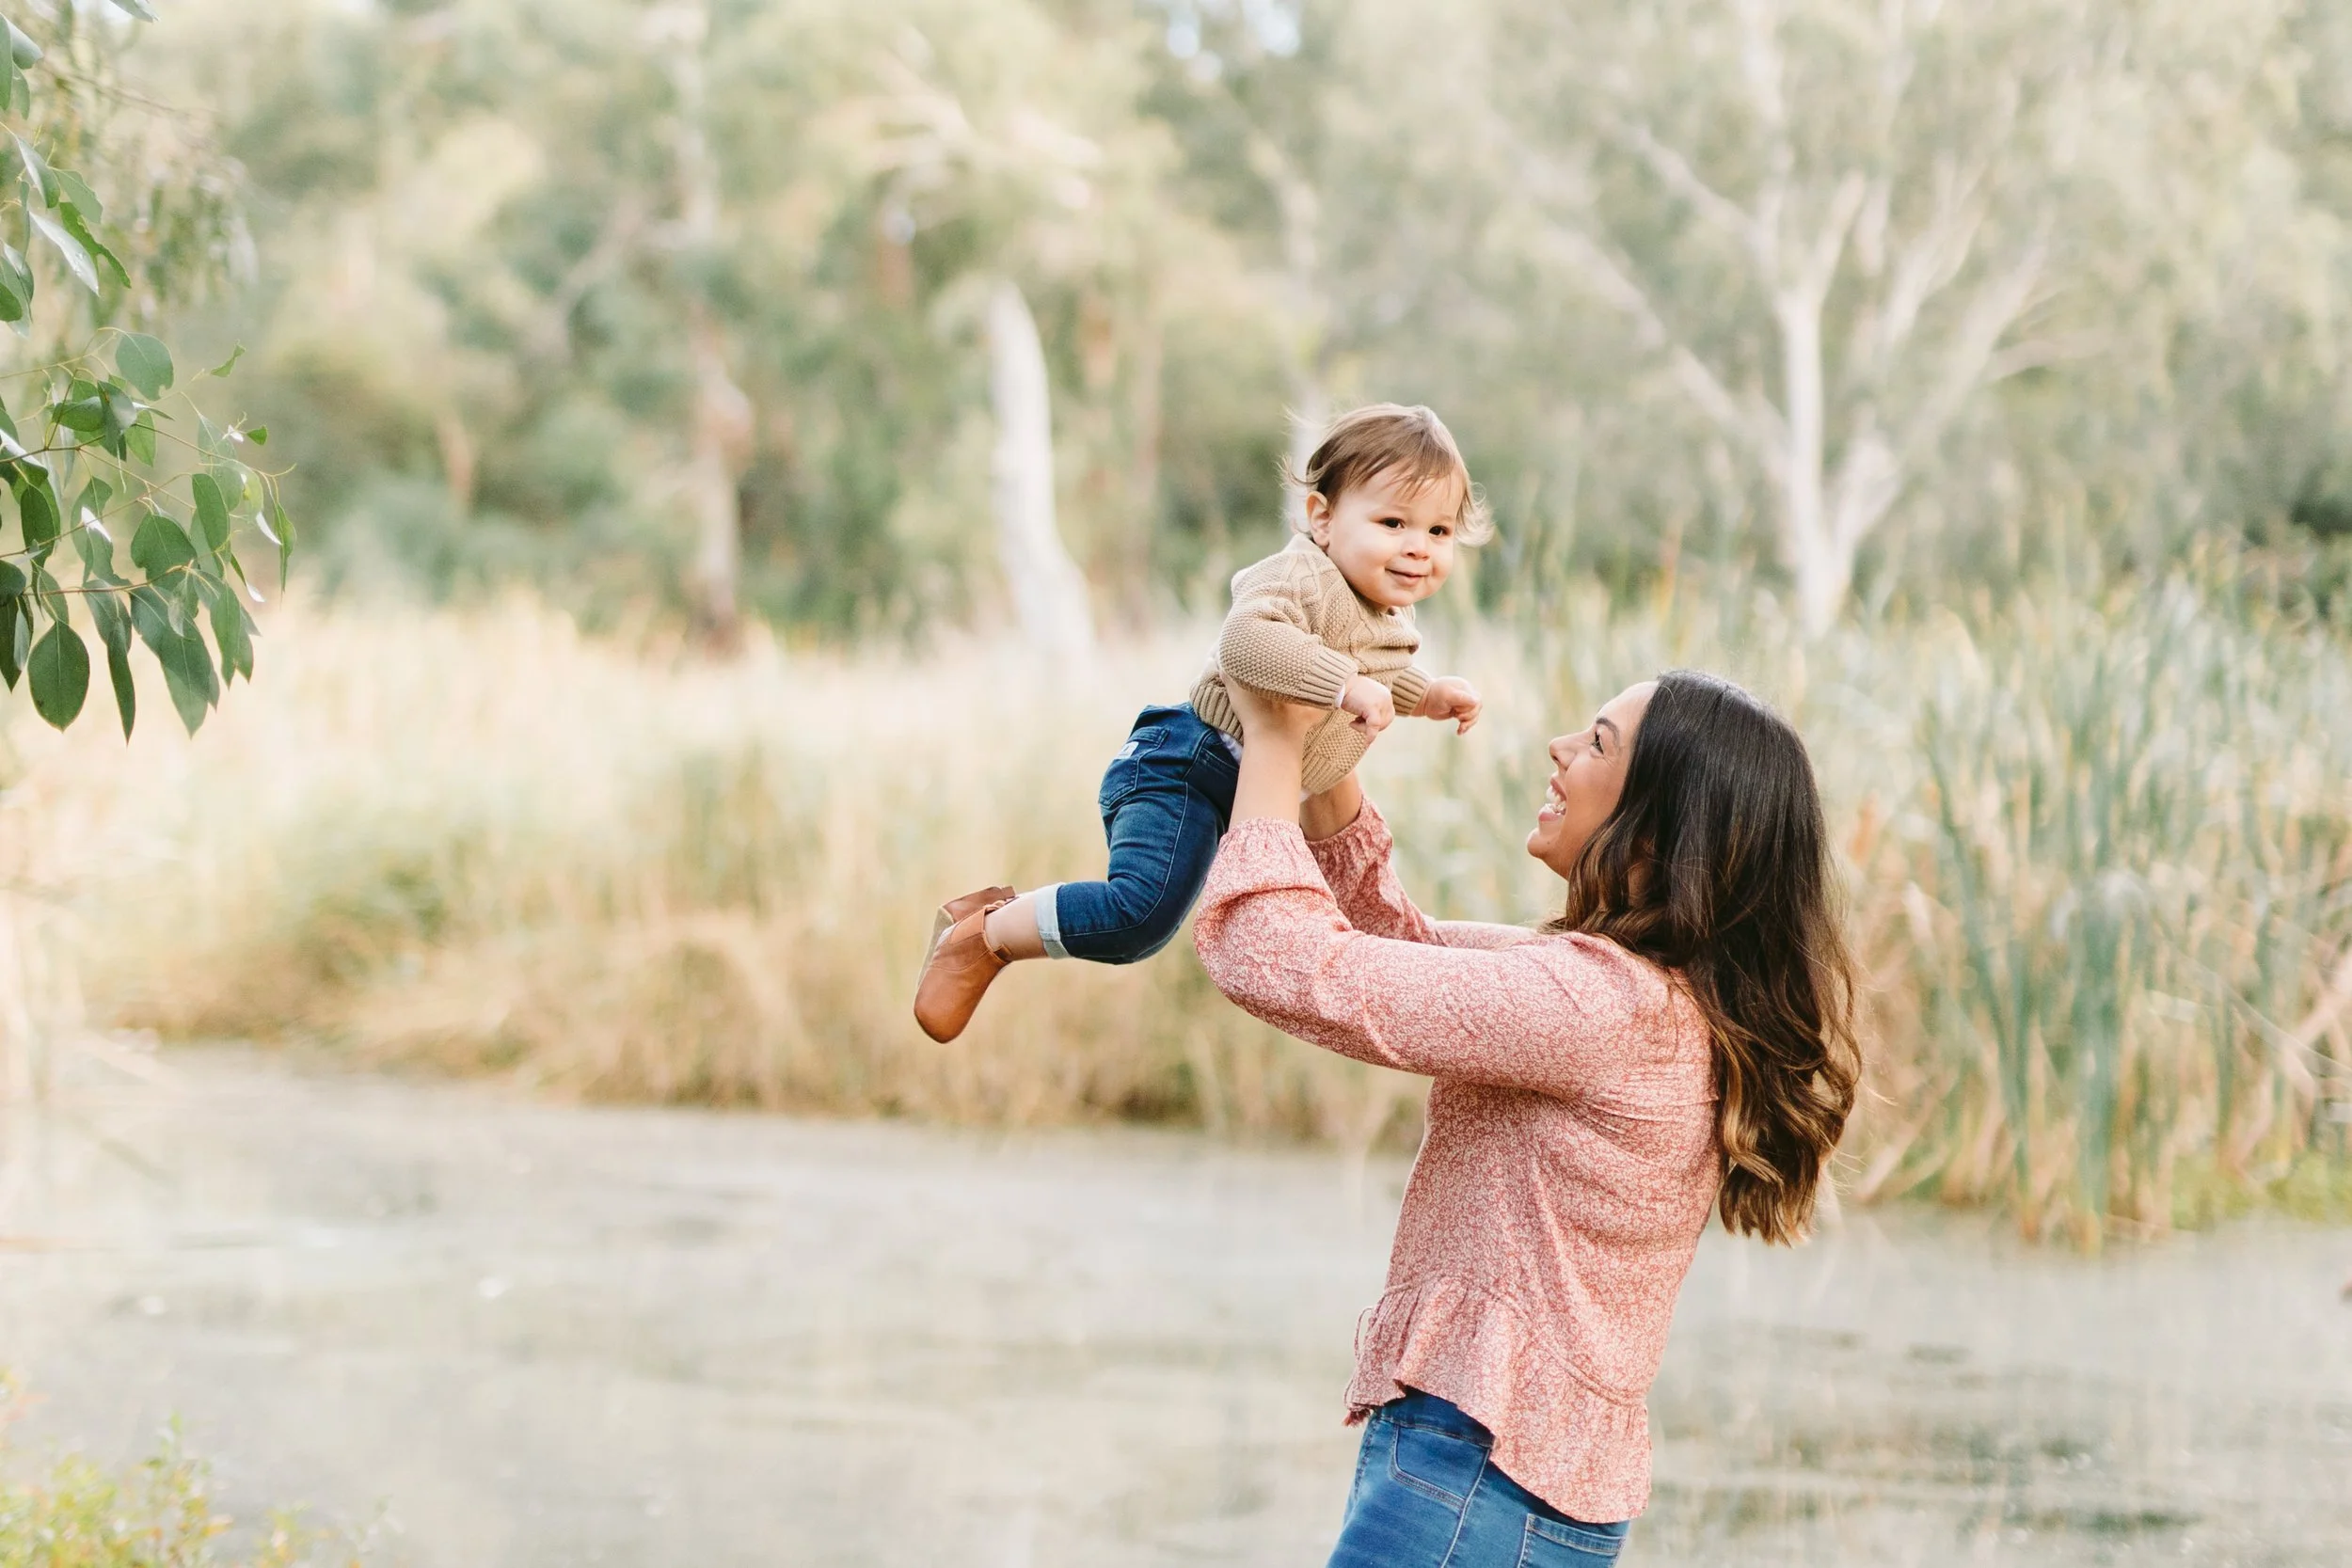
Because it is cold for so much of the year here, my clients and I spend a lot of time at local parks. Winter is also your friends, knitwear, jackets, boots - mmmm!
BUT no matter where we are going, ditch the heels (please!). Closed in shoes are best, as there is a lot of walking involved during my sessions, and I like to go cross country through the grass and sand, so heels are not a practical choice.
They also tend to dress up an outfit too much for a simple and relaxed photo session.
Picking colours to work with your location
The colours you pick should also be heavily dependent around the location of our session, as I said above I think neutral colours work best overall – but you don’t want to blend into your background, so it’s best to pick colours that contrast against the colours at your location.
If we are heading to a park, think back to our colour wheel from earlier on, and choose clothes that contrast against greens. Colours such as whites, greys, navy, light pink, dusky reds and oranges, burgundy work well!
If we are at the beach I would suggest colours like dark greens, charcoal, pinks and burgundy, whites and burnt gold, that kind of thing. But as above, avoid wear overly-bright colours, contrast is key here but strong contrast always draws attention to itself (and away from you).
TIP #7: LAYERS AND TEXTURES
Layers in Melbourne are kind of a no-brainer with our weather patterns going from summer to winter in a single day.
They always photograph well, and you can add little bits of your personality, things like scarves, necklaces, bangles, earrings (but as always keep #4 in mind and keep it simple, silly).
Only wear layers if they are part of your normal outfit choices – don’t start during your session. I would hate for you to look back and wonder why you wore it – stick true to your personality.
In winter you can also add awesome texture through knitted jumpers, cardigans and scarves, and I think they photograph really well on just about anyone.
TIP #8: HAIR & MAKEUP
I get asked this question all the time - “…should I get my hair and makeup done professionally?”
My answer is always this: be yourself, and wear what you normally wear.
You do not need to go outside of your comfort zone and get a fancy up-do or cake your face with makeup. A little styling and a gentle layer of your favourite makeup is truly all that is needed.
I have had quite a few clients “treat” themselves to a professional makeup experience for their photoshoot, only to hate the end result and subsequently feel extremely self conscious during their photoshoot because they don’t feel like themselves.
If you are getting a major hair chop, do it at least 2 weeks before your session date, which gives you some time to get used to it, and practice styling it. Same goes for the gents, giving it two weeks allows it some time to grow out a little and lose its freshly-chopped look.
TIP #9: PLAN AHEAD
There is so much variety, and so many different ways to style your clothes. Hopefully this has inspired you to start preparing your outfits for your session – but please don’t leave them in your head. There is nothing worse than spending the night before your session freaking out because you have suddenly realised your favourite top has baby spew on it and missed the wash, or your little boy’s jeans have got a new rip in them!
If you aren’t sure about something, this way you still have some time to try laying all the clothes out together to see how they fit. Try laying them all out together to make sure it all fits, and if something doesn’t go with the overall scheme you can easily swap it out with no fuss or stress.
Aim to have everything set aside at least a few days before your session.
For my clients: you’re so welcome to take a photo of your outfits laid out and text to me for my opinion!
TIP #10: WHAT NOT TO WEAR & WHAT NOT TO BRING WITH YOU
A. What NOT to wear:
Bright Colours: It needs to be repeated! They just don't photograph well.
Shirts with graphics and logos: These can be really distracting, and age really quickly. It's fun to look back on, but if you want to keep your photos timeless, then avoid shirts like this.
Some people would advise applying this rule to kids too, but the little ones go through such huge phases of Batman/Cars/Peppa Pig etc so if you really want to remember it, try to keep any clothes with these kinds of patterns and graphics simple and neutral.
B. What NOT to bring:
Prams: As my sessions are held outdoors, and in some of the most beautiful parks and beaches across Melbourne, we are going to want to explore and have the freedom to walk, and go on an adventure off the beaten path. By bringing a pram with you, it makes that a whole lot more difficult!
Big bags: Same goes for big bags as it does for prams. I always insist upon carrying my client’s bags so that they aren’t hanging out with you in your photos, but because we are on the move I don’t get the opportunity to put them down very often. You will need a bag to carry the essentials (wallet, phone, keys, just -in- case nappies, etc) but me and my shoulders are always so grateful when my clients come with a small bag or small backpack containing just the bare essentials.
RULES ARE MADE TO BE BROKEN
Remember, if you are going to feel comfortable in something else, feel free to break any and all of these rules, because at the end of the day you being comfortable in front of my lens is all that matters.
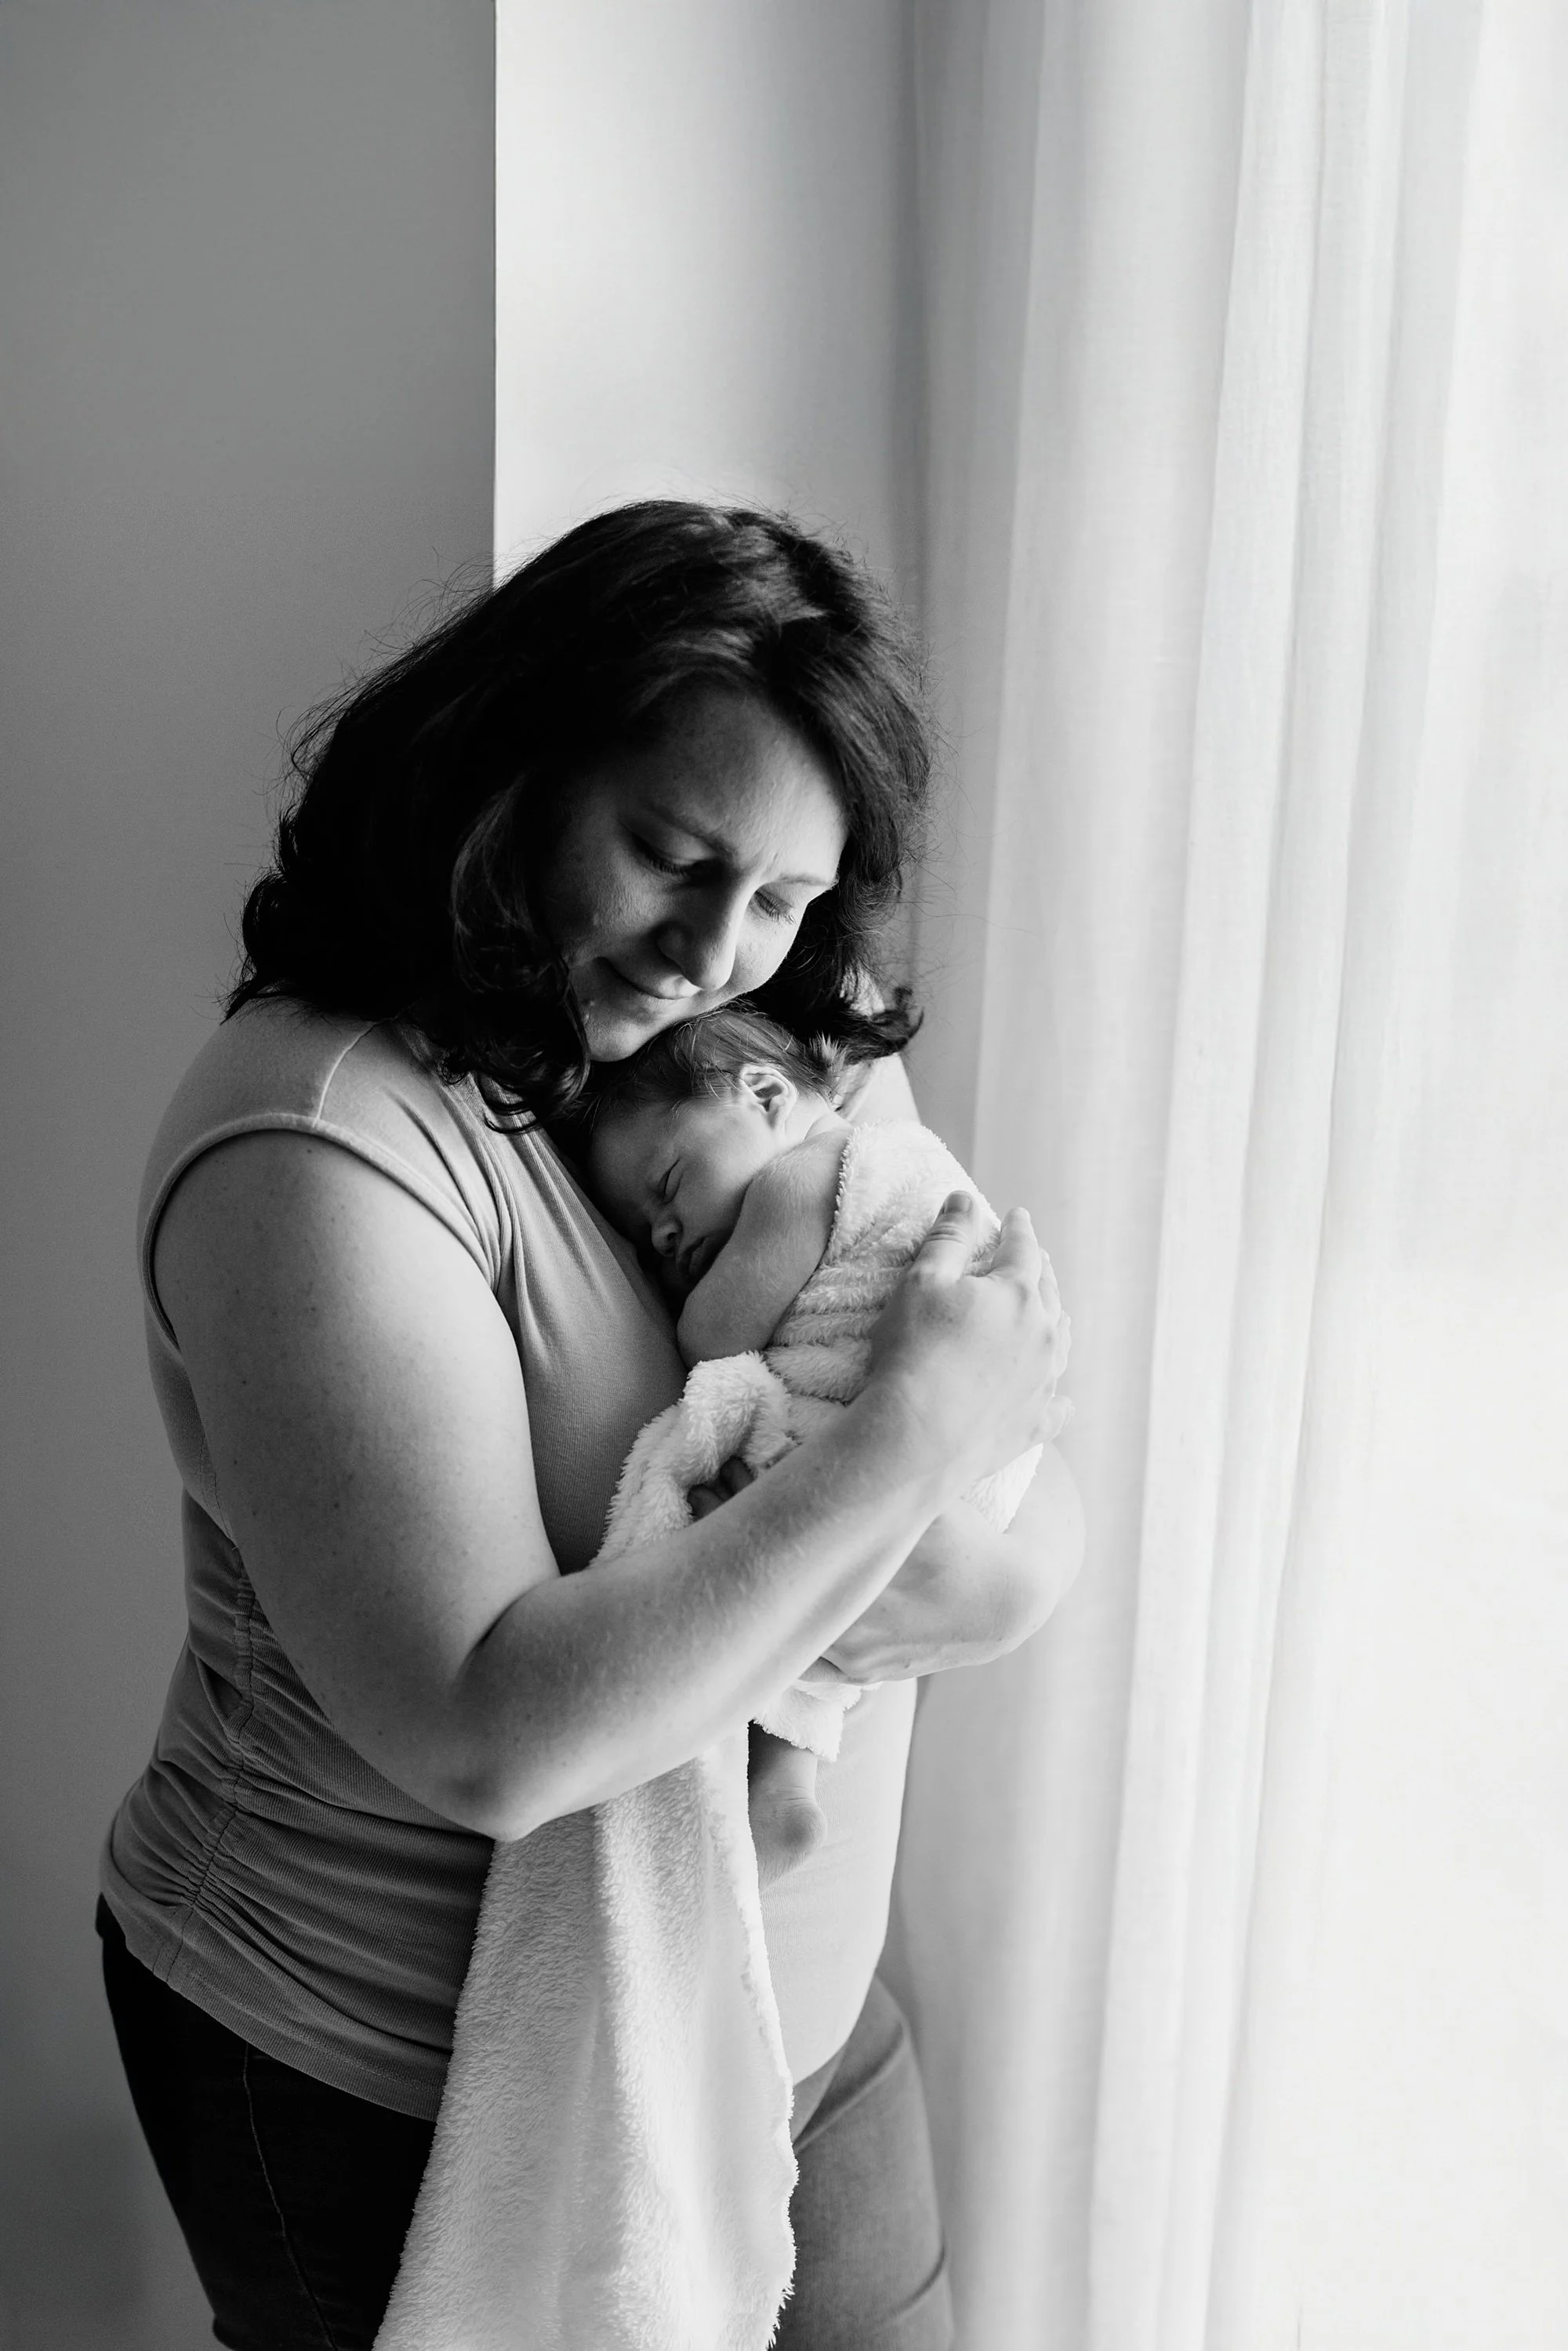
The images in this post are meant to be guides only - please do not feel like you need to go and buy clothes that look like this!!!
I know what works well on me (I think!) but everyone is different, and knowing what types of clothing to fit your body type would need a whole other post on it’s own ;)
WHERE TO SHOP?
Please don't feel like you have to go out and buy a whole new outfit, but it is worth putting some thought into it (and I'm always available for a second/third/fourth opinion).
Honestly - you don’t need to spend a lot of money. You can get a lot of great neutral basics from Target or Myers. Country Road or Seed (and sometimes Bonds) have some great neutral options for kids
Lecinda x